I once turned my niece's plain room into a princess nook on a budget. Toys everywhere, but it felt flat. Added soft layers, and she wouldn't leave it. That warmth stuck with me.
Kids crave cozy spots that feel like hugs.
Real homes aren't perfect. These ideas come from fixes that lasted.
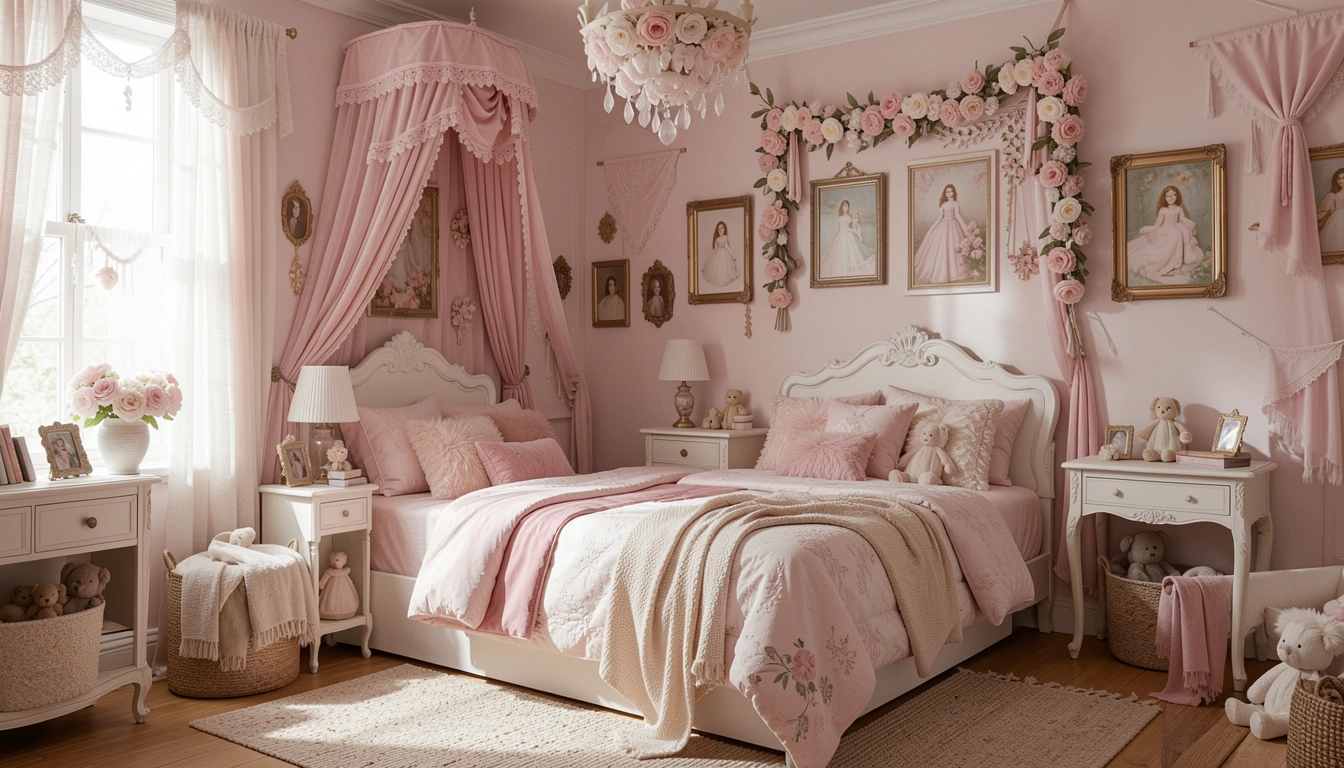
23 Warm Disney Princess Room Decor For Kids Ideas They’ll Adore
These 23 warm Disney princess room decor for kids ideas are pulled from real rooms I've shaped. Exactly 23 practical picks. You'll know what works without the guesswork.
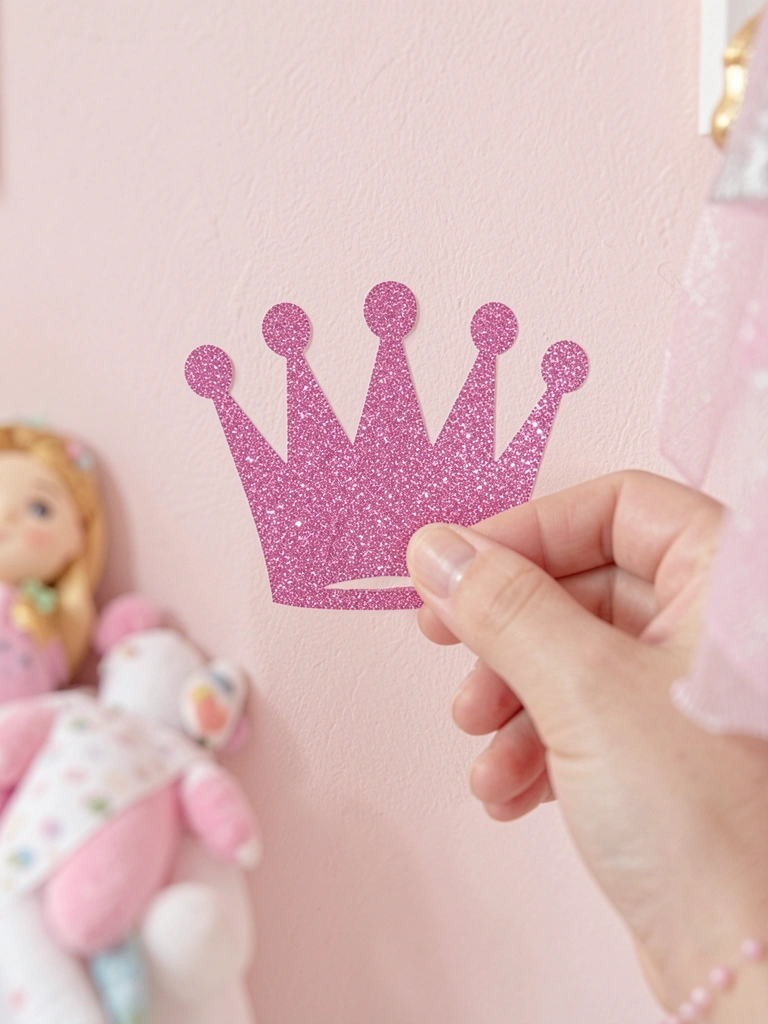
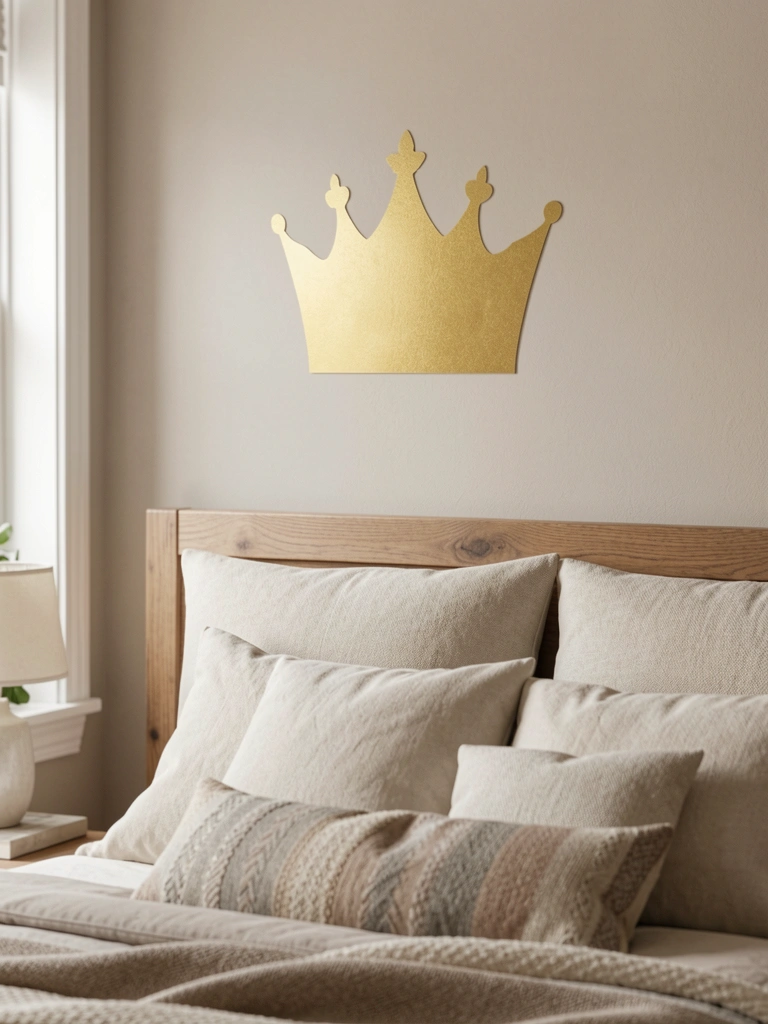
1. Pastel Princess Silhouette Wall Decals That Fade into the Walls

I stuck Ariel and Belle decals high on my niece's wall first. Too bold at eye level. Moved them up, and the room breathed. Pastels blend now, not shout.
The space feels taller, calmer. She points them out at bedtime.
Peel-off kind last years. Match your wall color close.
Test one spot first—paint chips easy if off.
What You’ll Need for This Look
- Disney princess pastel wall decals set (Ariel Belle 12-pack)
- Removable vinyl decals in soft lavender (20×30 inches)
- Matte white wall paint sample (8 oz)
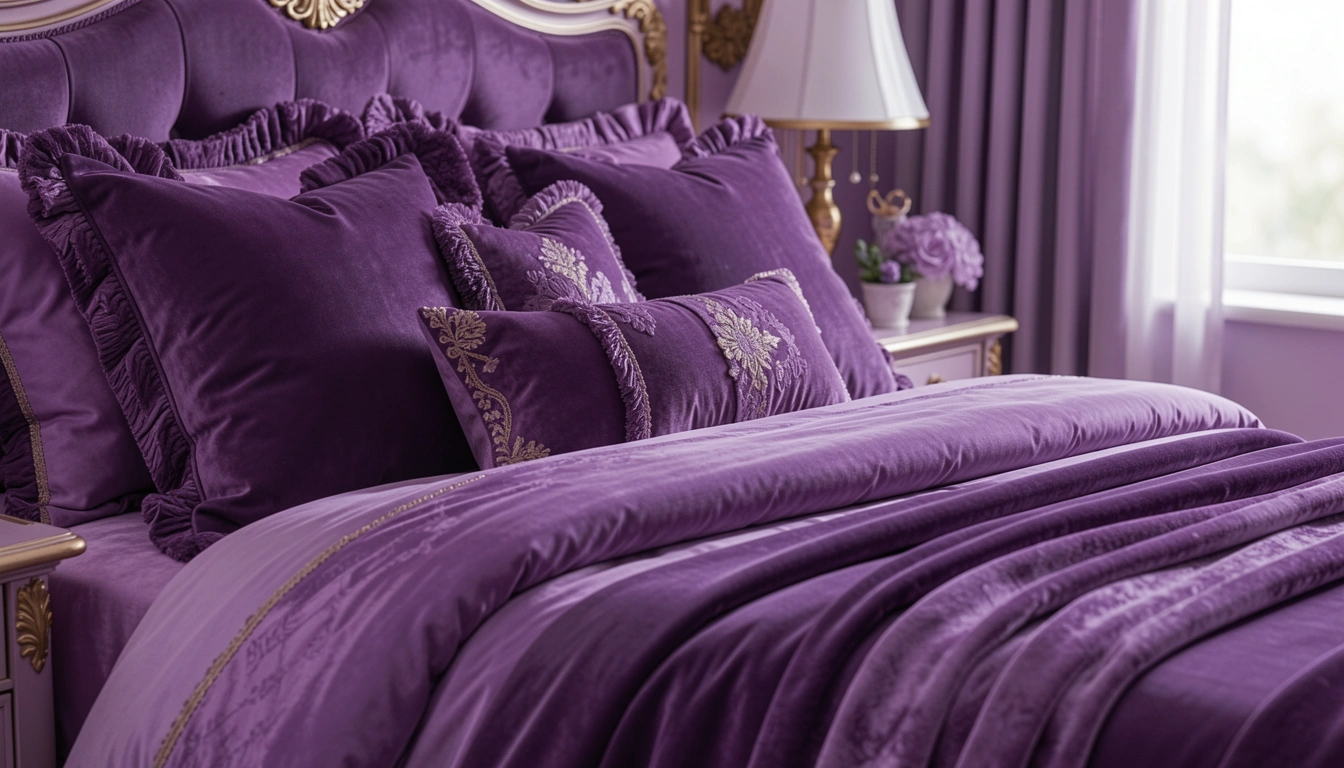
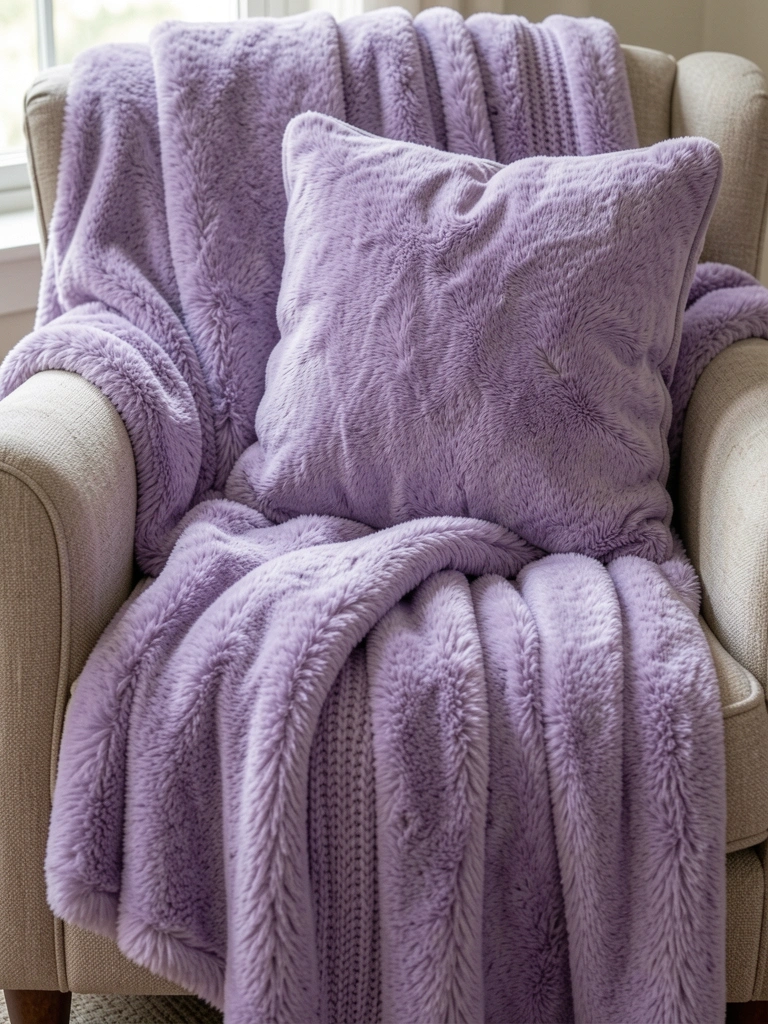
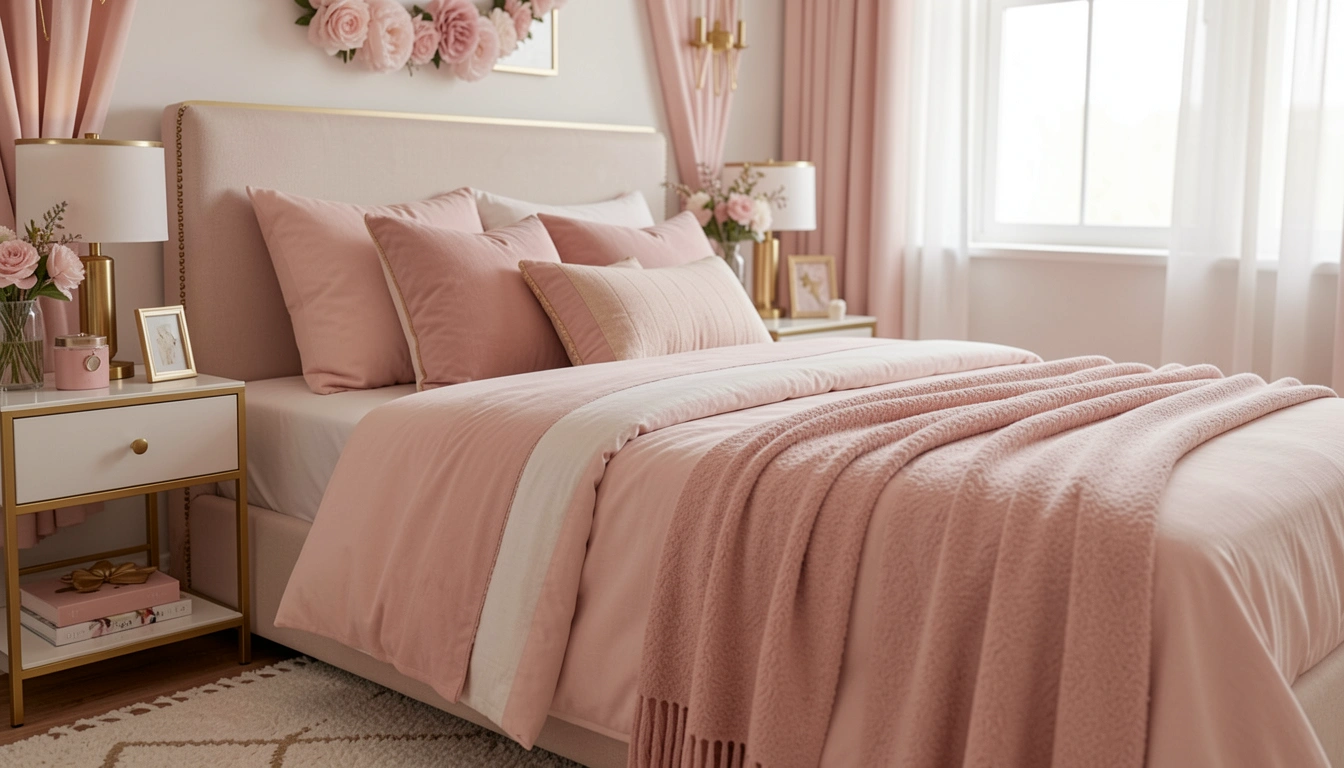
2. Cozy Disney Princess Throw Blanket Draped Over the Bed
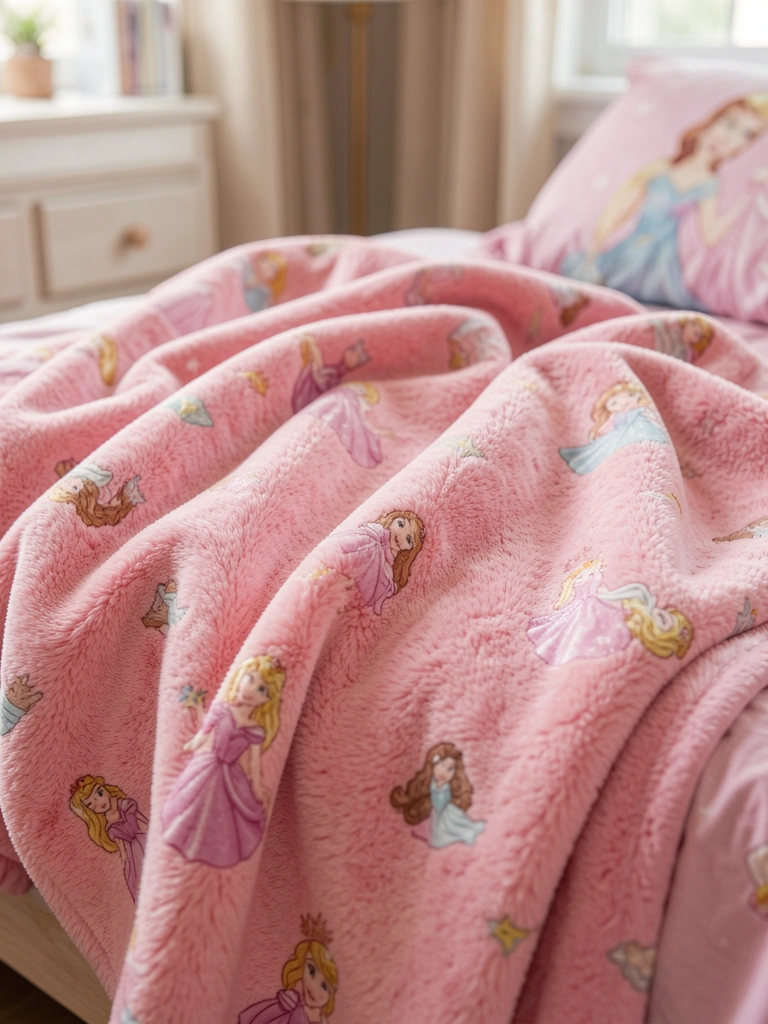
Draped a Belle throw loose at first. Slid off nightly. Now tucked under pillows. Stays put, adds that nest feel.
Room went from stark to snuggly. She burrows in mornings.
Fleece washes easy, no shrinking if cold tumble dry.
Hunt for ones with hidden princess embroidery—worth the dig.
What You’ll Need for This Look
- Disney princess Belle throw blanket fuzzy pink (50×60 inches)
- Microfleece throw in soft peach (40×50 inches)
- Cotton pillow shams cream (20×26 inches)
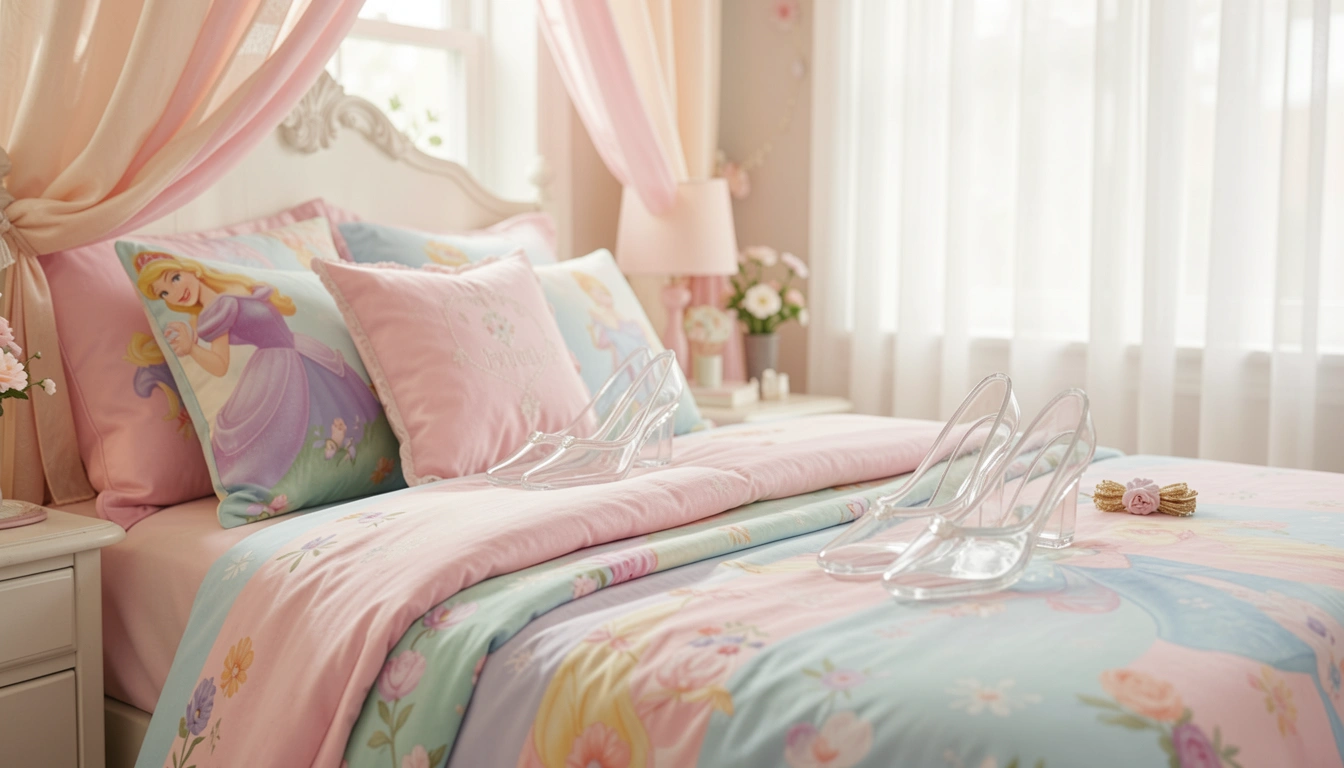
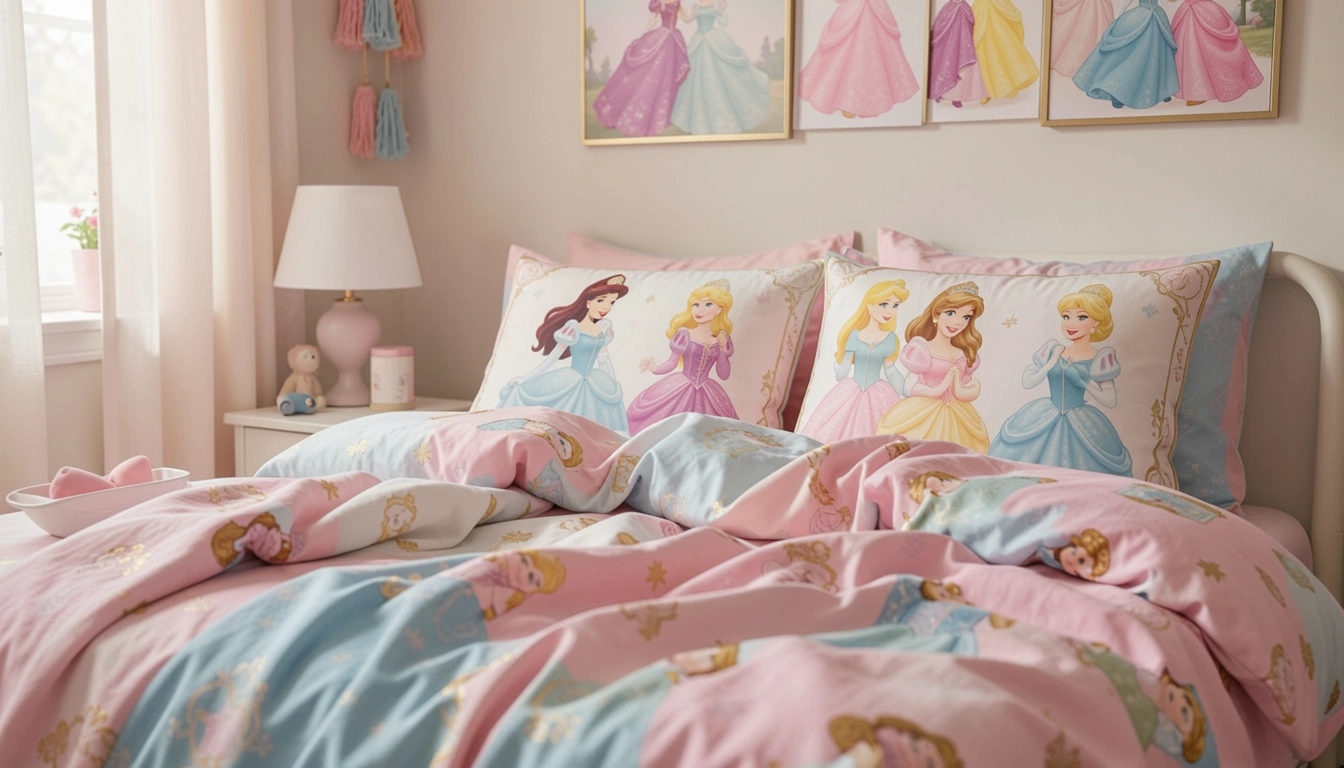
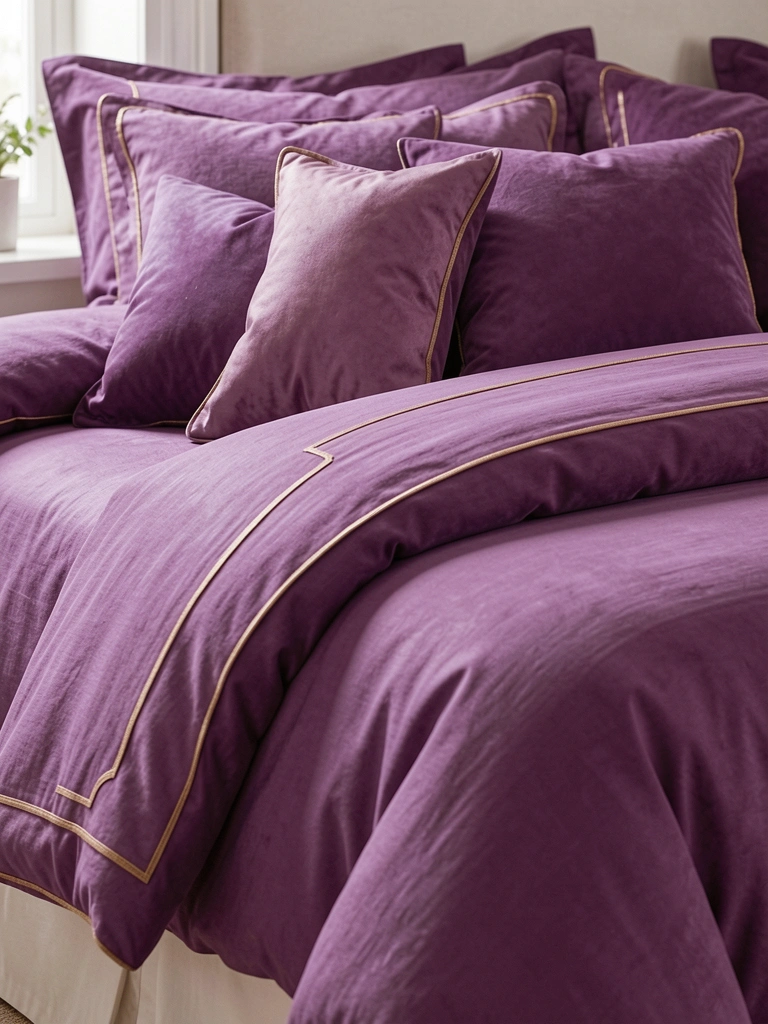
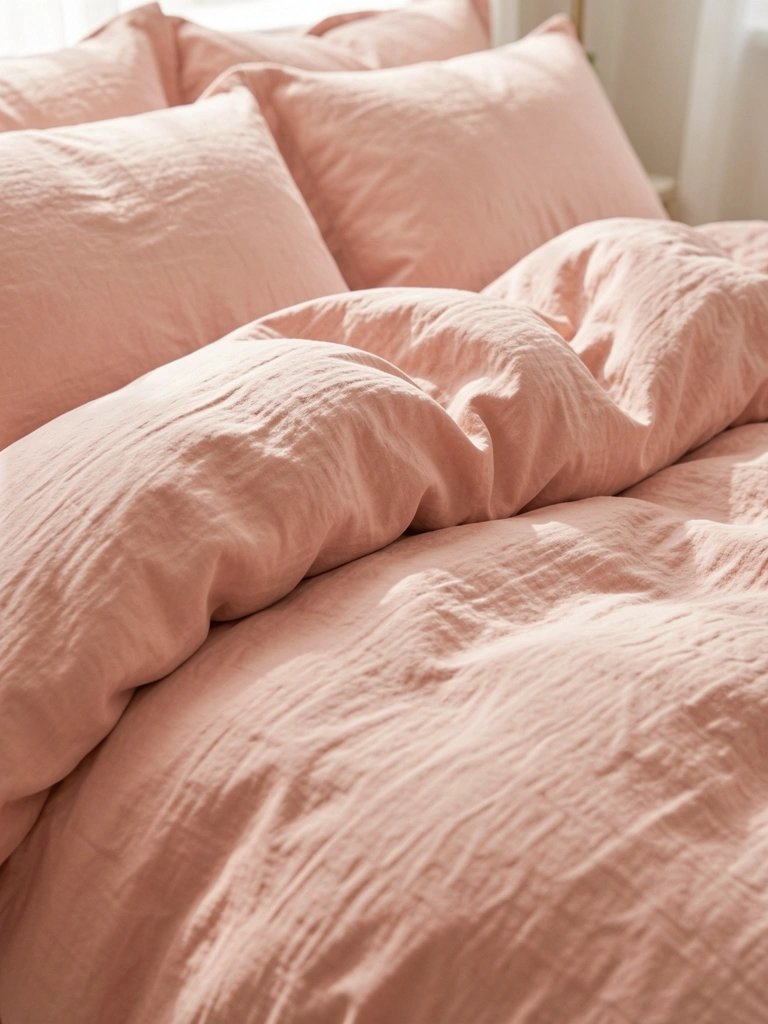
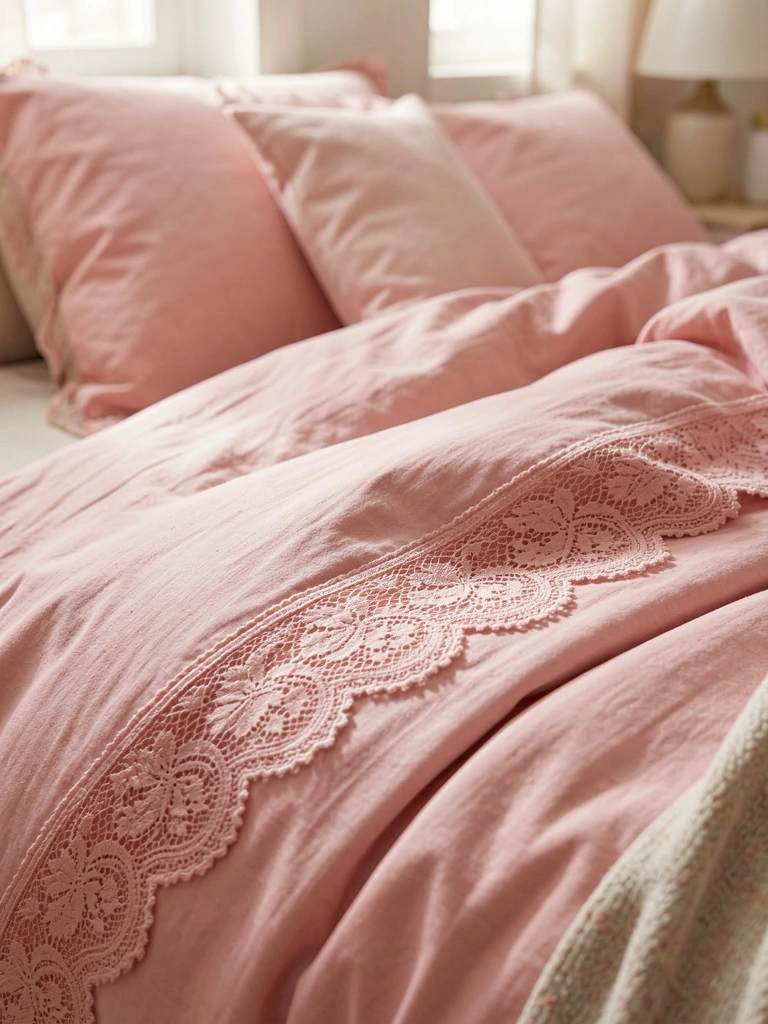
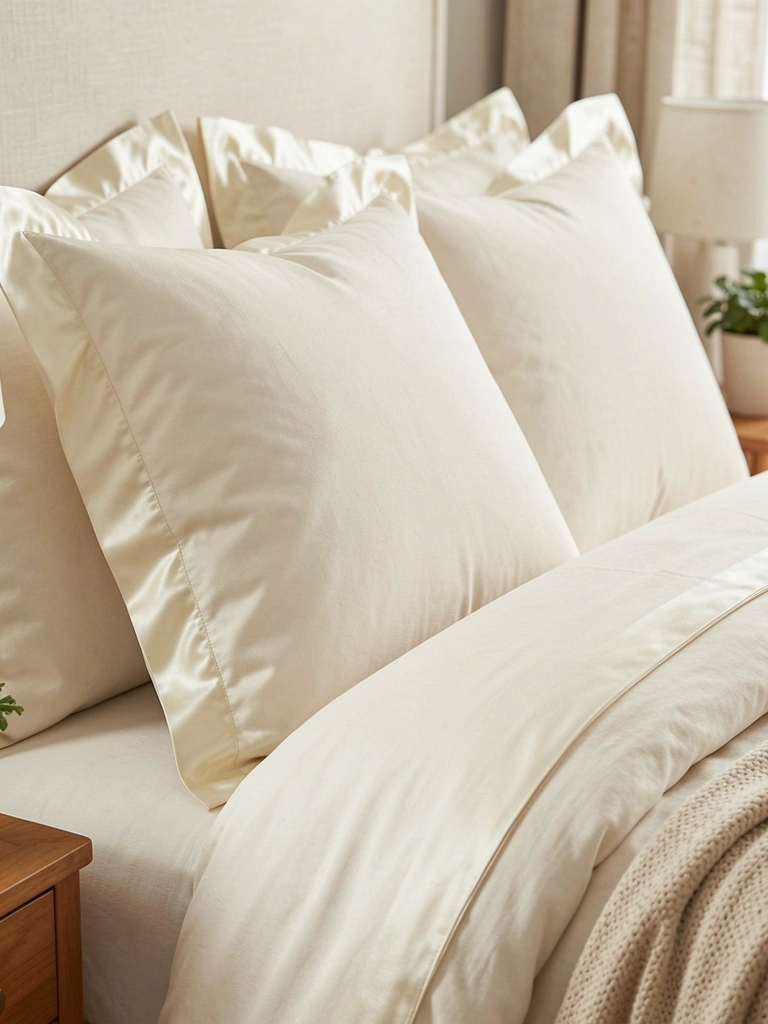
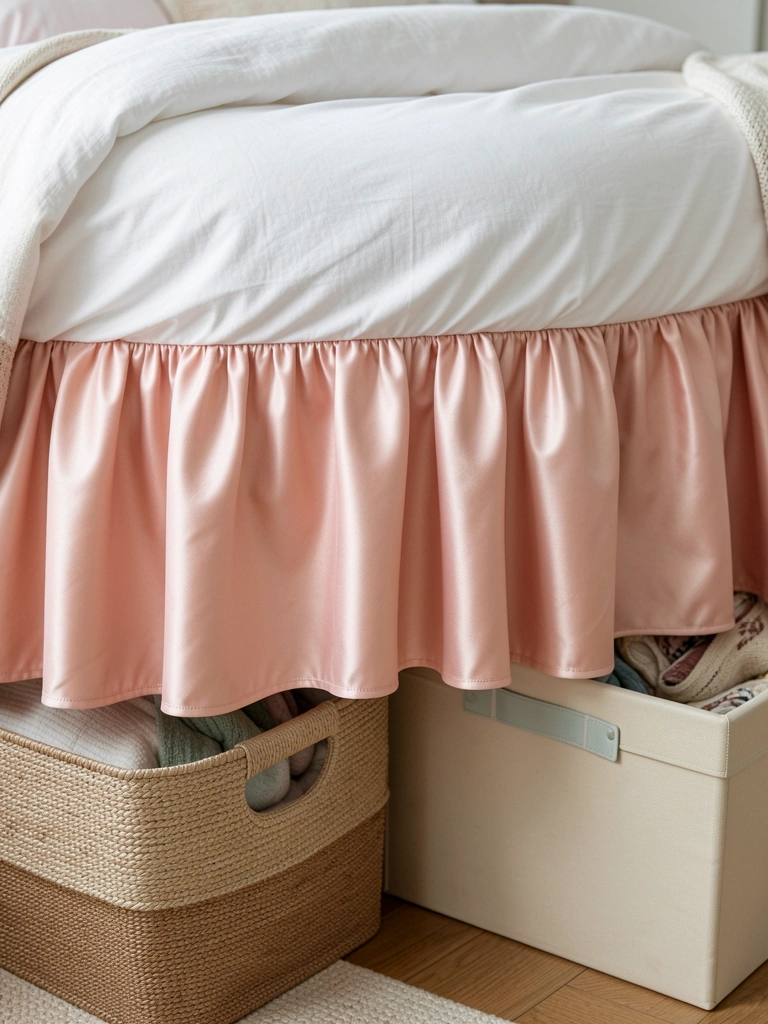
3. Layered Disney Princess Bedding in Soft Cotton Layers
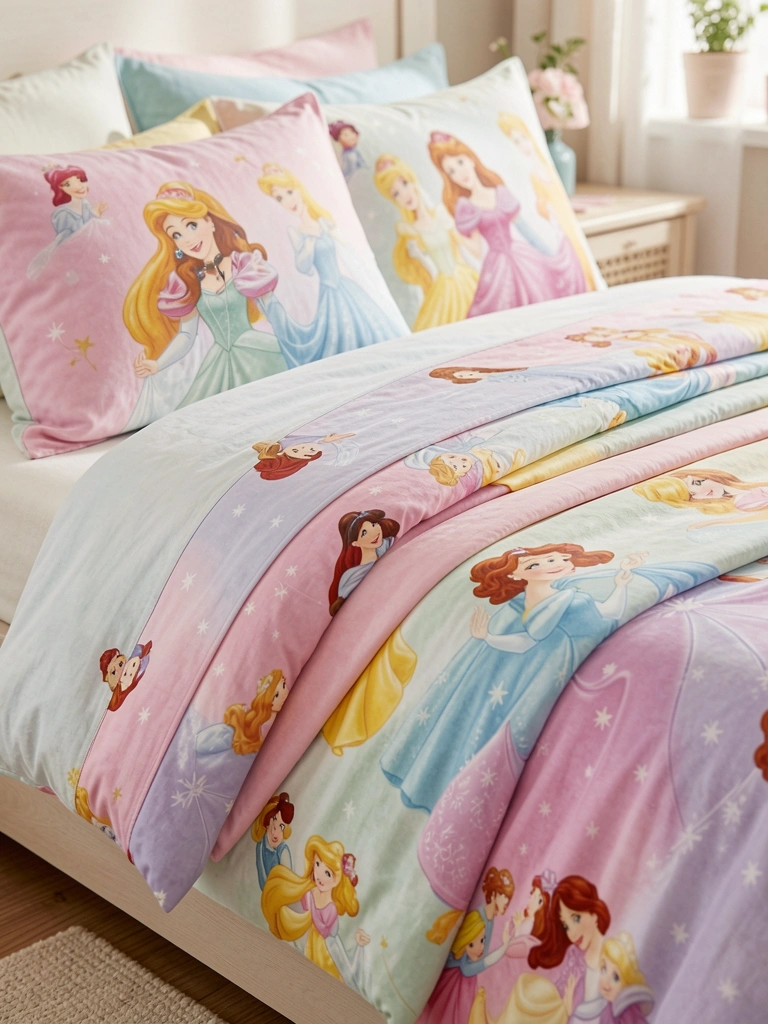
Layered Cinderella sheets under a plain duvet. Pop of blue without overload. Bed pulls together.
Feels like hotel cozy, but kid-proof. No stiff fabrics.
Sheets wrinkle less in breathable cotton. Insight: skip satin, pills fast.
Tuck tight daily—keeps the look.
What You’ll Need for This Look
- Disney princess Cinderella cotton sheet set twin (pink blue)
- Breathable cotton duvet cover beige (twin)
- Layered euro shams in ivory (26×26 inches)
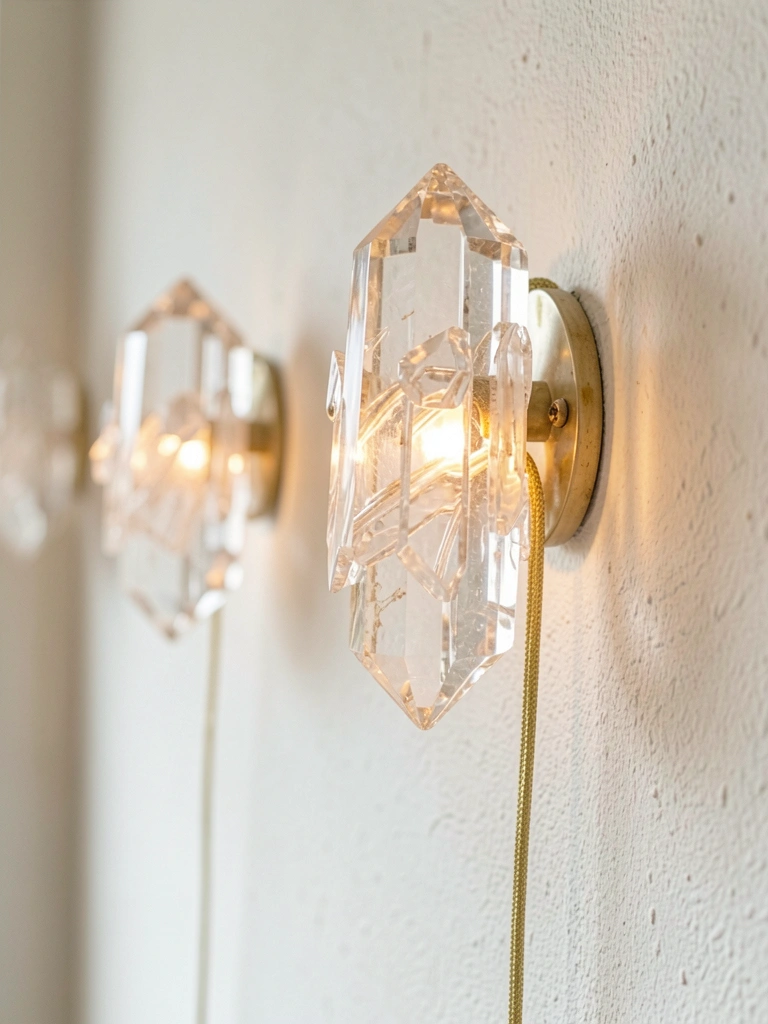
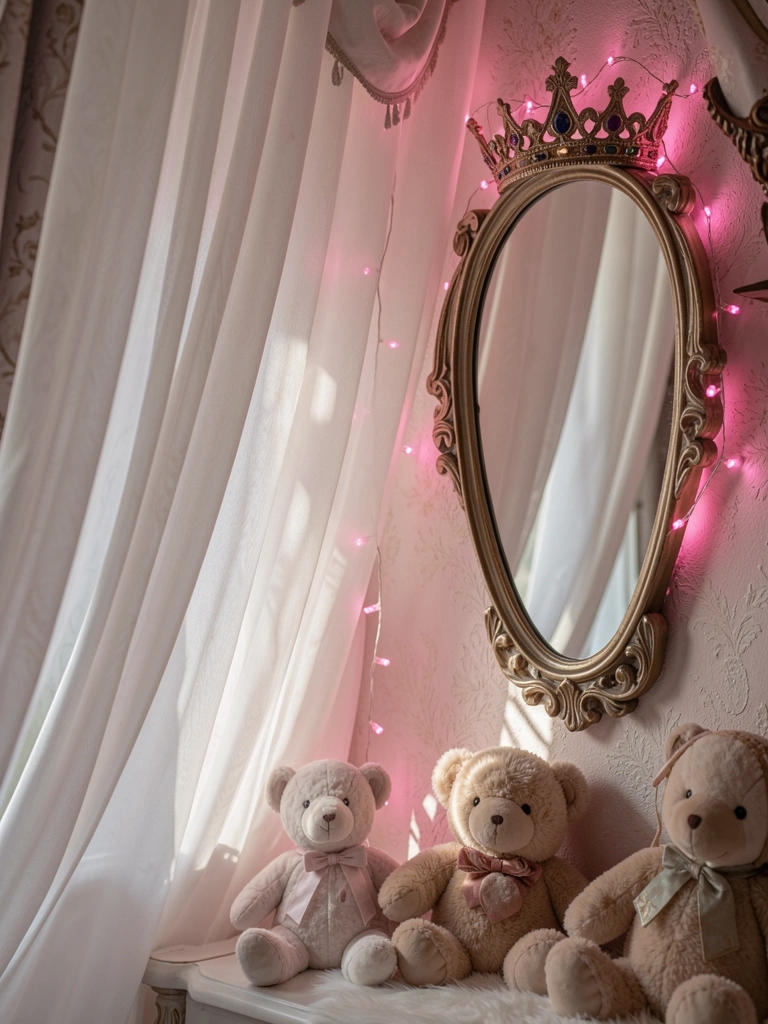
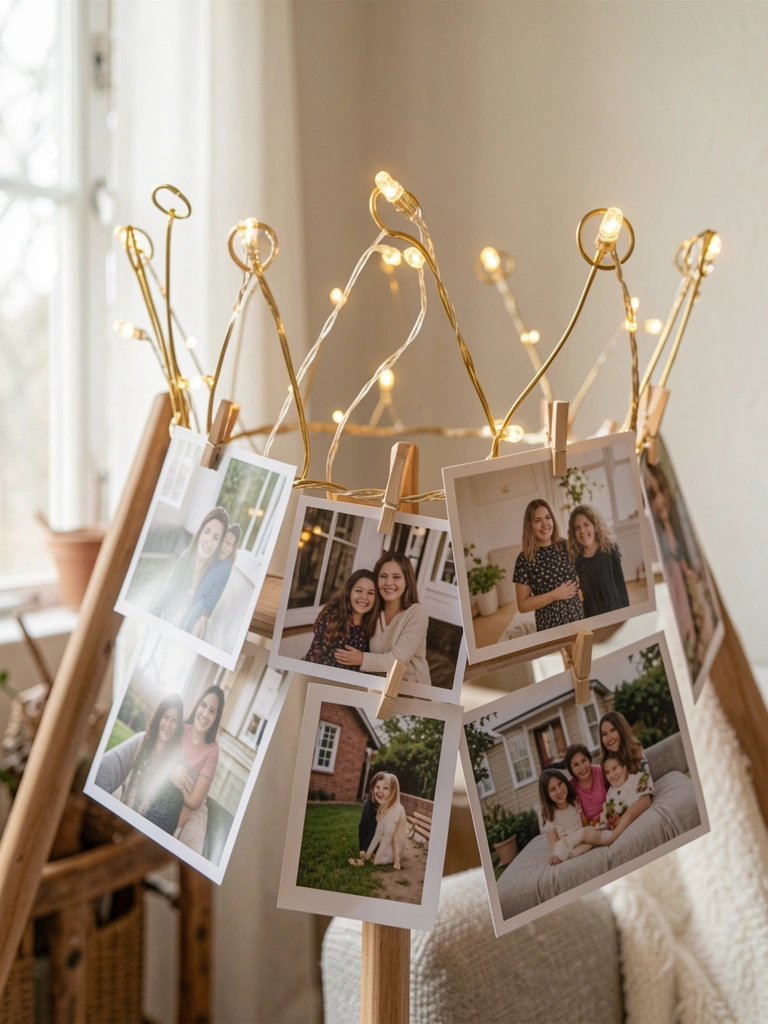
4. Fairy Light Strands with Subtle Princess Charms
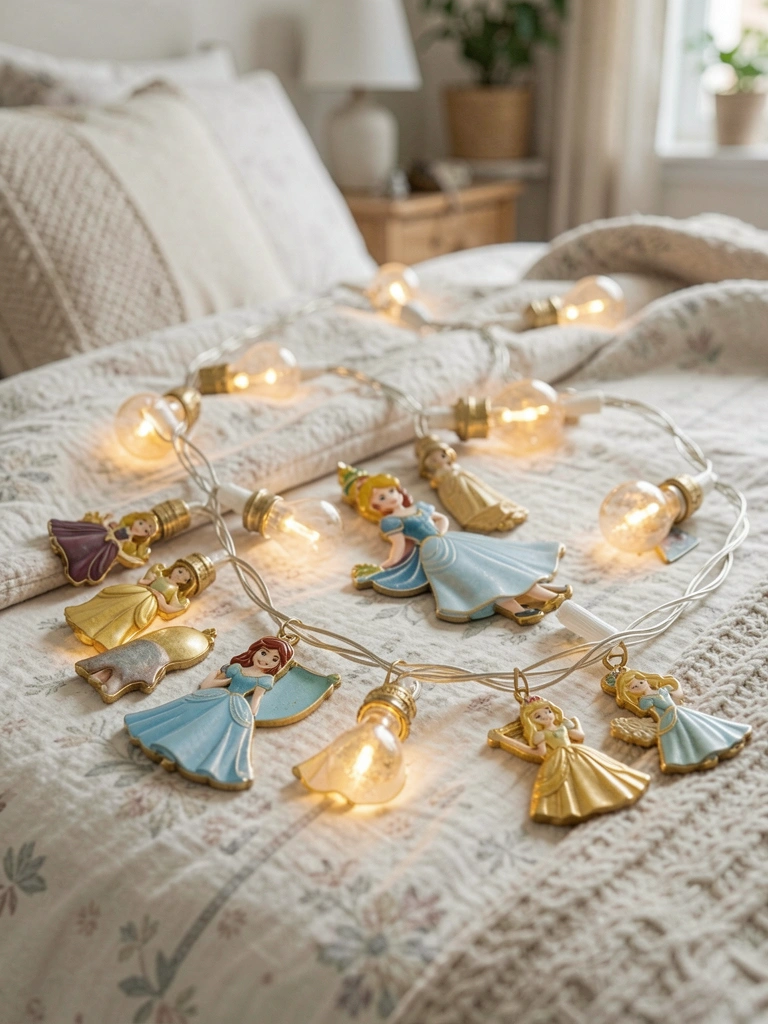
Strung lights loose first. Tangly mess. Now zigzagged board. Glows soft at night.
Room dims cozy, not carnival bright. She sleeps better.
LEDs stay cool—no burn risk. Battery ones hide easy.
Clip charms light—princess faces peek gentle.
What You’ll Need for This Look
- Warm white LED fairy lights with princess charms (10 ft)
- Battery operated string lights gold (20 ft)
- Wooden mounting board natural (12 inches)
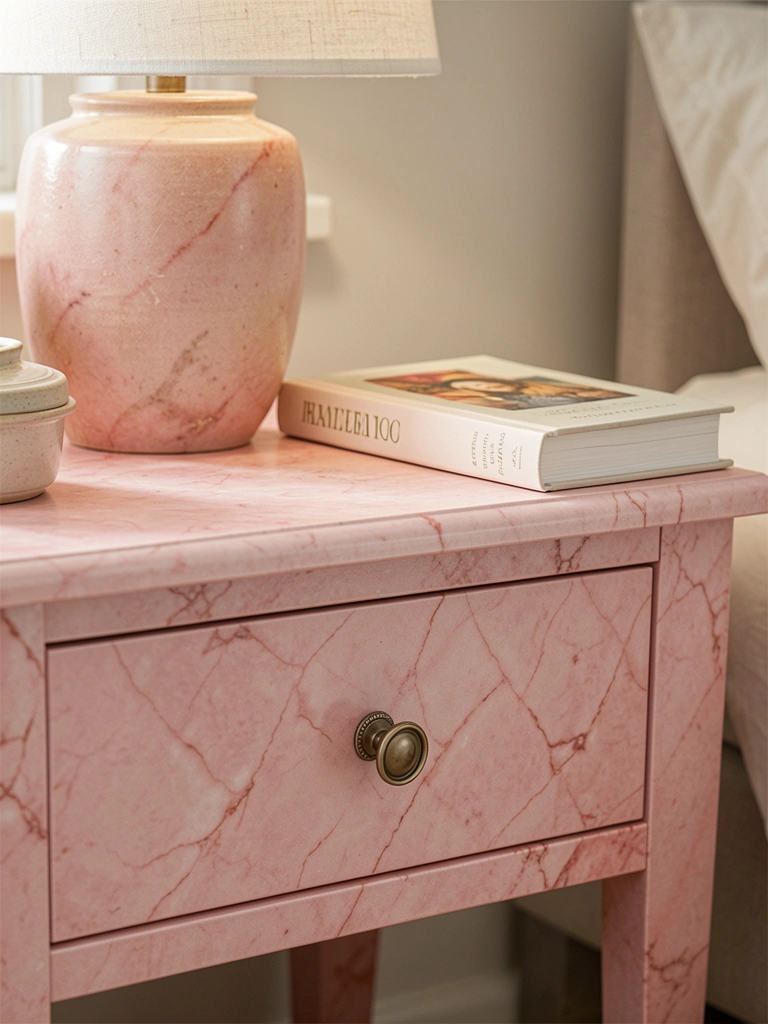
5. Wooden Princess Name Plaque Above the Dresser

Painted plaque too glossy. Sanded matte. Blends now, personal touch.
Drawer pulls smoother daily. Her name sparks pride.
Engrave simple—cursive tires eyes.
Hang centered, eye level for her.
What You’ll Need for This Look
- Personalized wooden Disney princess name plaque (12×6 inches)
- Matte acrylic paint set pastels (4 oz)
- Brass hanging hardware kit
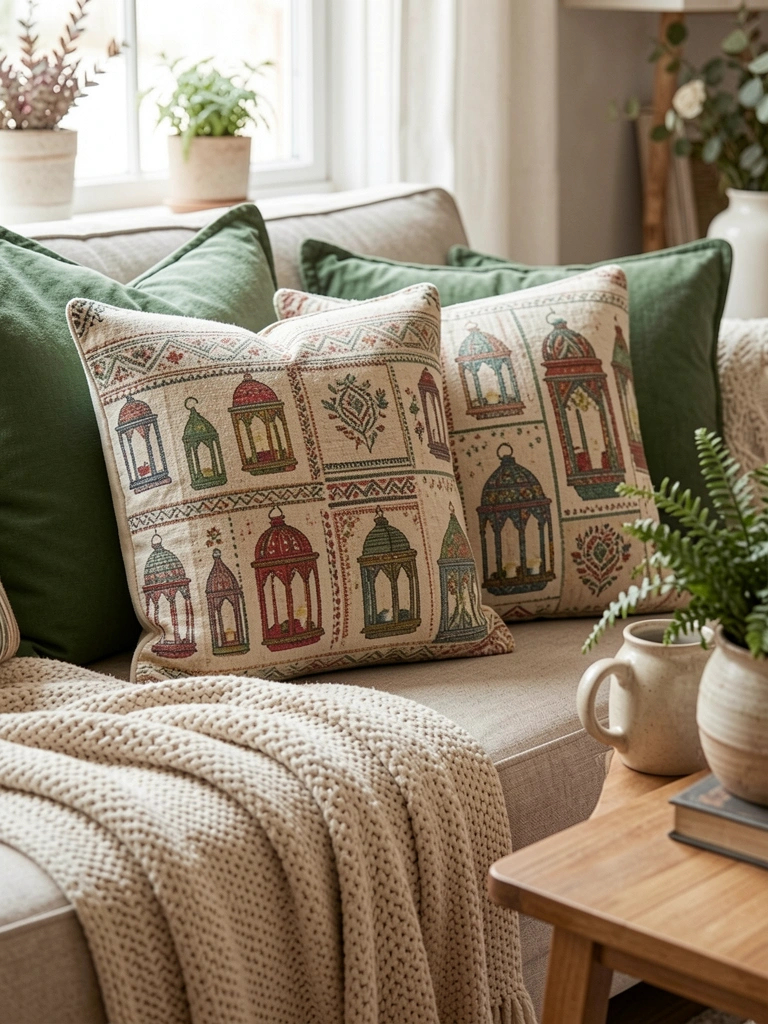
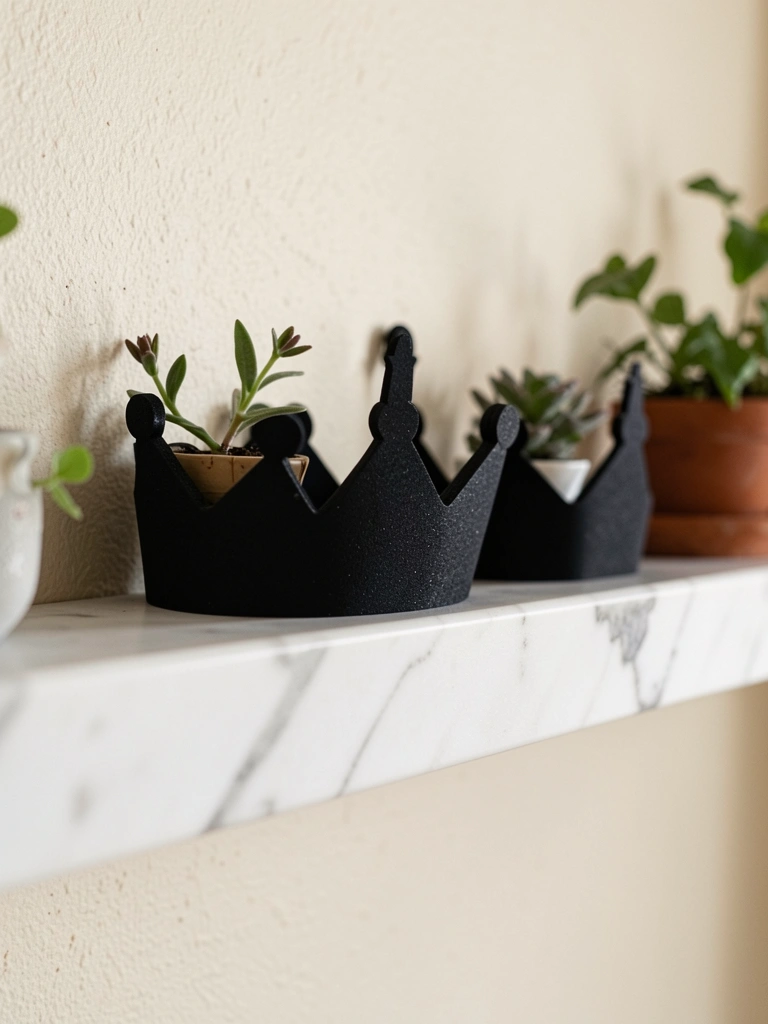
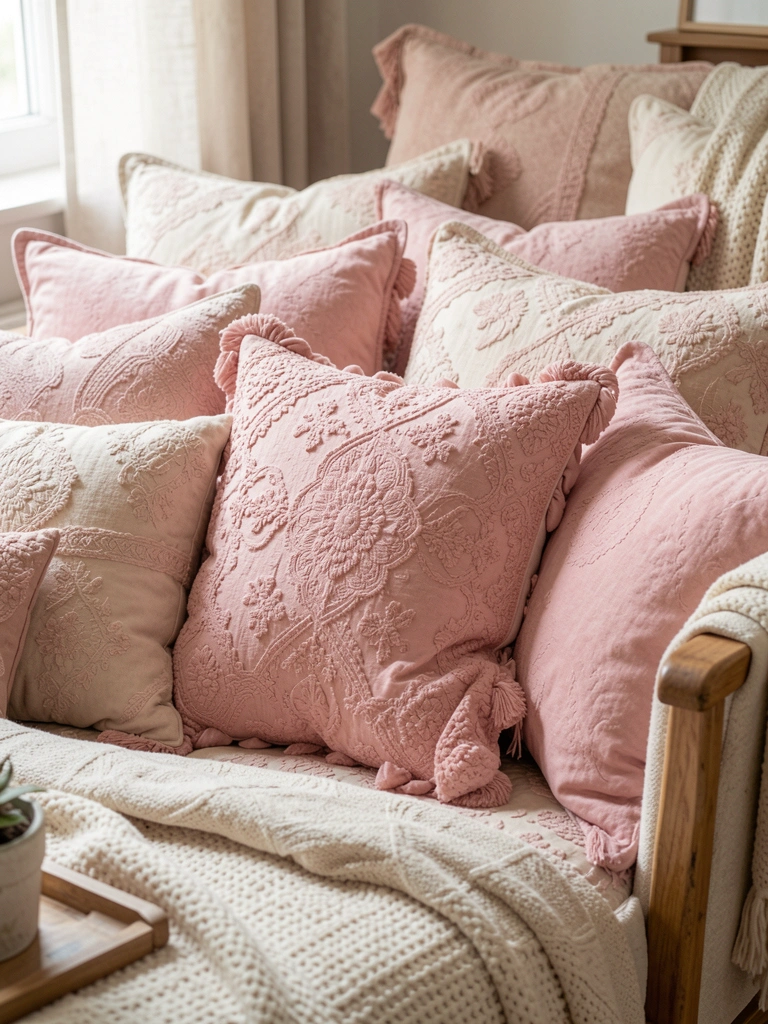
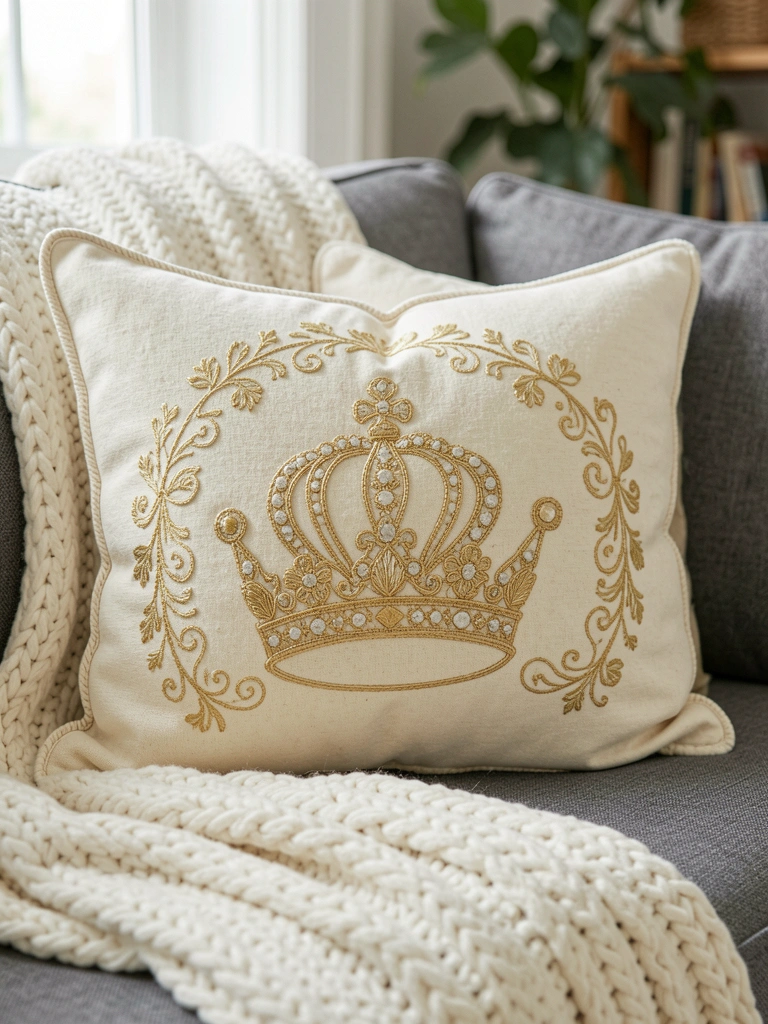
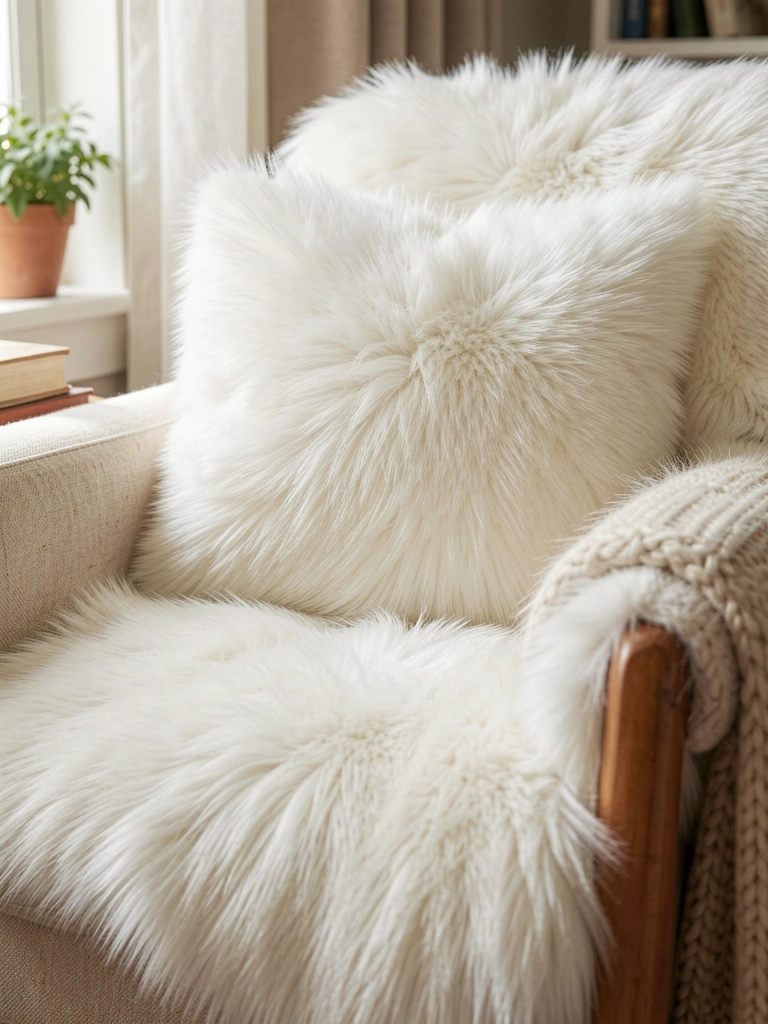
6. Plush Princess Crown Pillows on the Floor

Piled crowns messy. Fluffed one per spot. Reading nook born.
Floor play warmer, back support too.
Velvet sheds less than polyester. Mistake: cheap ones flattened week one.
Spot clean only—keeps shape.
What You’ll Need for This Look
- Disney princess plush crown pillows set (Ariel 16 inches)
- Velvet floor pillow lavender (18 inches)
- Non-slip rug pad squares
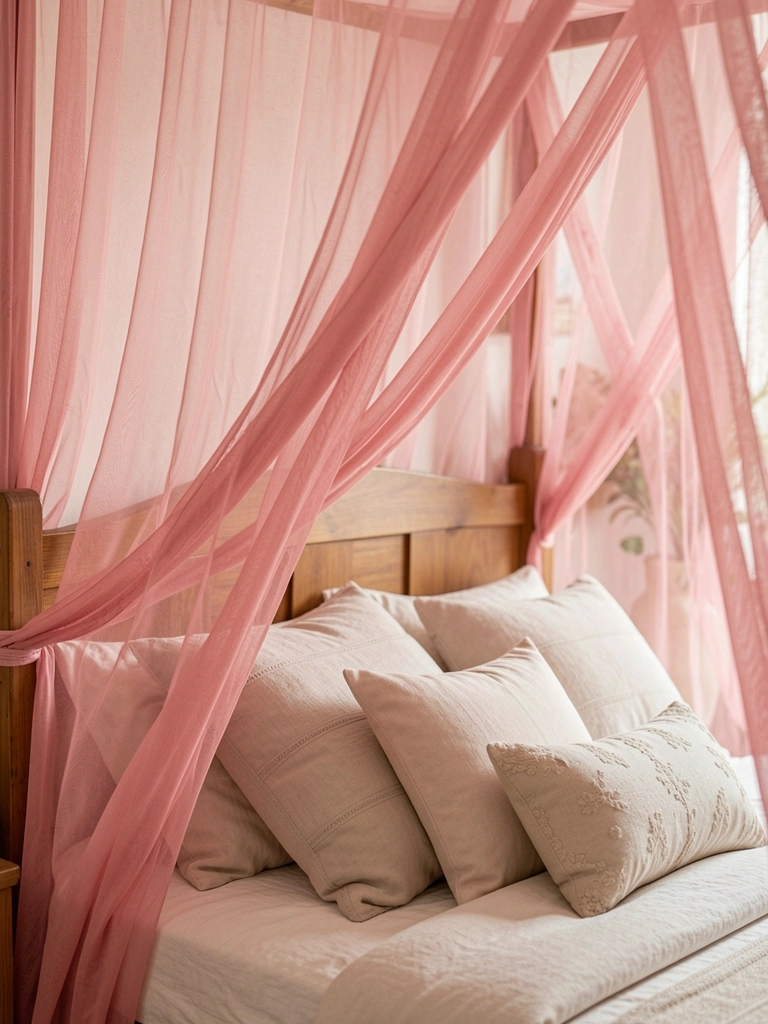
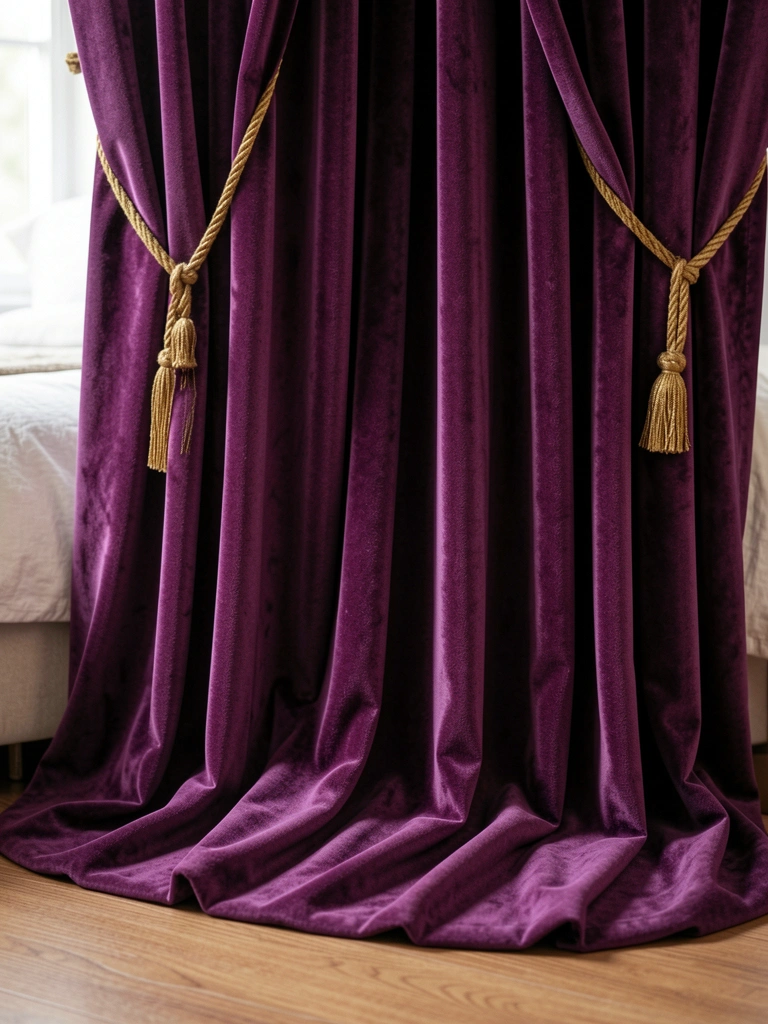
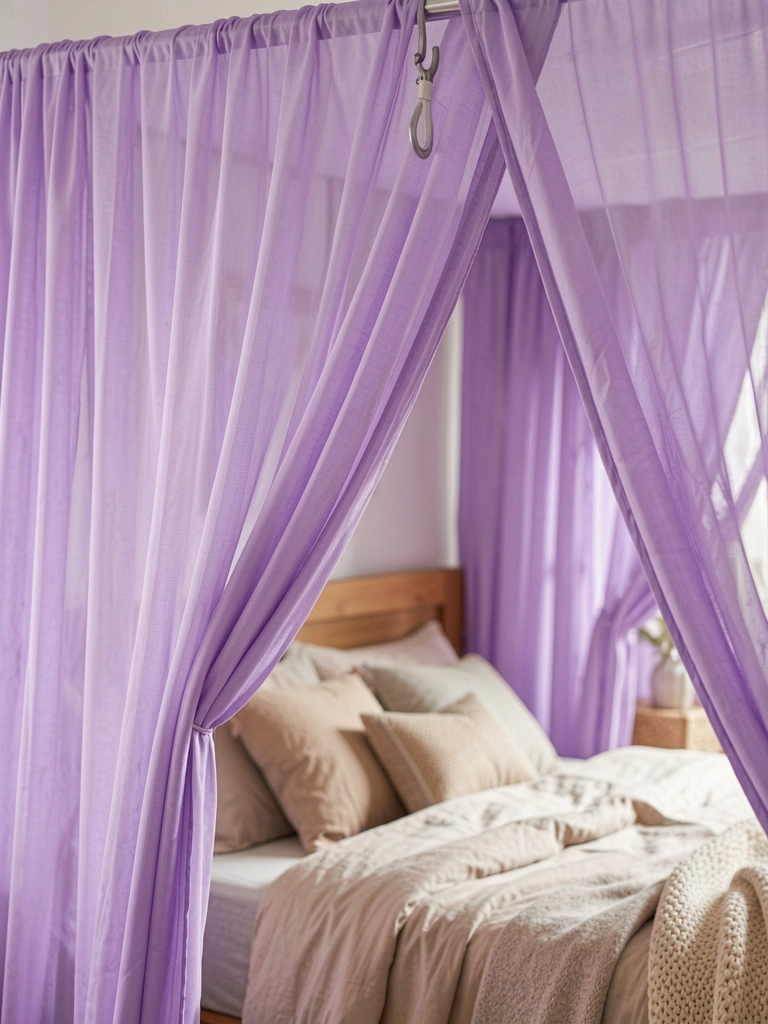
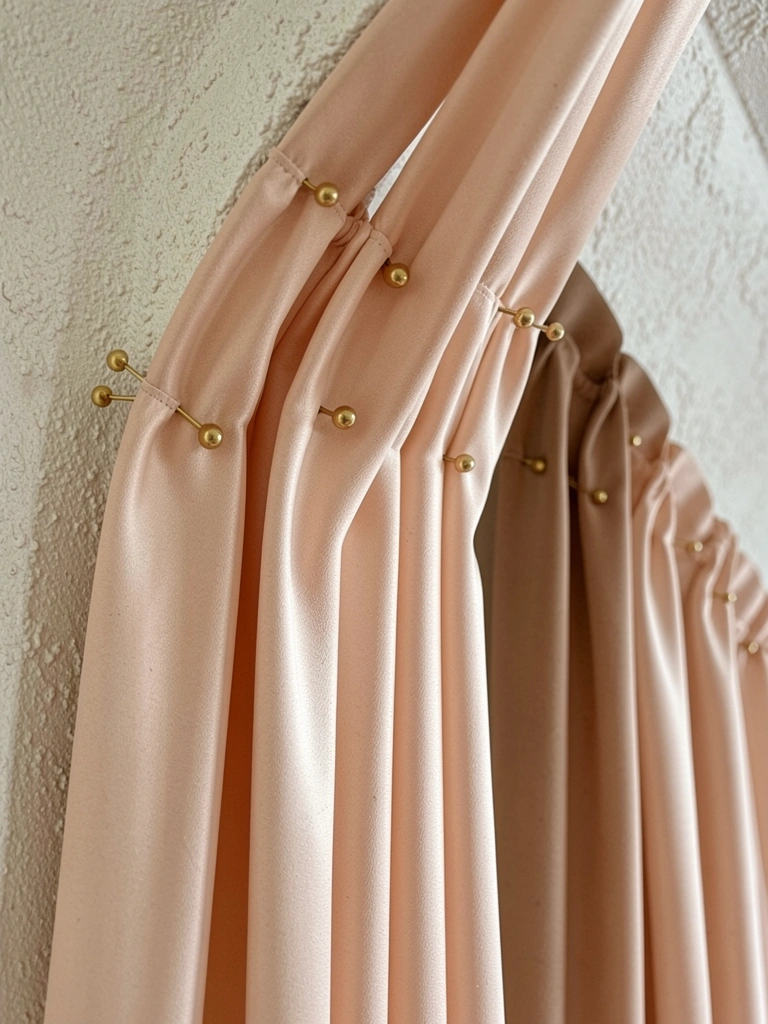
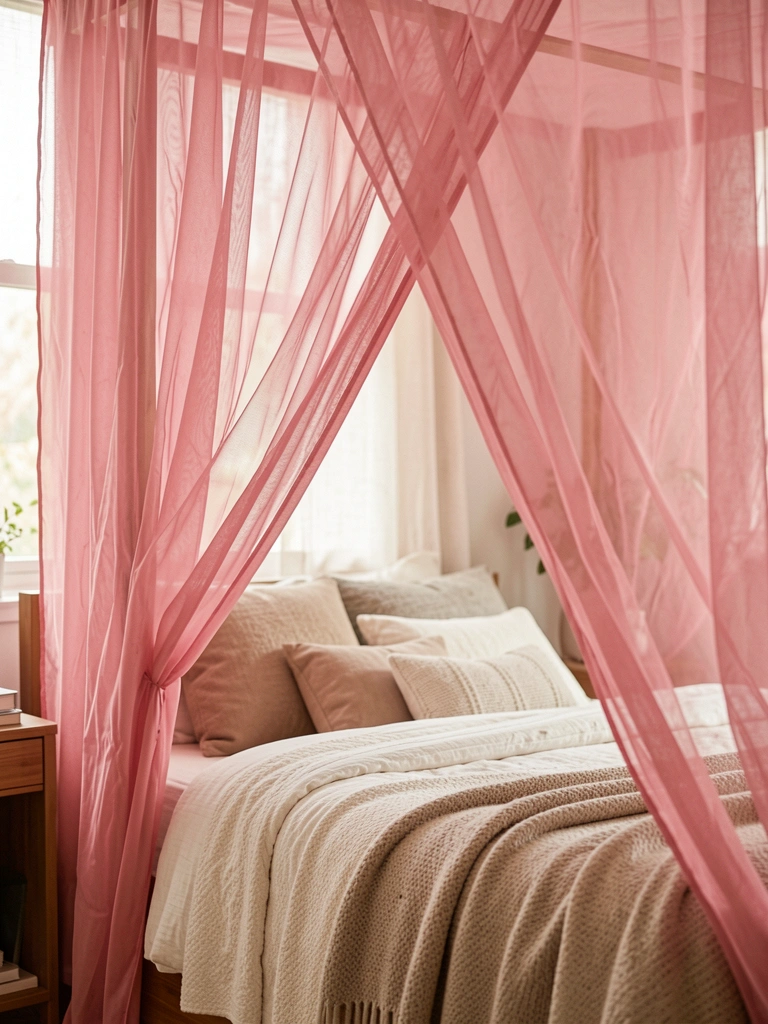
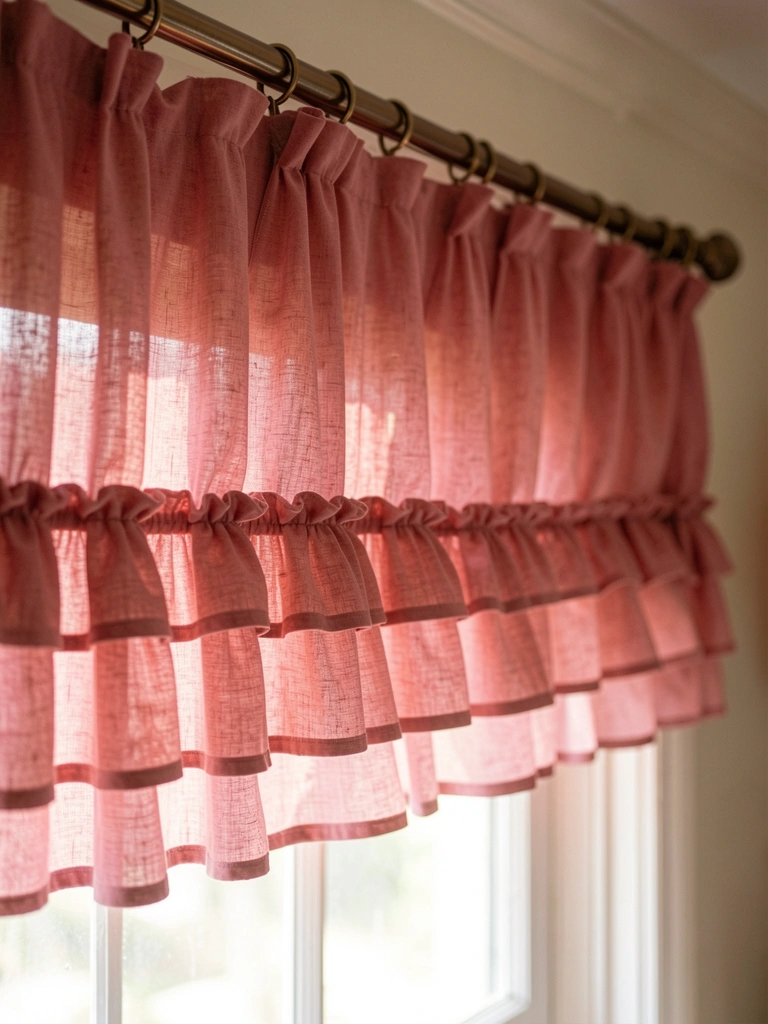
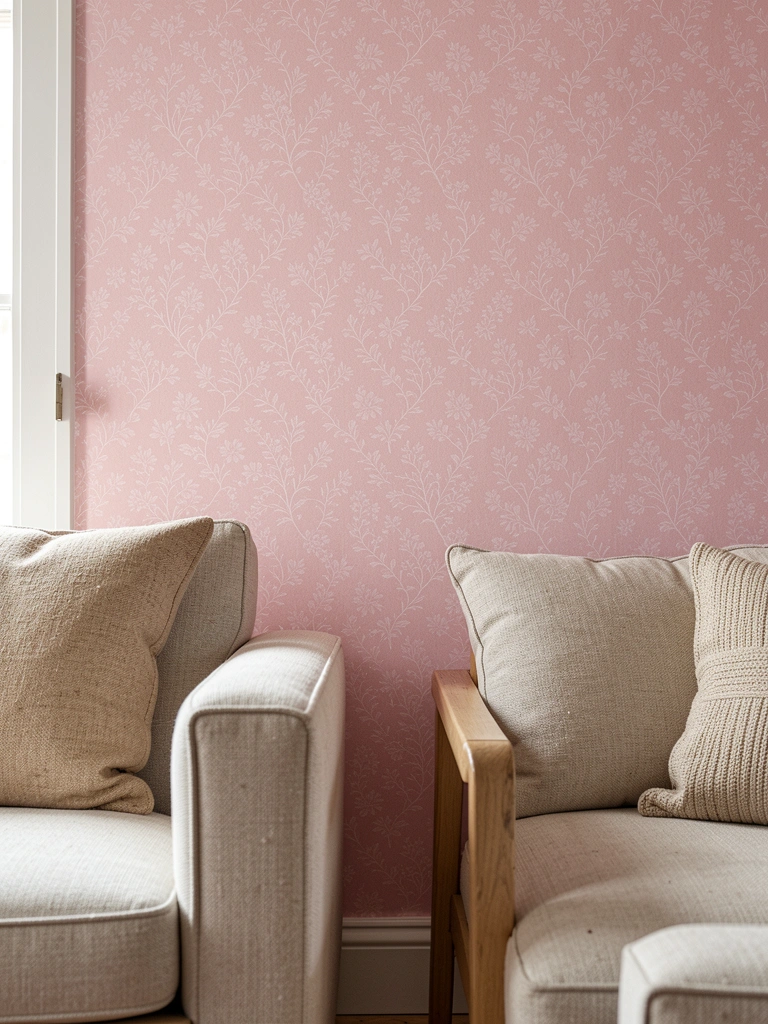
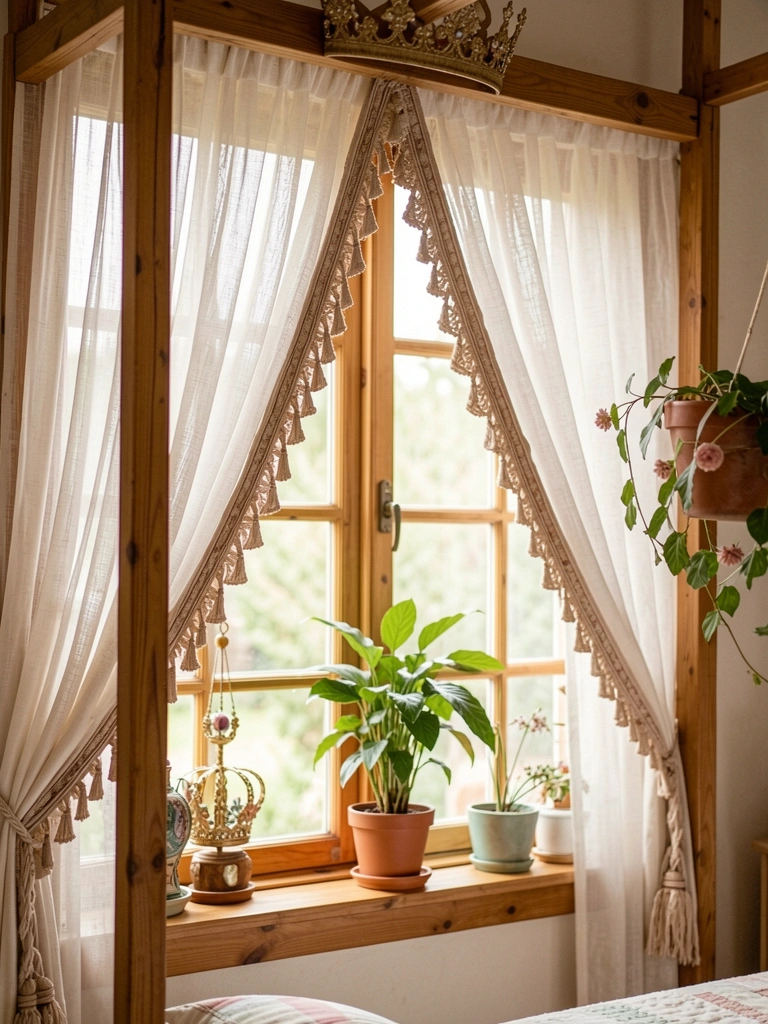
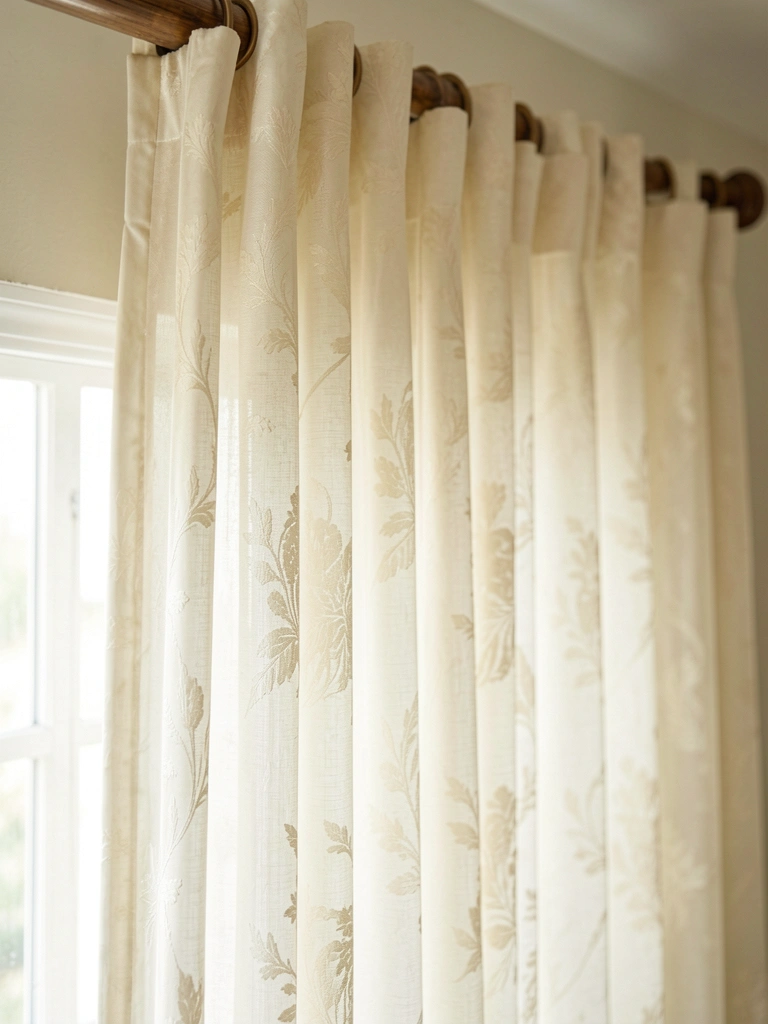
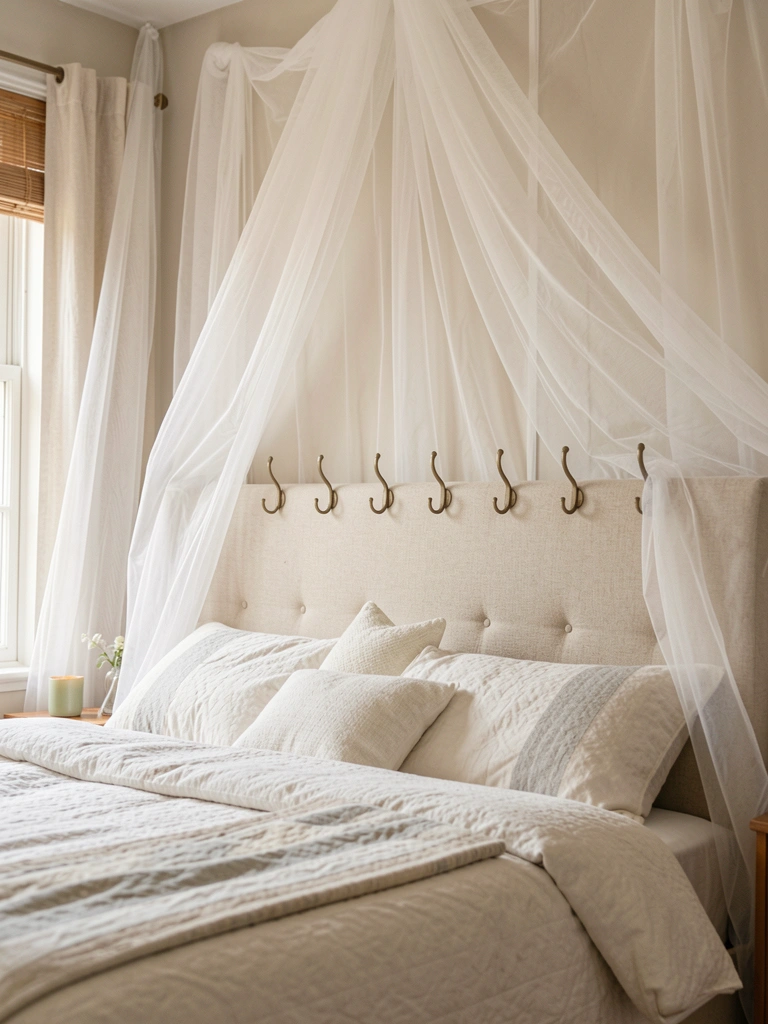
7. Subtle Princess Pattern Sheer Curtains
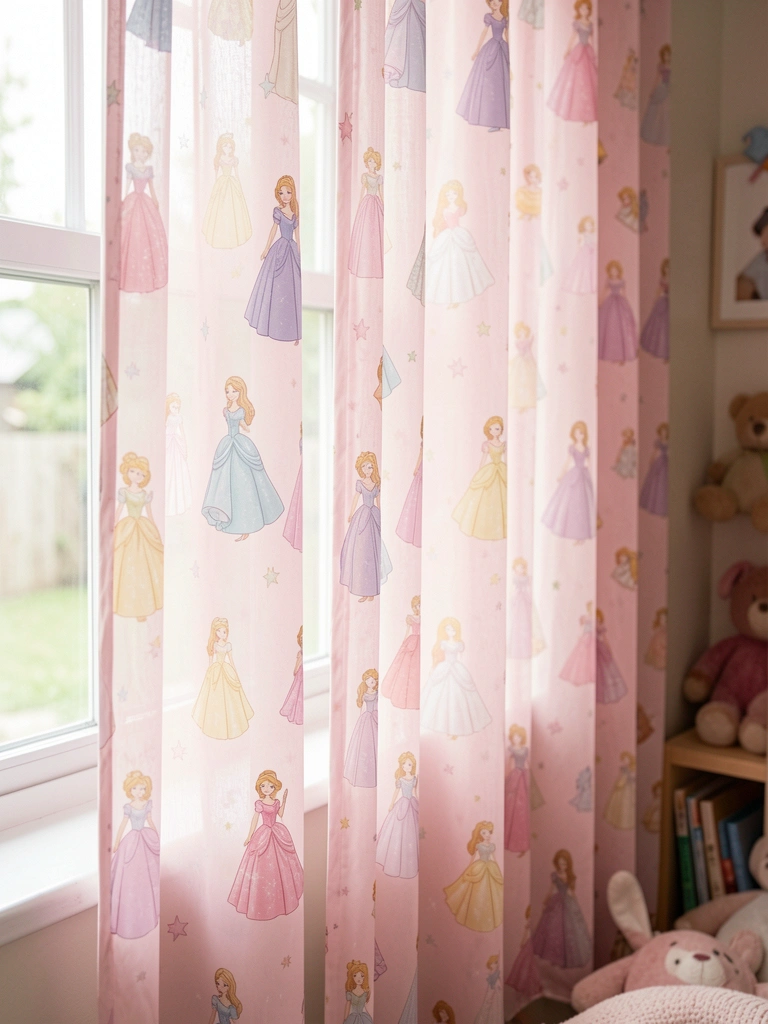
Heavy drapes blocked light. Switched sheer. Room brighter, princess hints glow.
Privacy holds, dust filters out.
Rod inside frame—hangs straight.
Iron damp—wrinkles gone.
What You’ll Need for This Look
- Disney princess sheer curtains pink twin panel (84 inches)
- Light filtering rod white (28-48 inches)
- Tension rod brackets gold
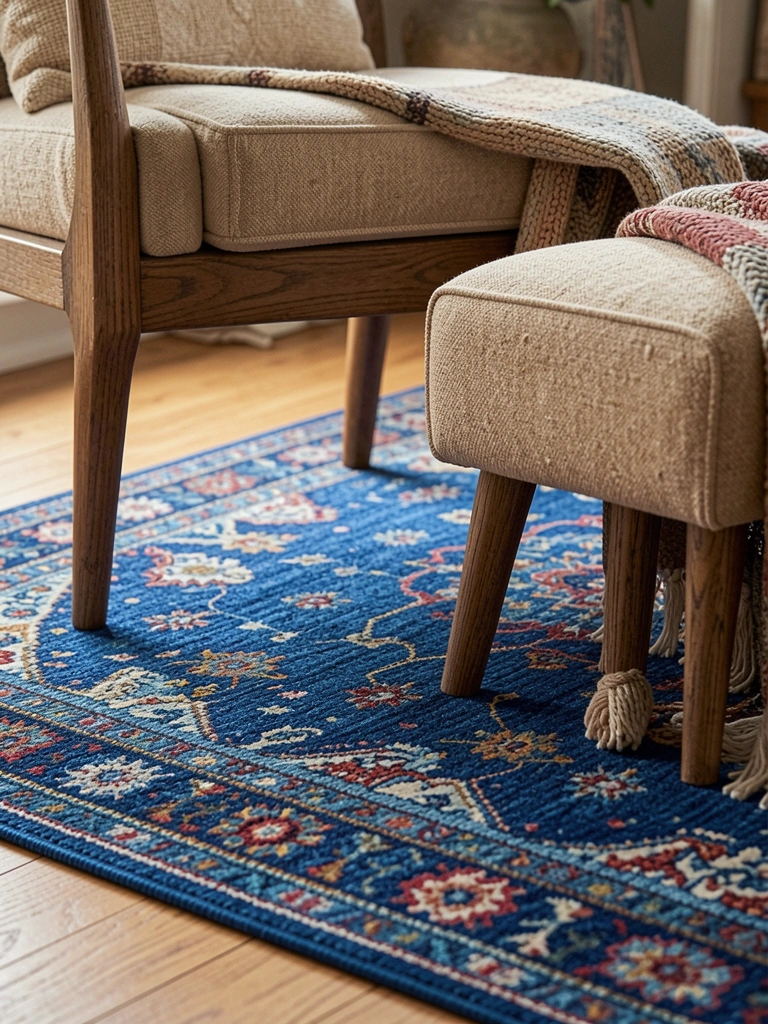
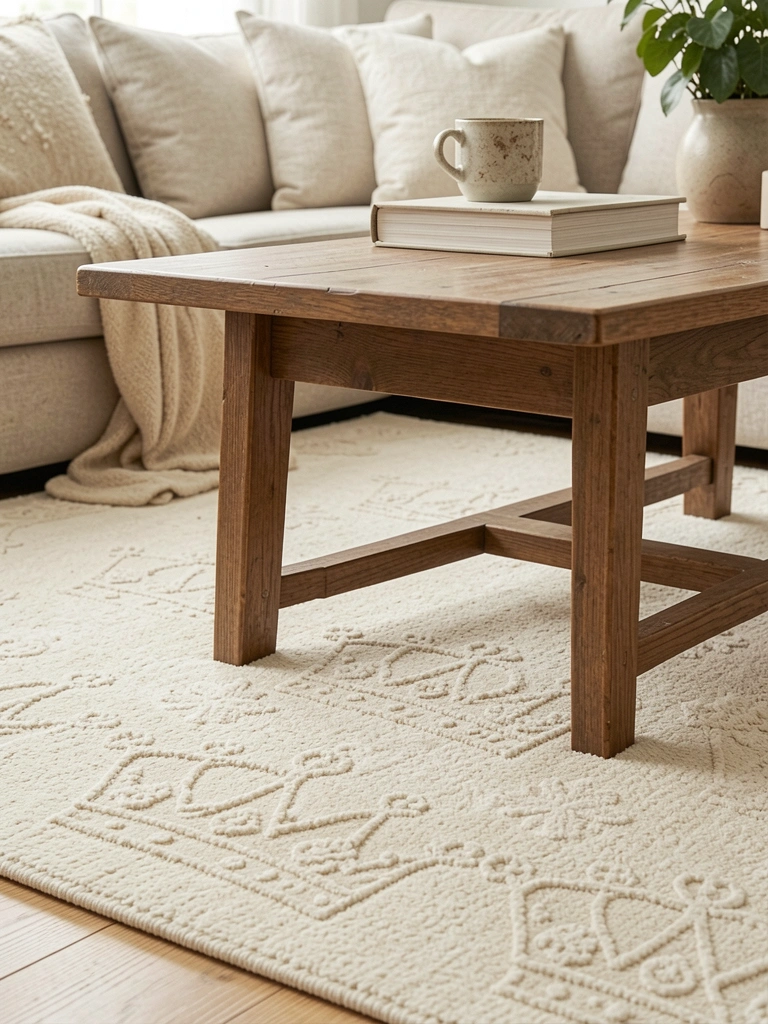
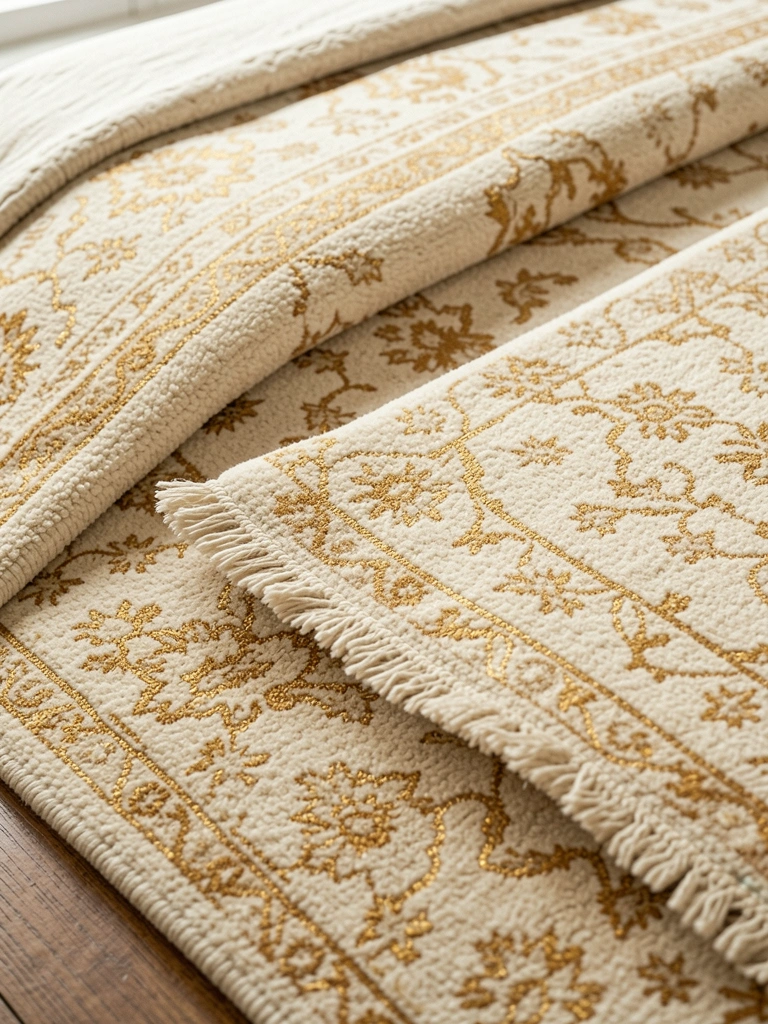
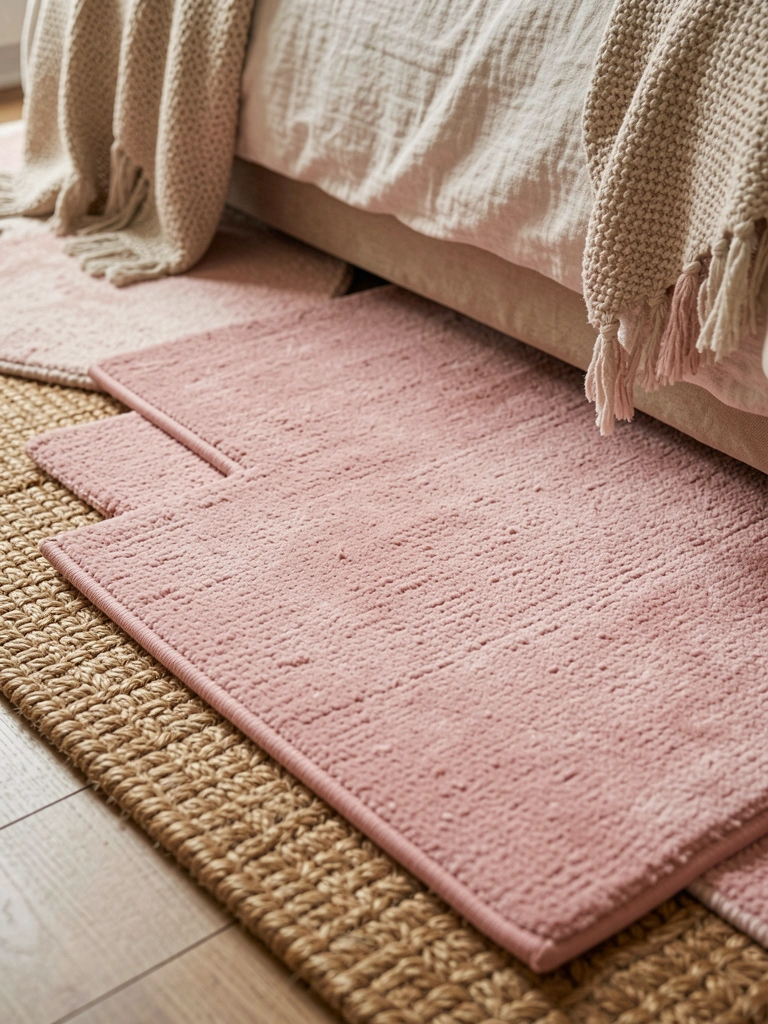
8. Soft Castle Rug in Warm Neutrals
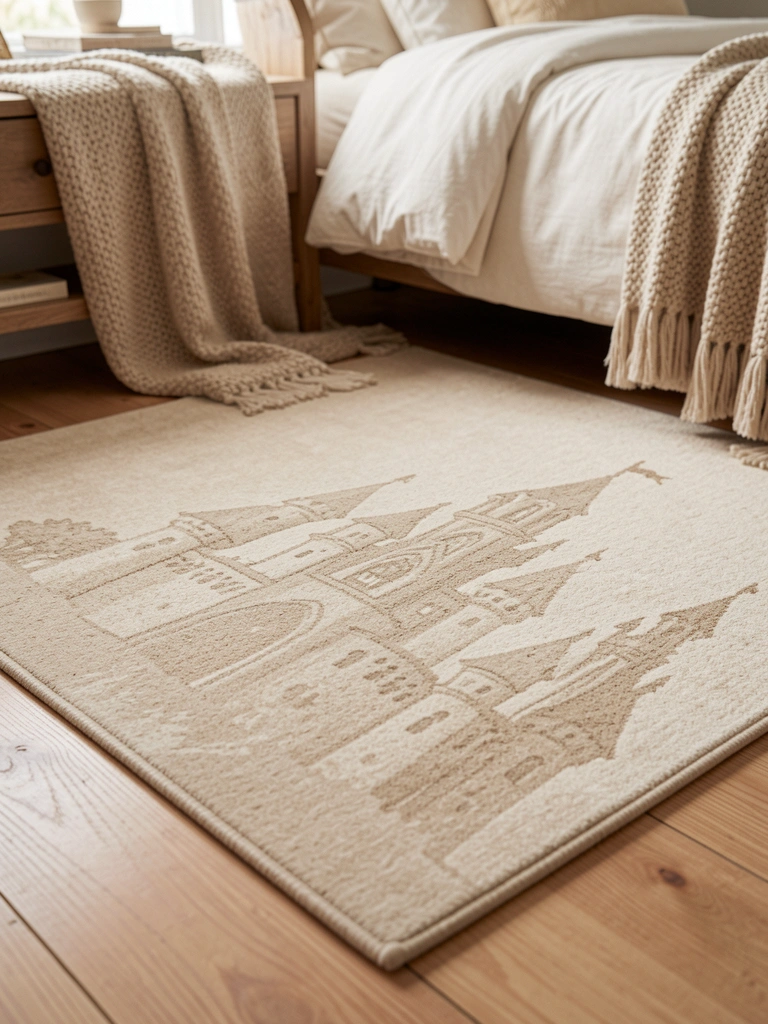
Rug too big, tripped edges. Sized right now. Anchors bed soft.
Feet sink in mornings. Cleans vacuum only.
Low pile—no toy traps.
Under bed extends visual space.
What You’ll Need for This Look
- Disney princess castle area rug beige (5×7 ft)
- Low pile rug pad neutral (5×7 ft)
- Wool blend rug cleaner spray
9. Princess Scene Night Light Projector

Bright projector blinded. Dimmed model. Stars and castles dance gentle.
Dark fears gone. Timer auto-off.
Plug low, cord hides behind.
Rotate scenes weekly—fresh.
What You’ll Need for This Look
- Disney princess night light projector (Ariel Belle scenes)
- Timer plug adapter white
- Cord cover channel beige (6 ft)
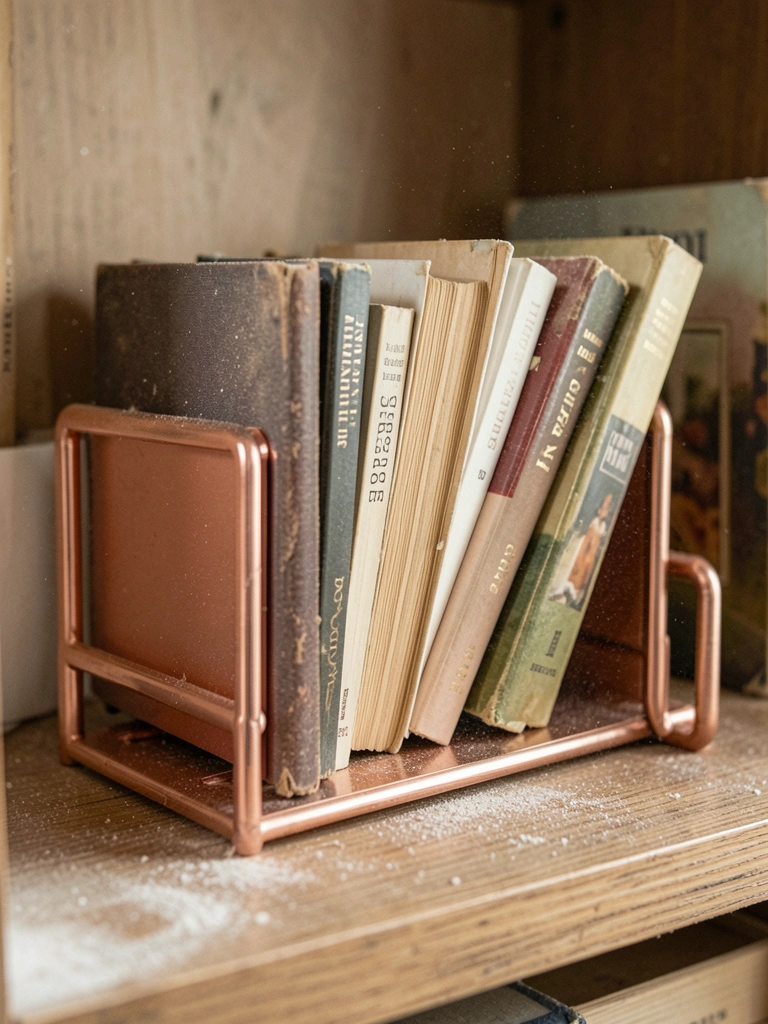
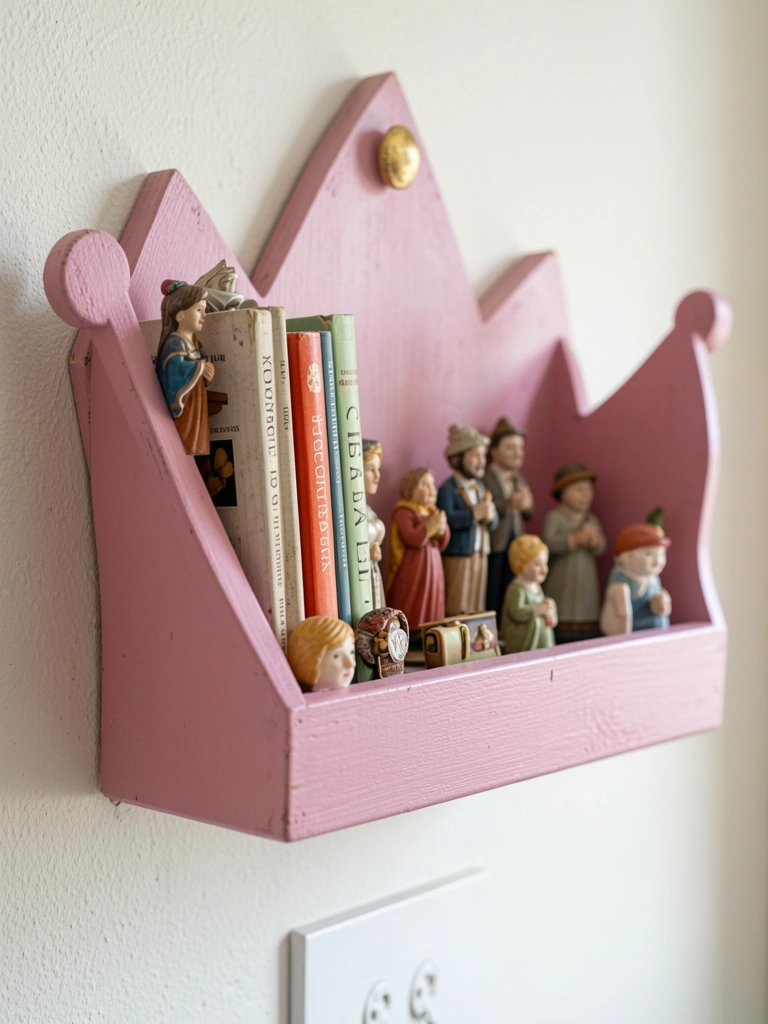
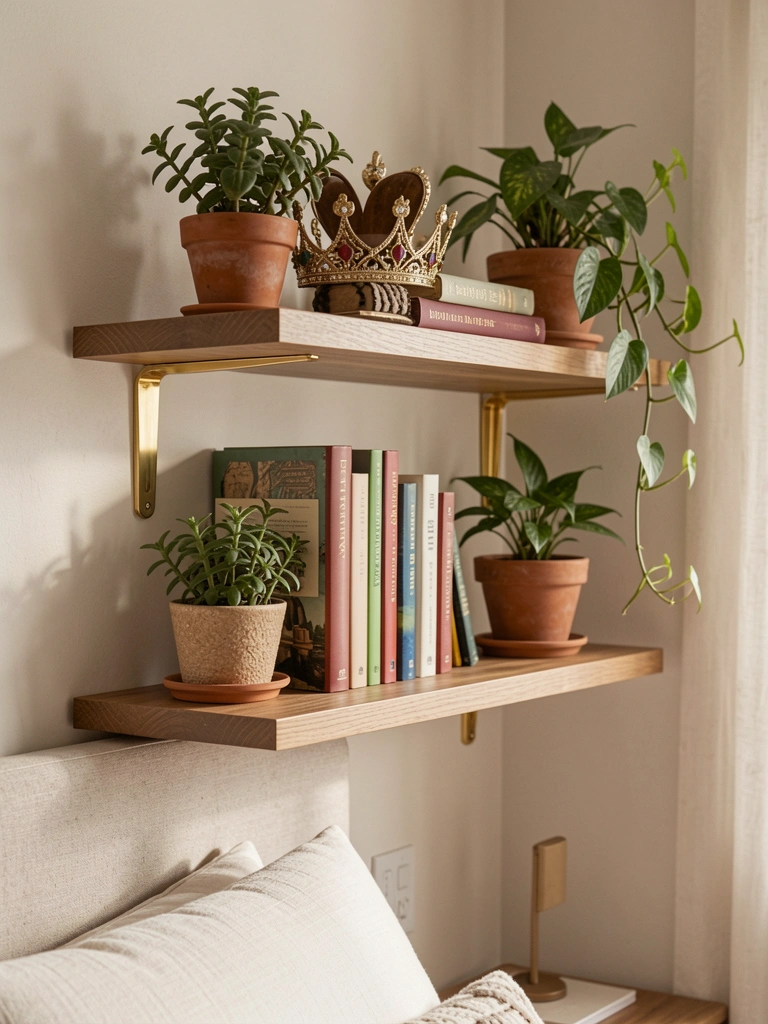
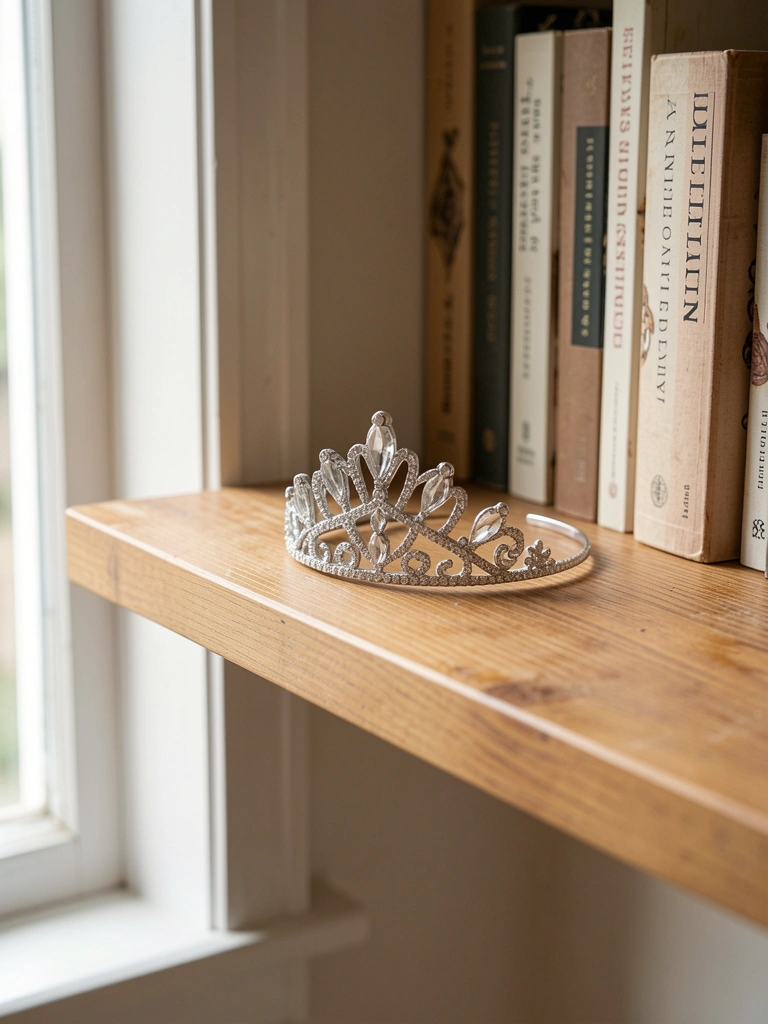
10. Styled Princess Book Shelf with Baskets

Books piled wild. Added baskets. Neat, grab-easy.
Stories feel special. Less floor clutter.
Face out favorites—spine up others.
Dust weekly, linen spray.
What You’ll Need for This Look
- Disney princess chapter books set (8-pack)
- Woven seagrass baskets white (3-pack medium)
- Floating wood shelves natural (24 inches)
11. Fabric-Covered Princess Figurine Shelves

Shiny figures clashed. Fabric wrapped soft. Now art pieces.
Shelf play safe. No sharp edges.
Rotate seasonally—keeps interest.
What You’ll Need for This Look
- Disney princess fabric figurines soft (Belle set)
- Linen fabric scraps pastel (1 yard)
- Keyhole wall shelves wood (3-pack 8 inches)
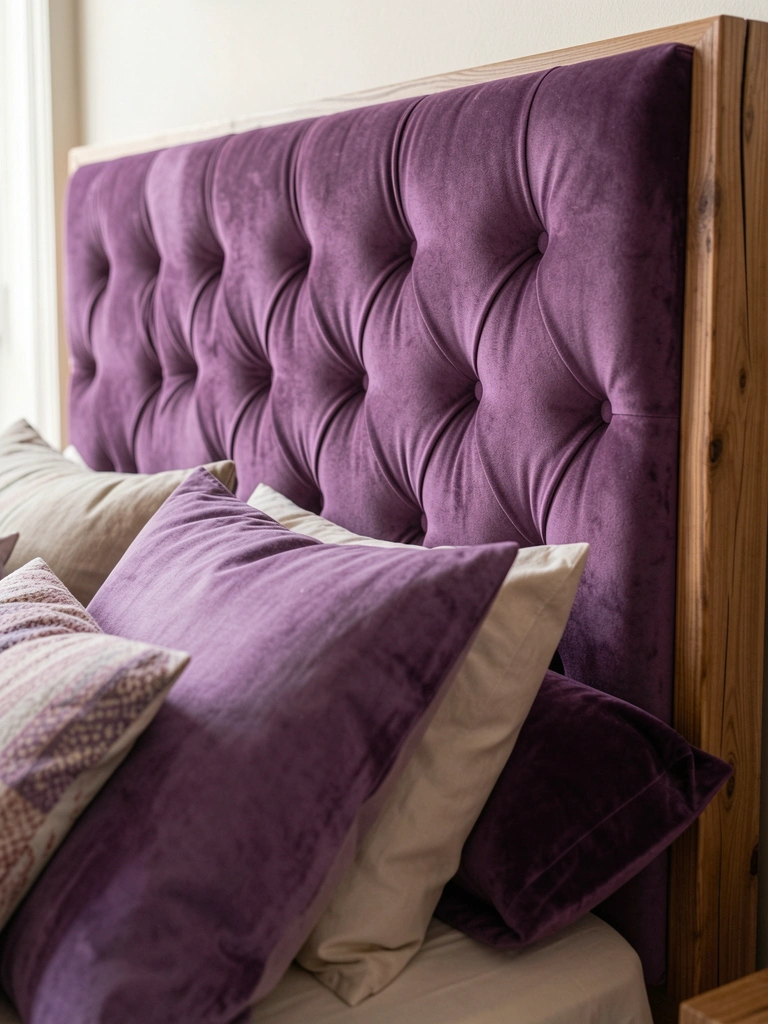
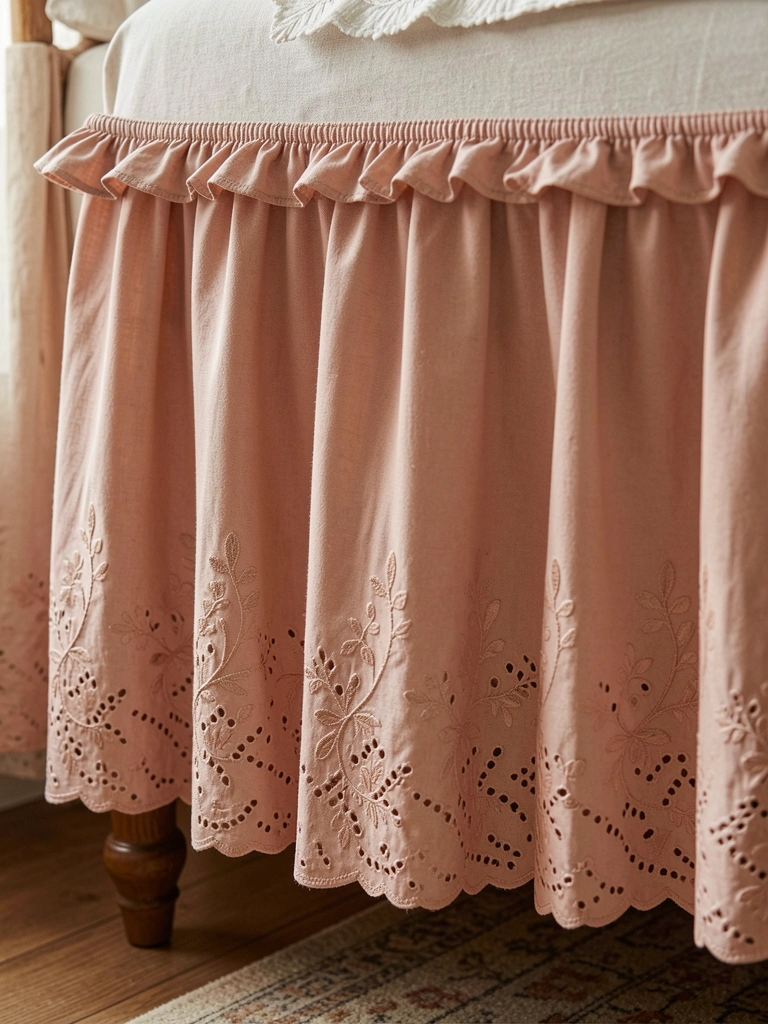
12. Applique Princess Headboard Fabric
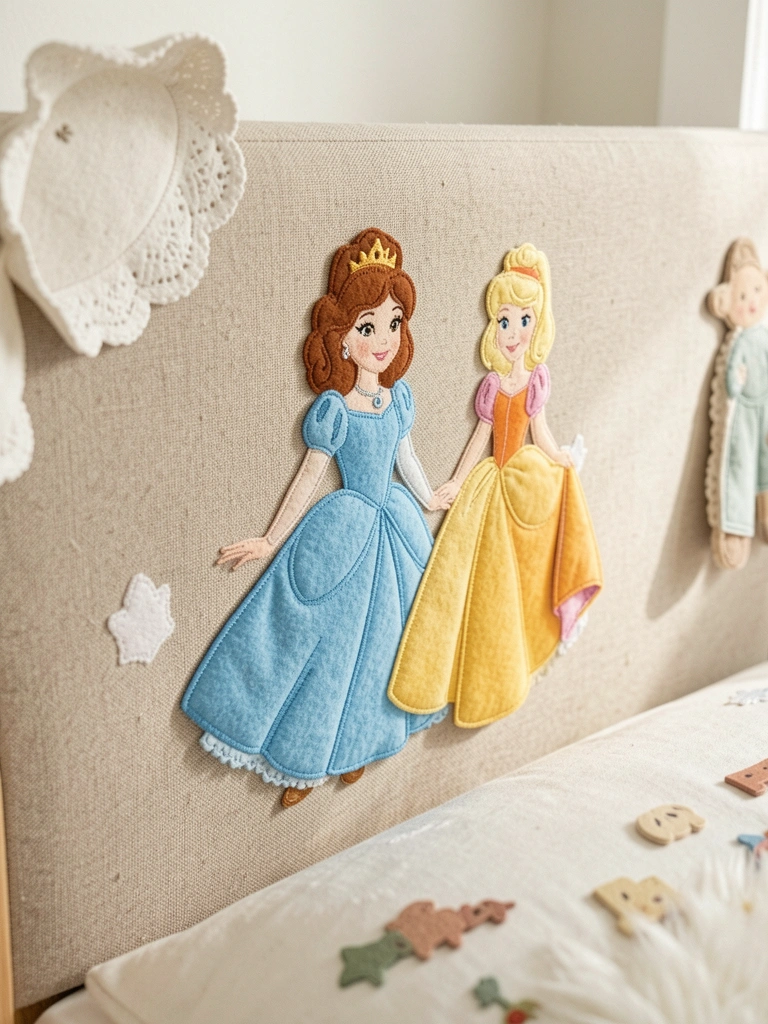
Iron-ons peeled fast. Sewn now. Stays through washes.
Bed focal soft. Lean-back comfy.
Pillow behind hides board.
What You’ll Need for This Look
- Disney princess cotton appliques iron-on (Cinderella 6-pack)
- Upholstery fabric beige headboard (2 yards)
- Heavy-duty staple gun kit
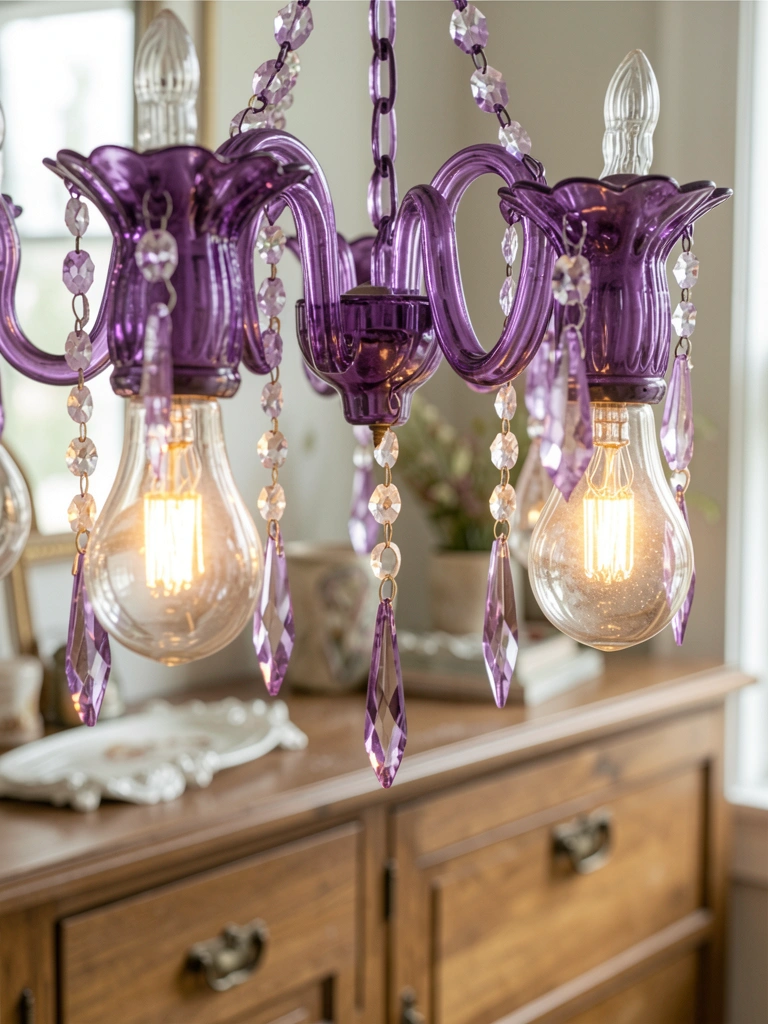
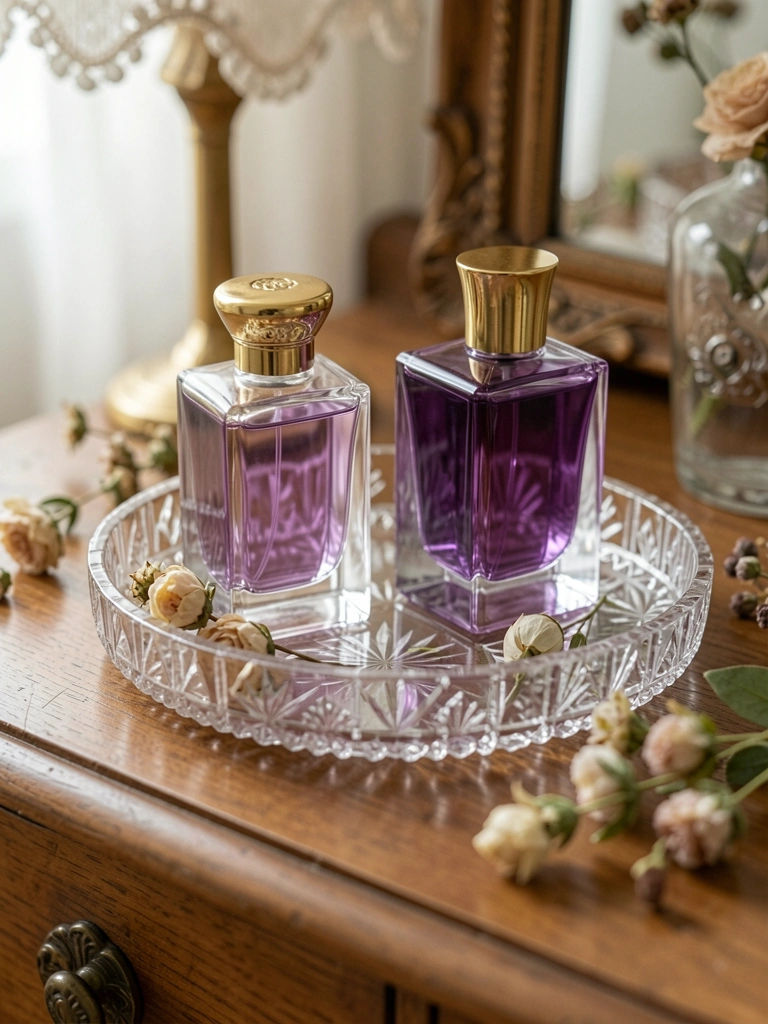
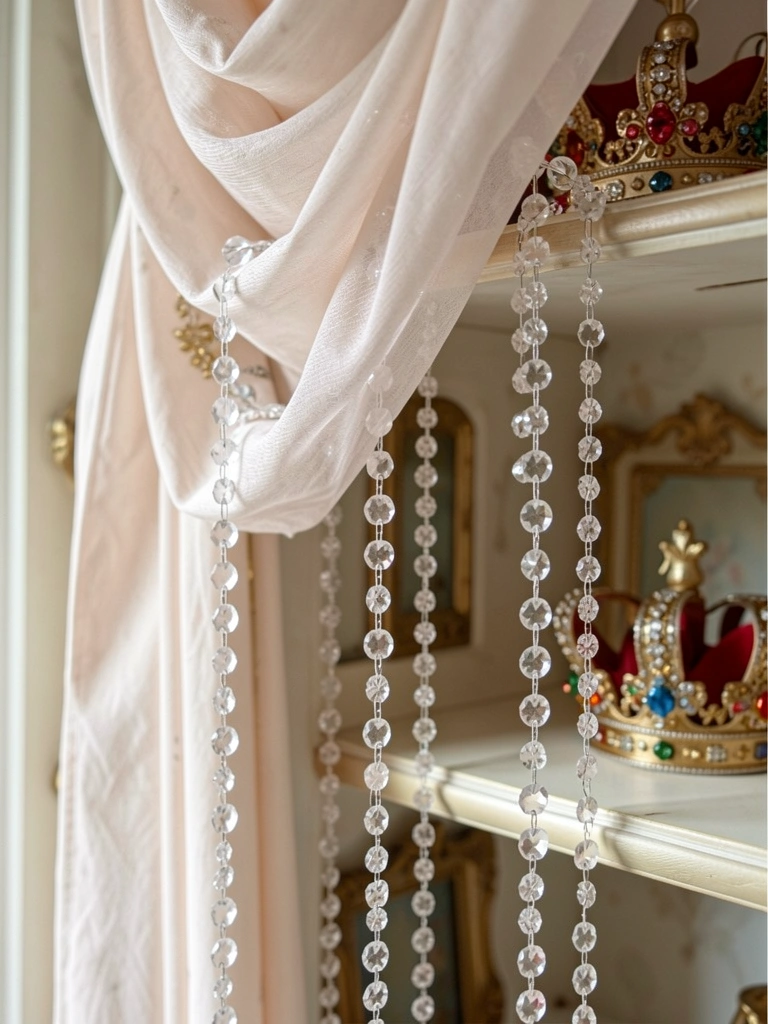
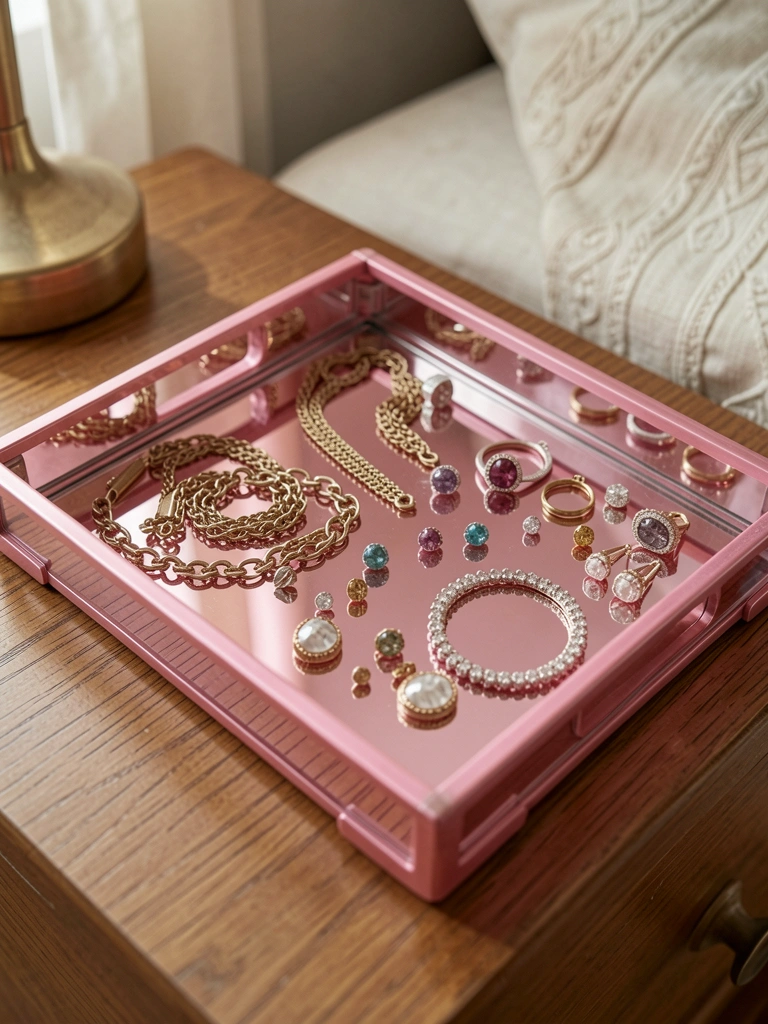
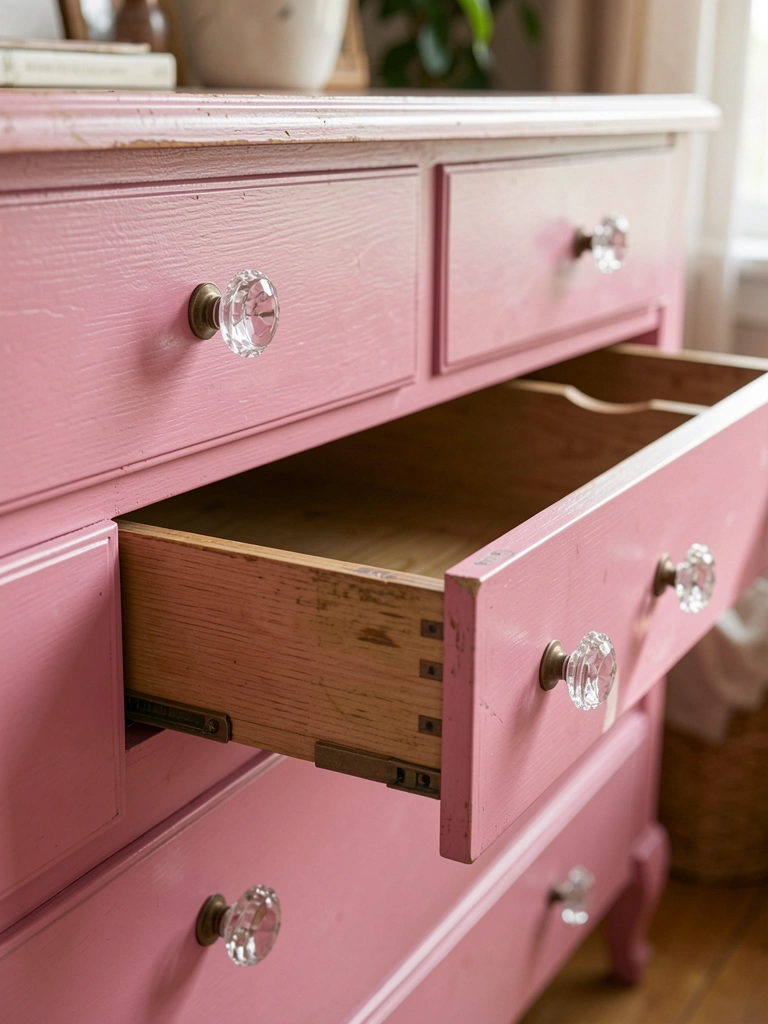
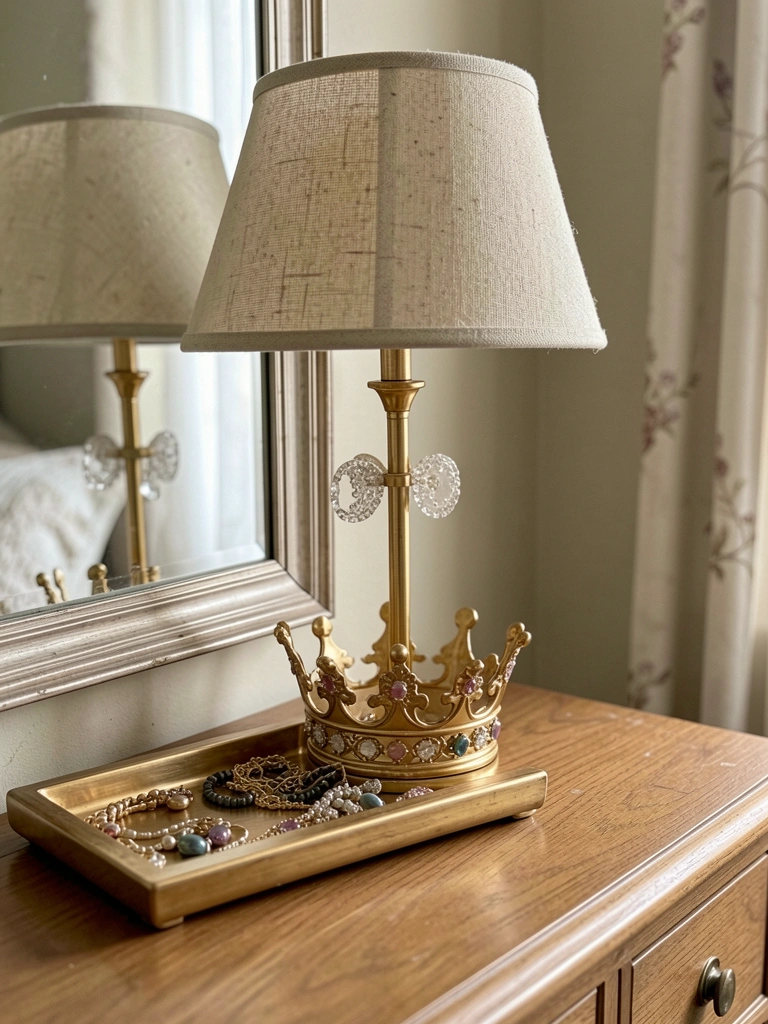
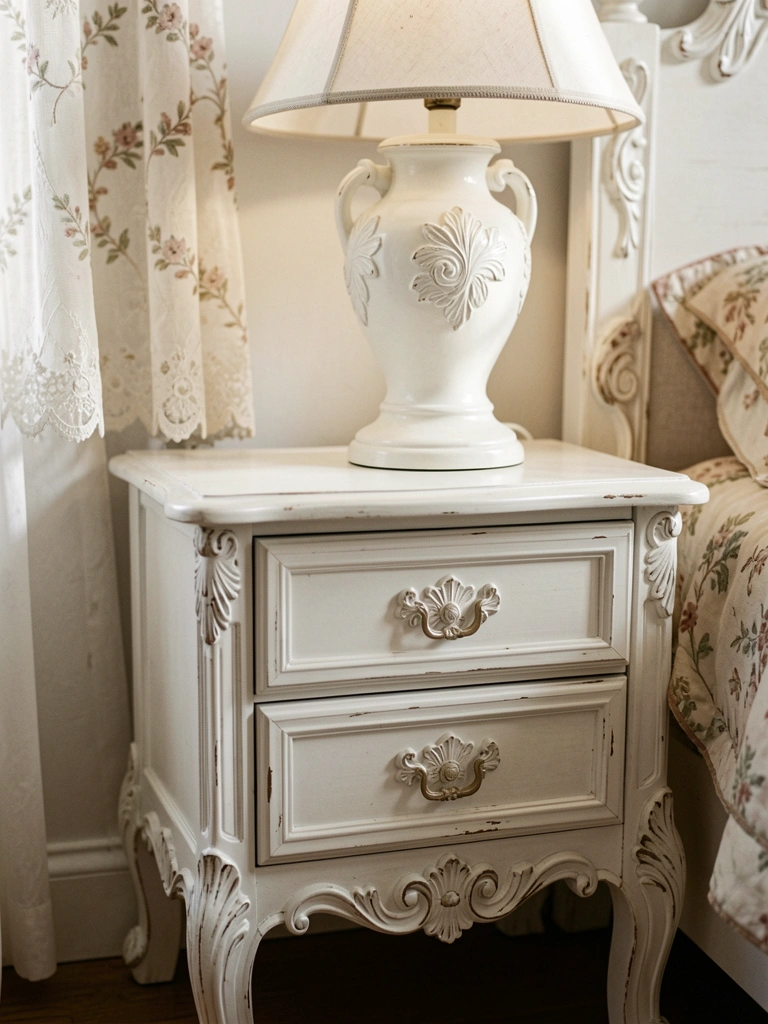
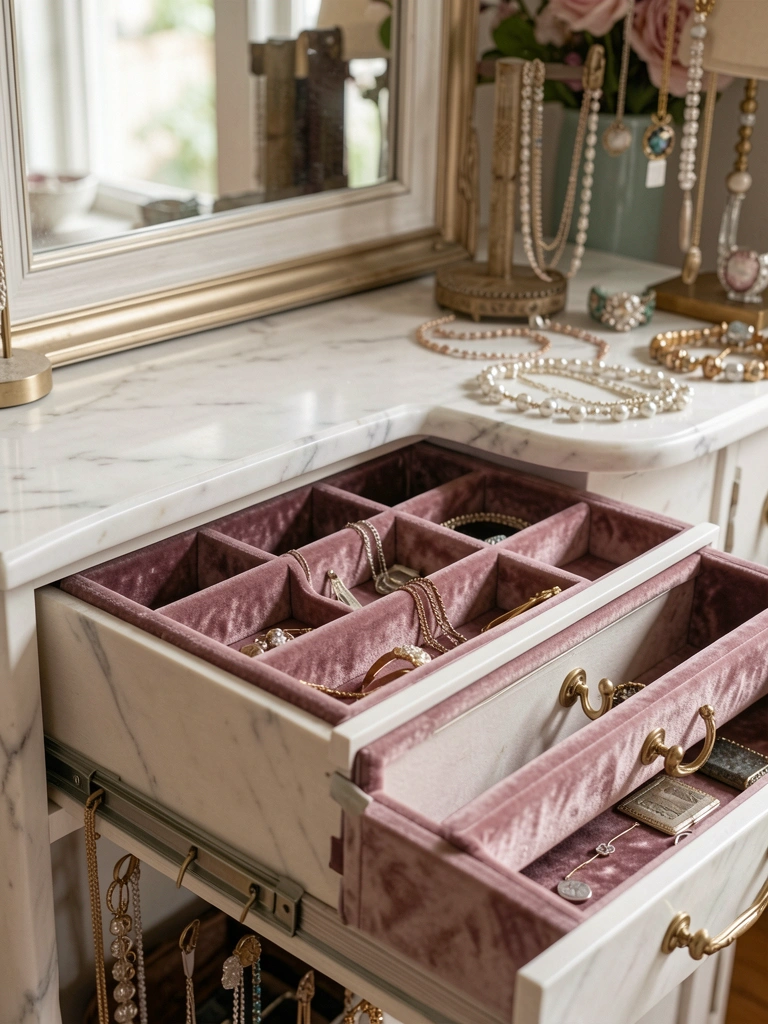
13. Crystal Knob Dresser Pulls Princess Style
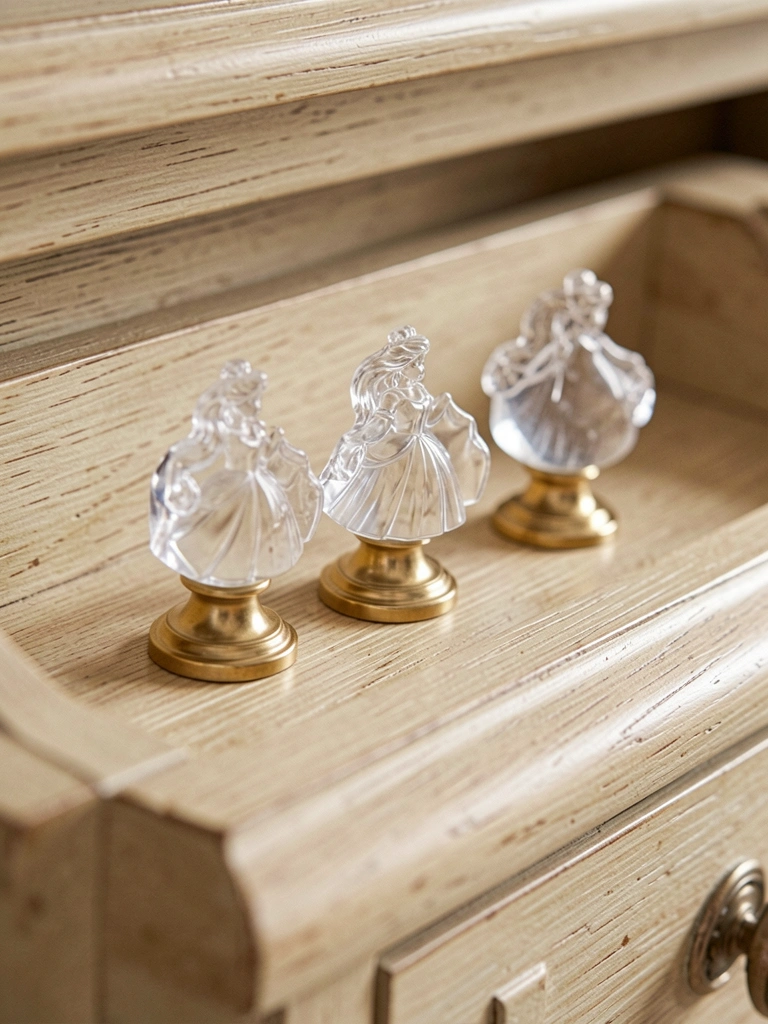
Loose knobs spun. Tight screws fixed. Smooth open now.
Drawers organized, sparkly touch.
Match count exact—no spares lost.
What You’ll Need for This Look
- Princess crystal dresser knobs clear gold (10-pack 1.5 inches)
- Drawer pull screws brass (20-pack)
- Screwdriver set precision
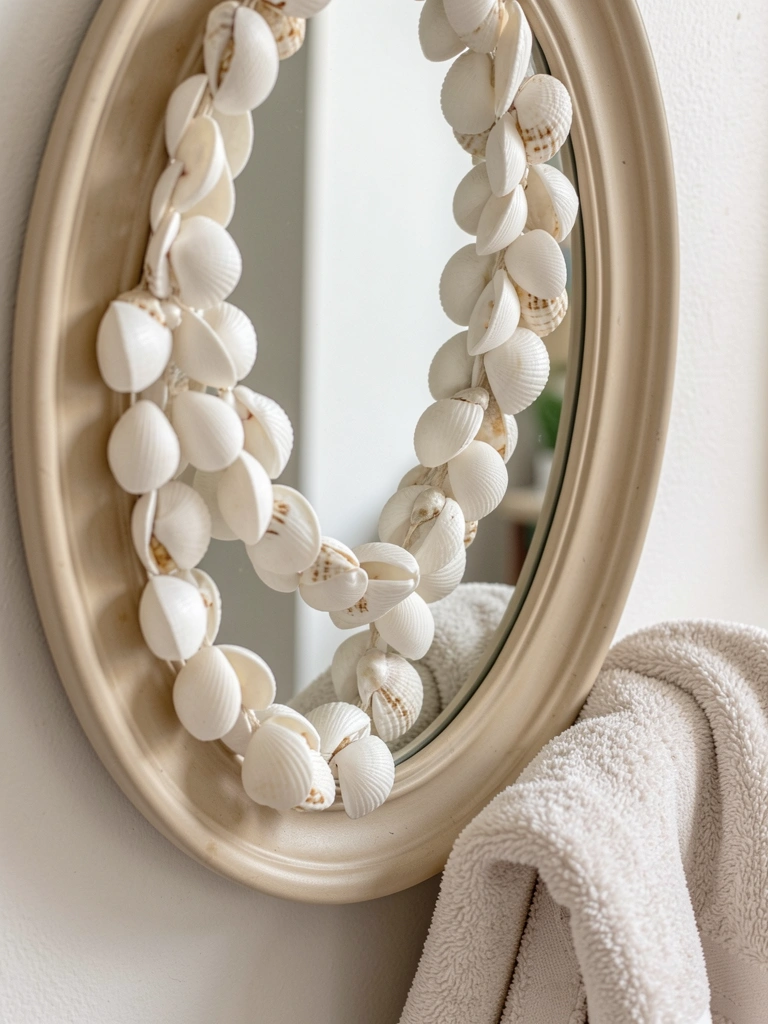
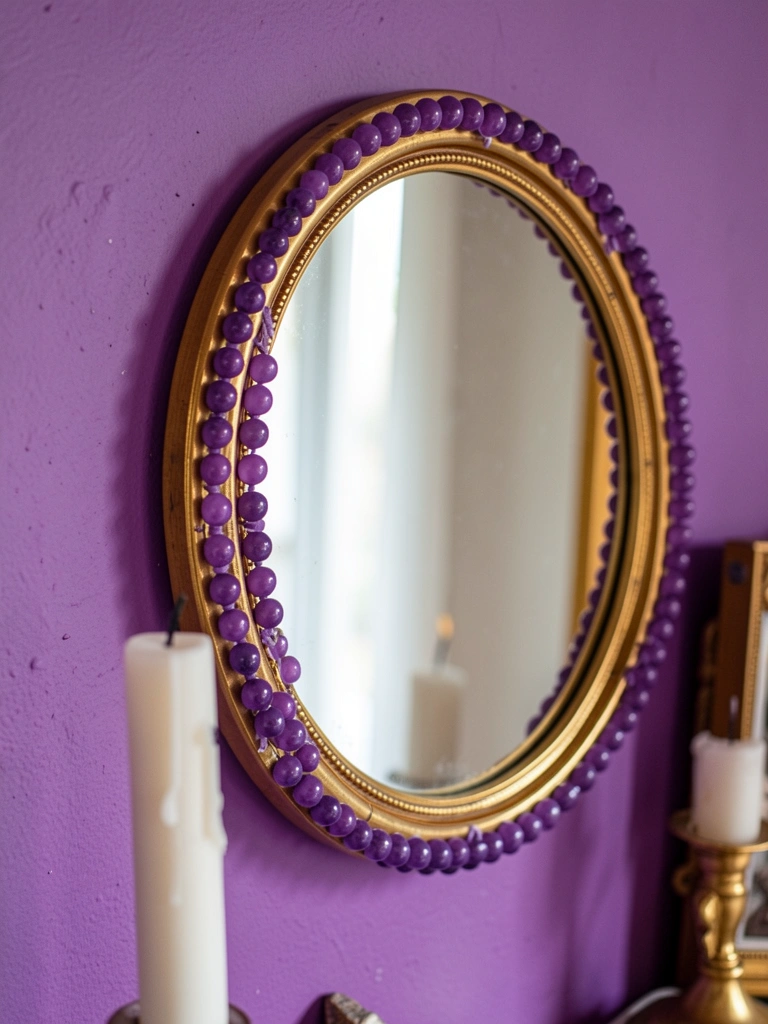
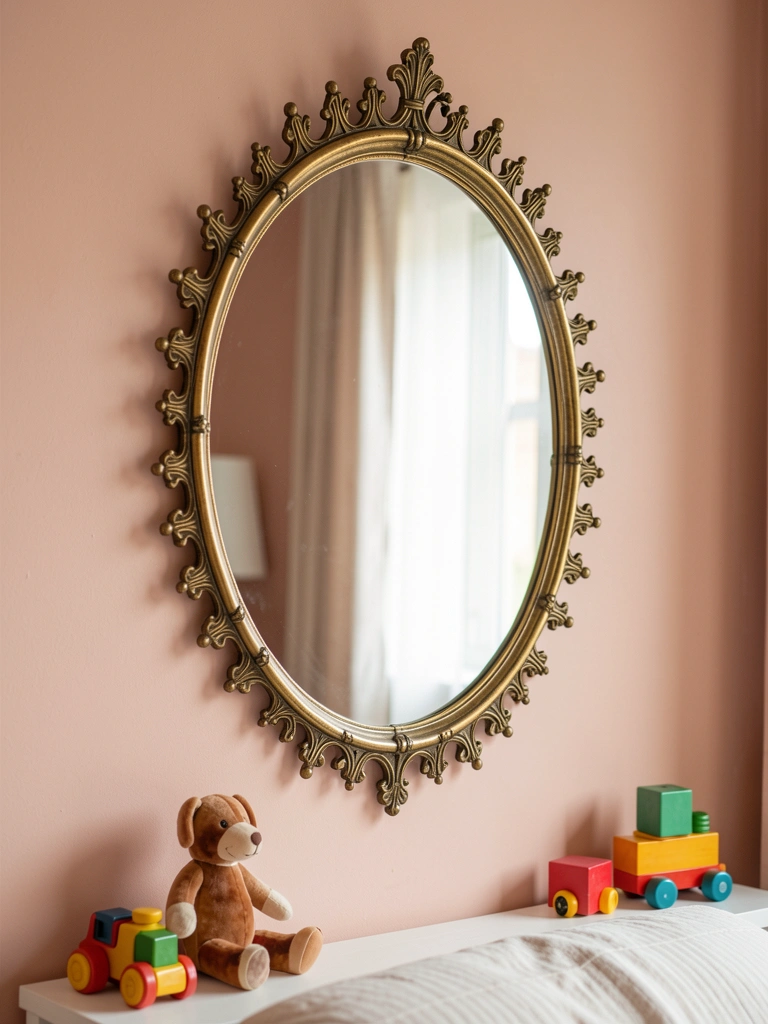
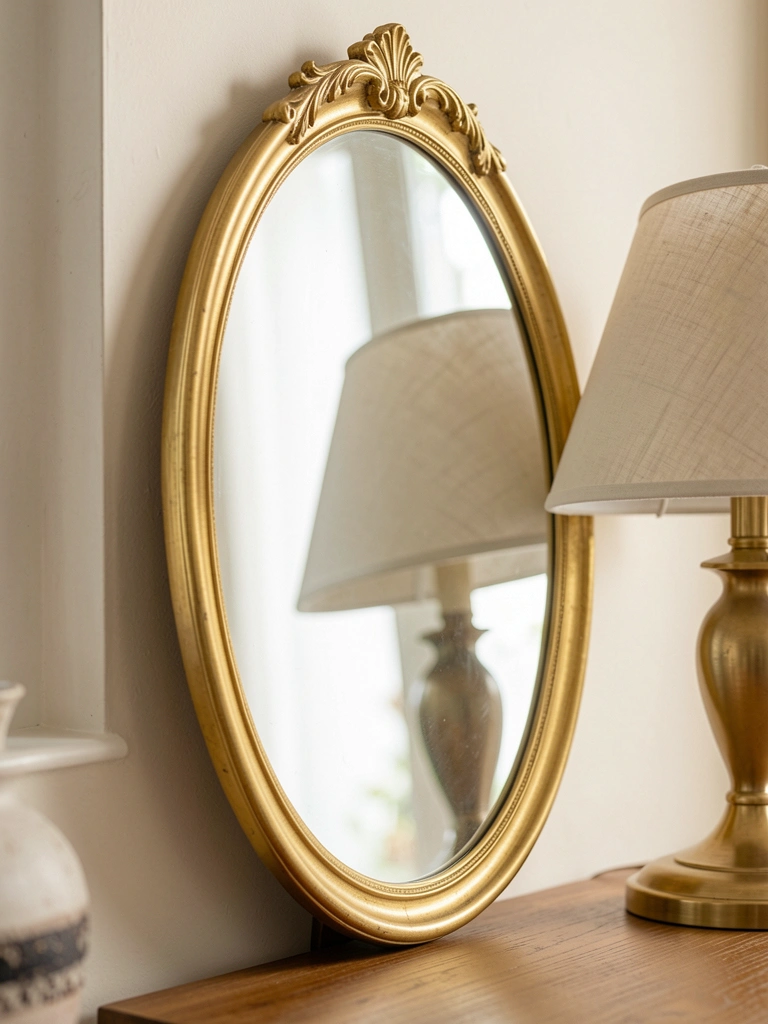
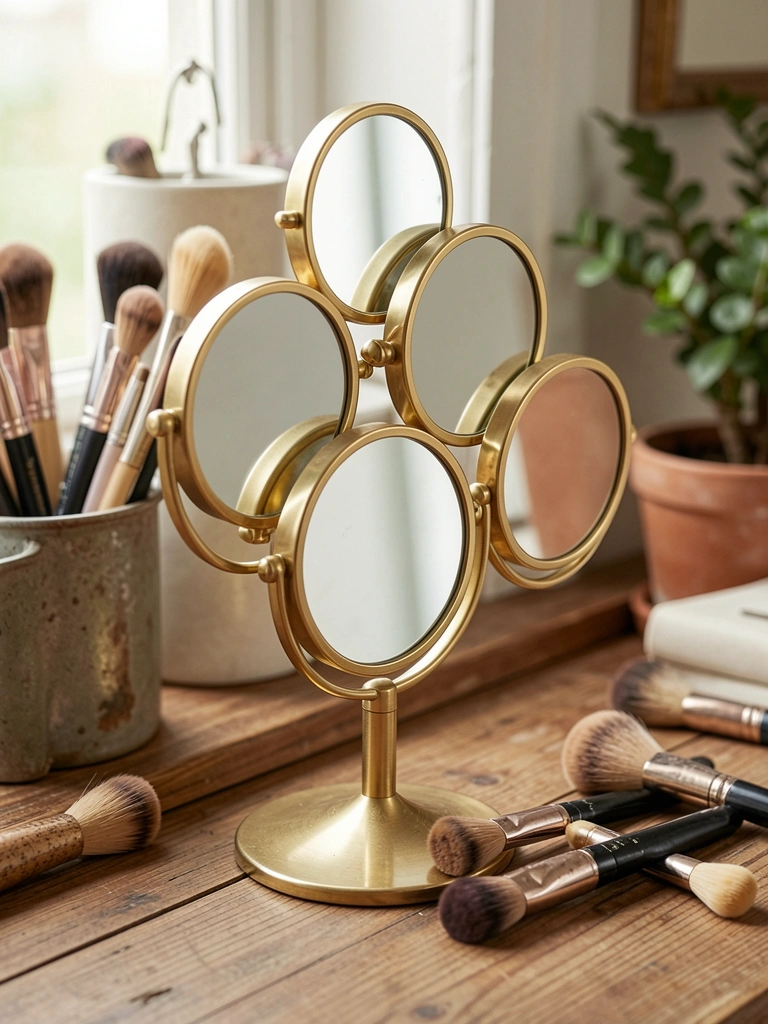
14. Vine-Framed Mirror with Princess Leaves

Full frame heavy. Half vines light. Hangs solo.
Dress-up mirror fun. Reflection softens.
Wire for hanging strong.
What You’ll Need for This Look
- Disney princess vine mirror frame wood (24×36 inches)
- Faux leaf garland green (6 ft)
- Mirror hanging wire kit
15. Canvas Princess Laundry Hamper
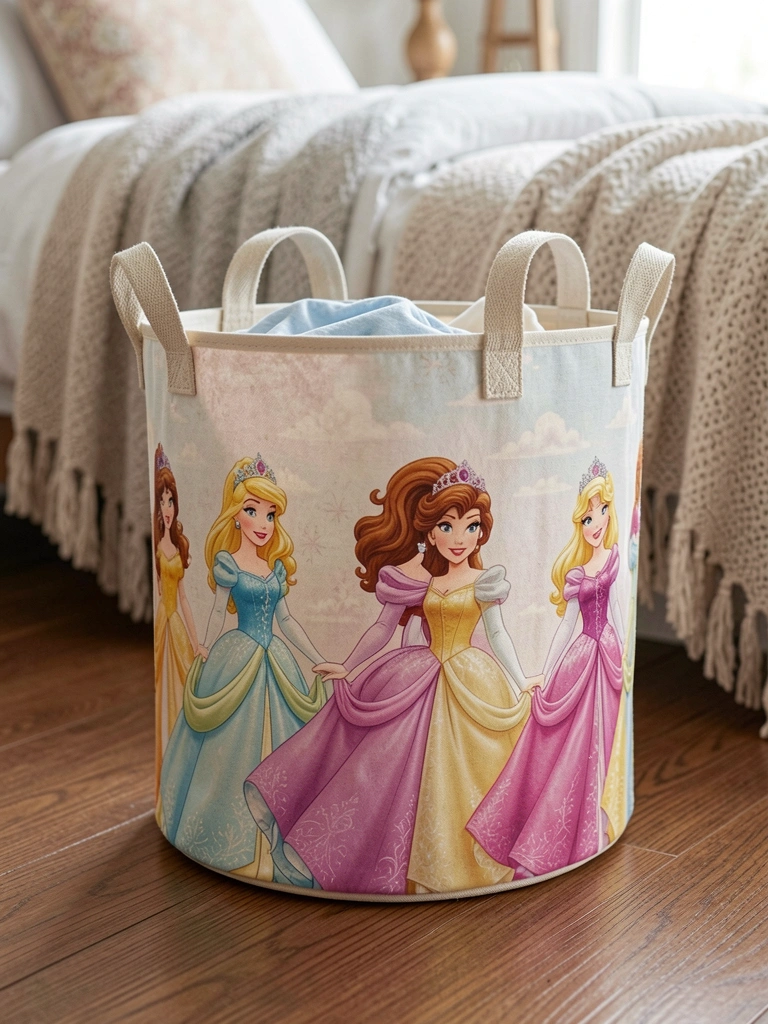
Plastic tipped easy. Canvas stands. Clothes vanish quick.
Lid hides mess. Collapses store.
Line plastic inside—easy dump.
What You’ll Need for This Look
- Disney princess canvas hamper Ariel print (18×24 inches)
- Cotton liner bag drawstring (20 inches)
- Wood frame collapsible beige
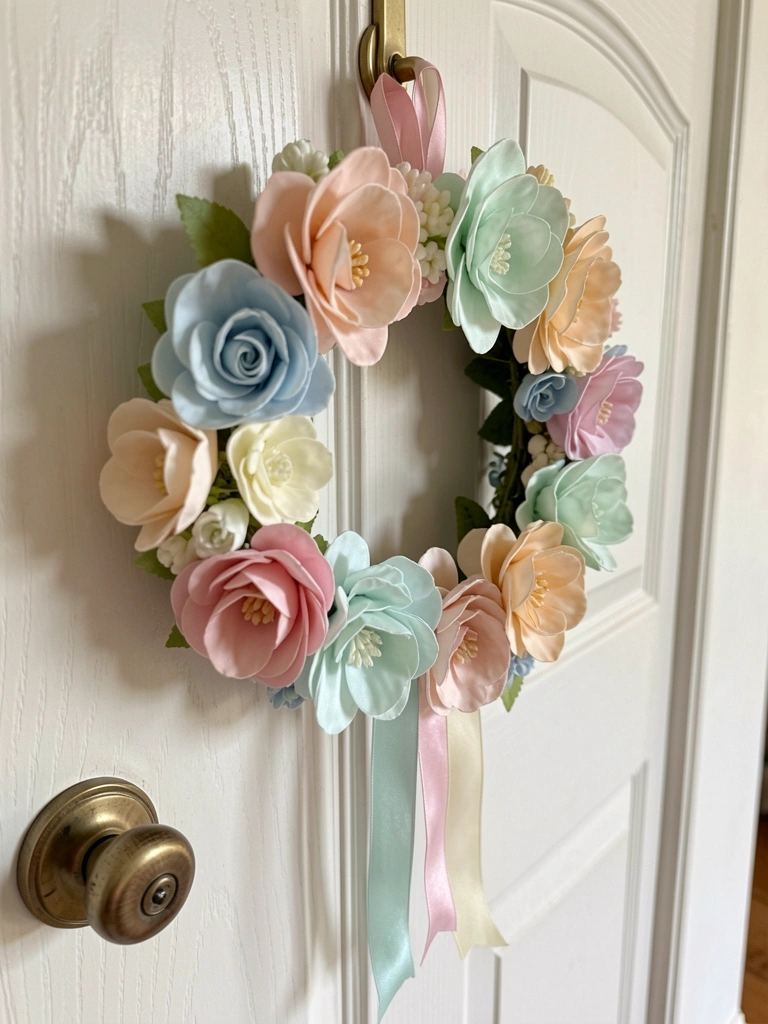
16. Felt Door Hanger Princess Crown
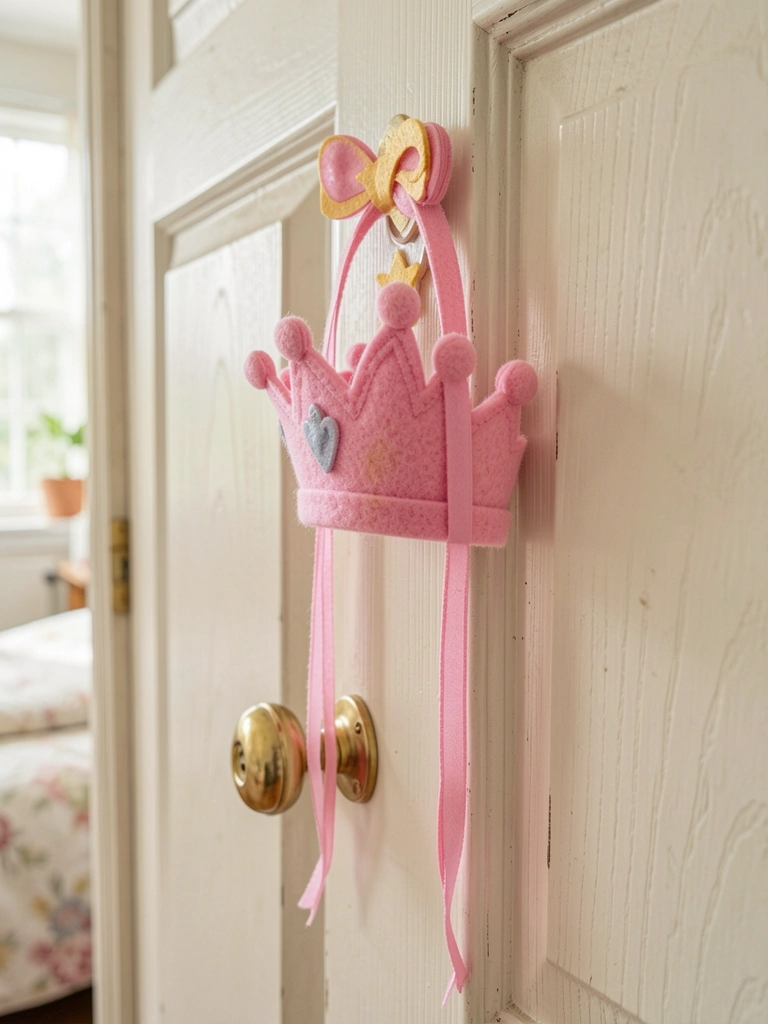
Cardboard frayed. Felt lasts. "Do Not Disturb" clear.
Privacy respected. Fun knock-back.
Hook sturdy—no slip.
What You’ll Need for This Look
- Disney princess felt crown door hanger (Belle 12 inches)
- Ribbon trim gold (3 yards)
- Hook and loop tape clear
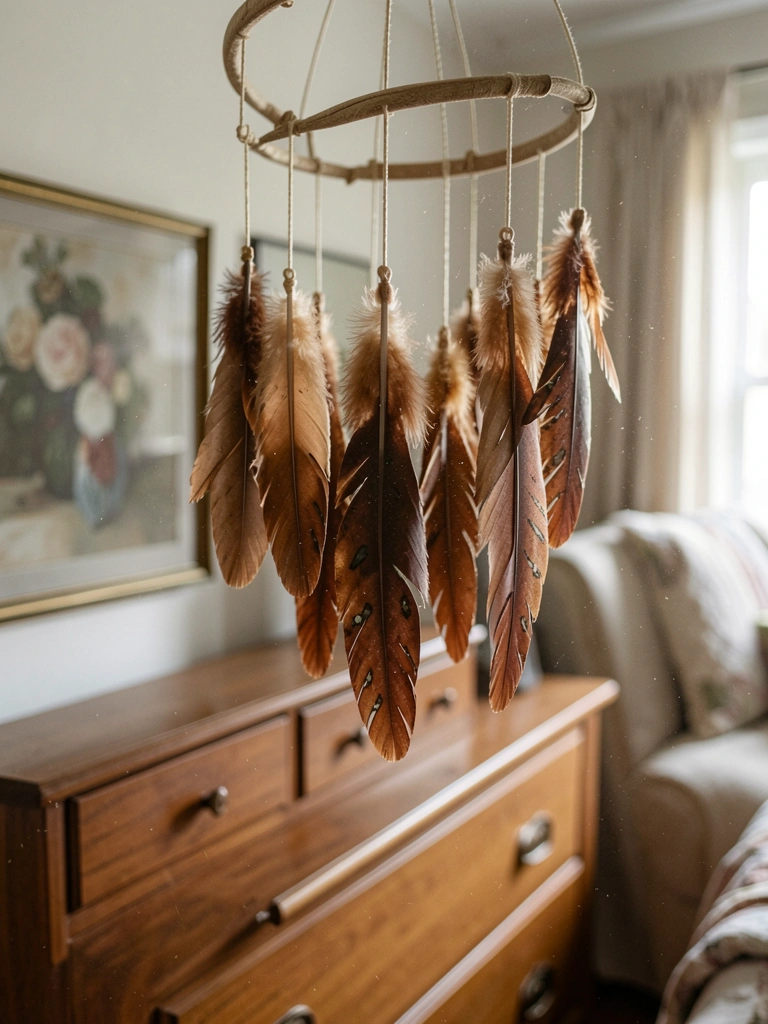
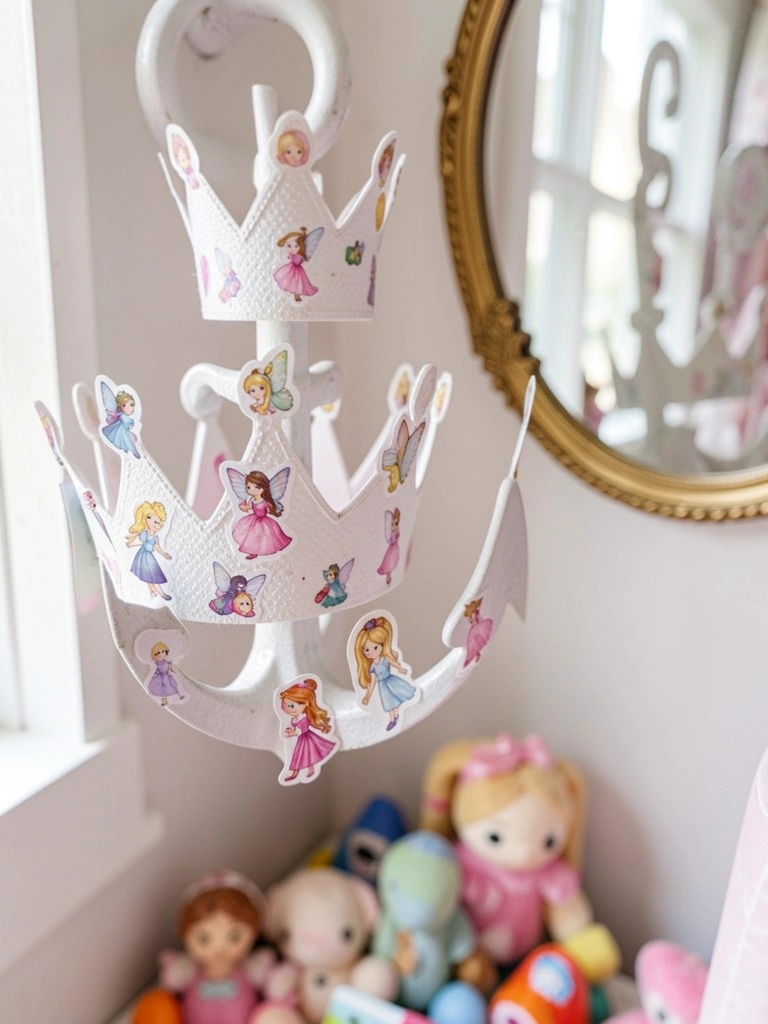
17. Hanging Princess Mobile Over Crib
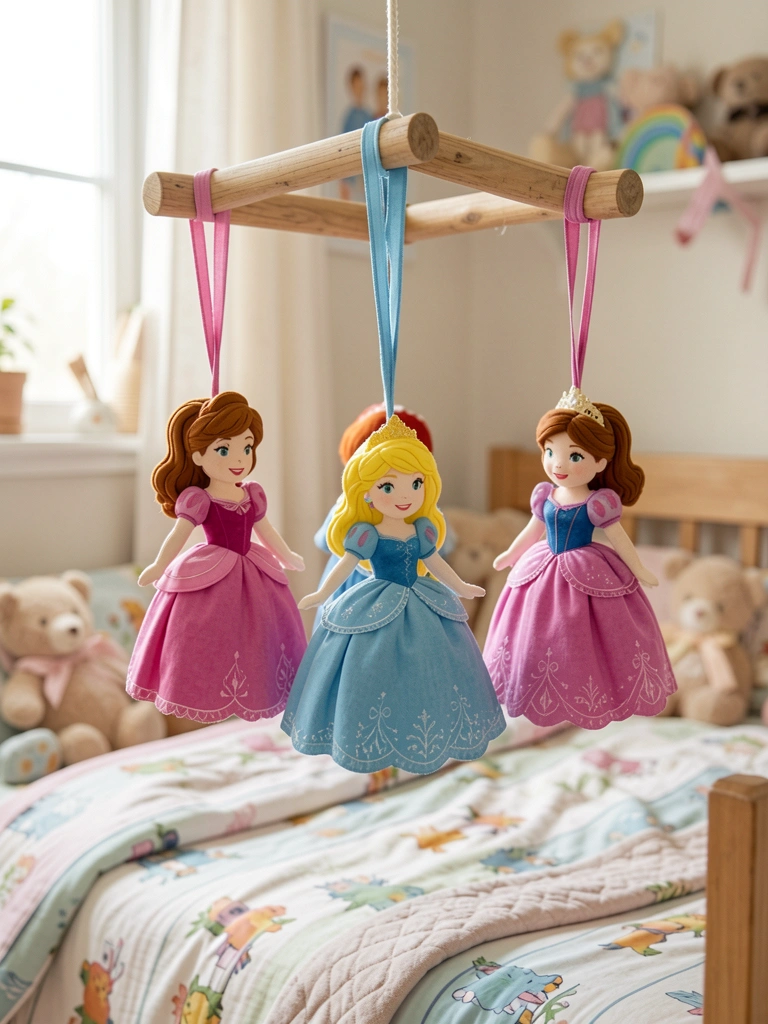
Plastic noisy. Fabric quiet. Sways calm.
Nap cue now. Wind-up gentle.
Ceiling hook tested heavy.
What You’ll Need for This Look
- Disney princess fabric mobile (Cinderella 18 inches)
- Ceiling hook swivel brass
- Felt characters kit pastel
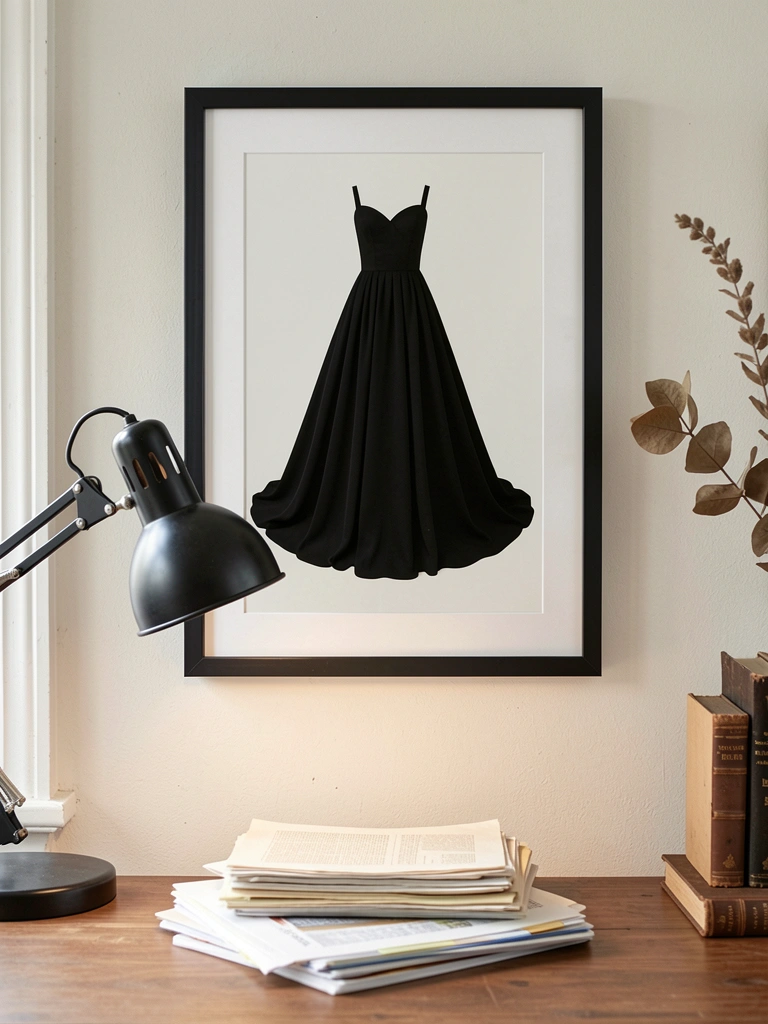
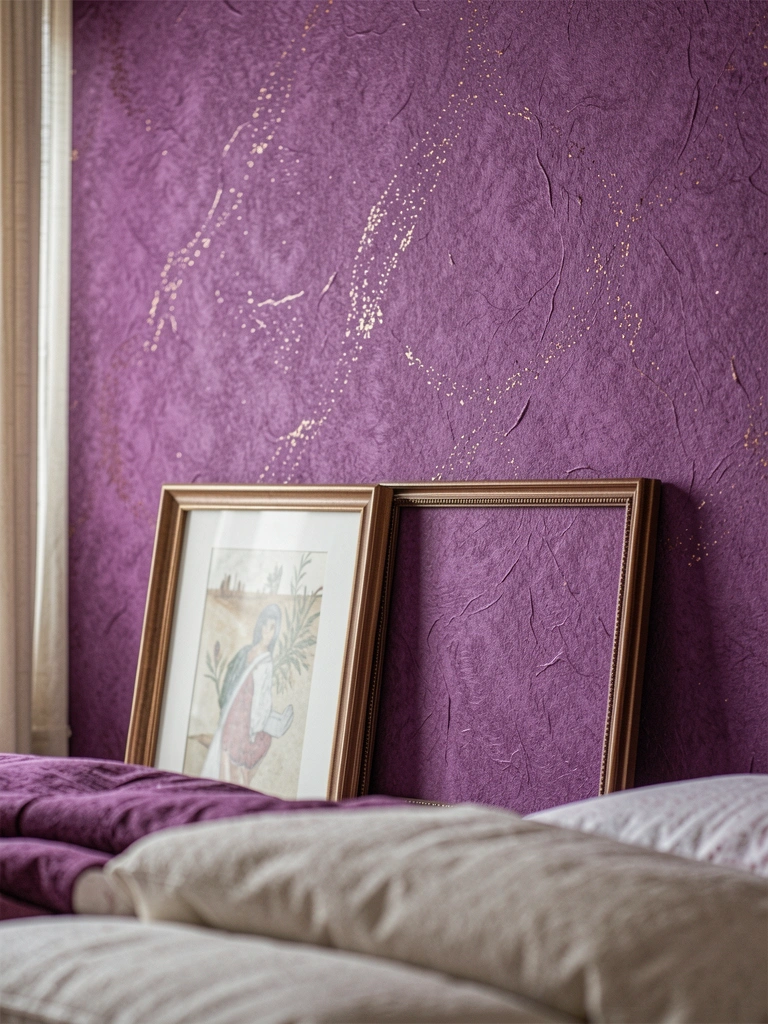
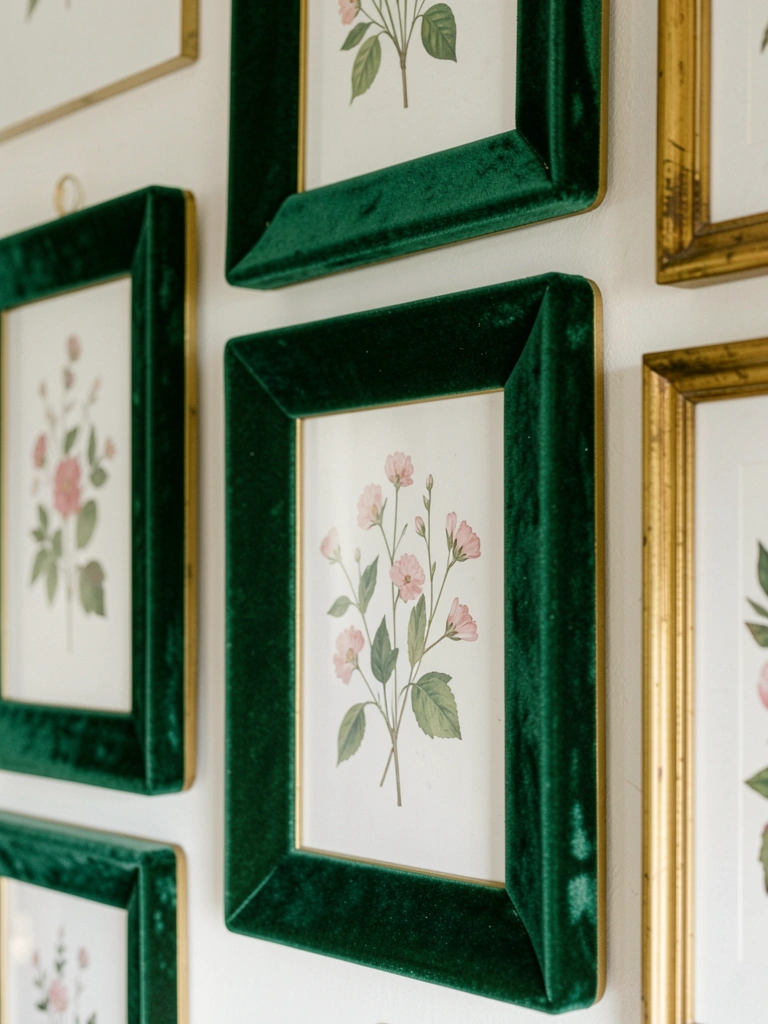
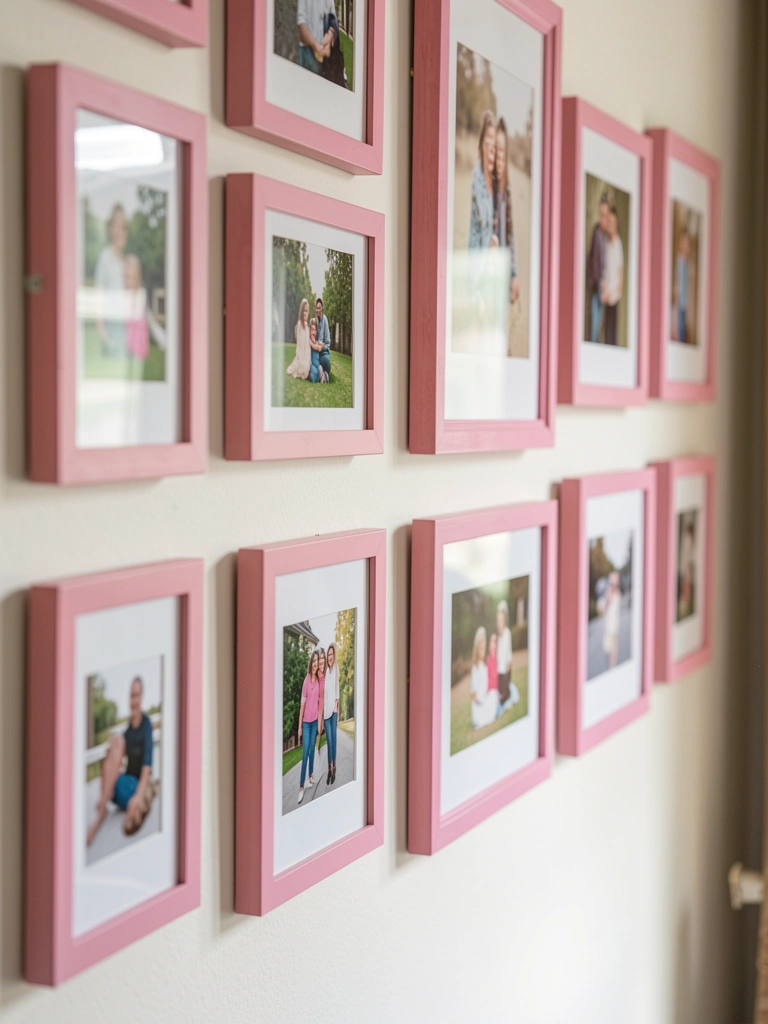
18. Framed Princess Quote Art Prints

Big prints overwhelmed. 8×10 scale right. Gallery wall starts.
Inspires quiet. Ink fades slow.
Mat white—pops gentle.
What You’ll Need for This Look
- Disney princess quote prints unframed (Ariel set 4-pack)
- Wood picture frames white (8×10 inches 4-pack)
- Double mat board cream
19. Labeled Storage Bins Princess Names

Bins tipped full. Lids added. Toys sorted solo.
Chaos to calm. Labels peel-proof.
Stack neat—saves floor.
What You’ll Need for This Look
- Disney princess fabric storage bins (Belle 4-pack 11 inches)
- Vinyl name labels waterproof (20-pack)
- Clear lid bin organizers
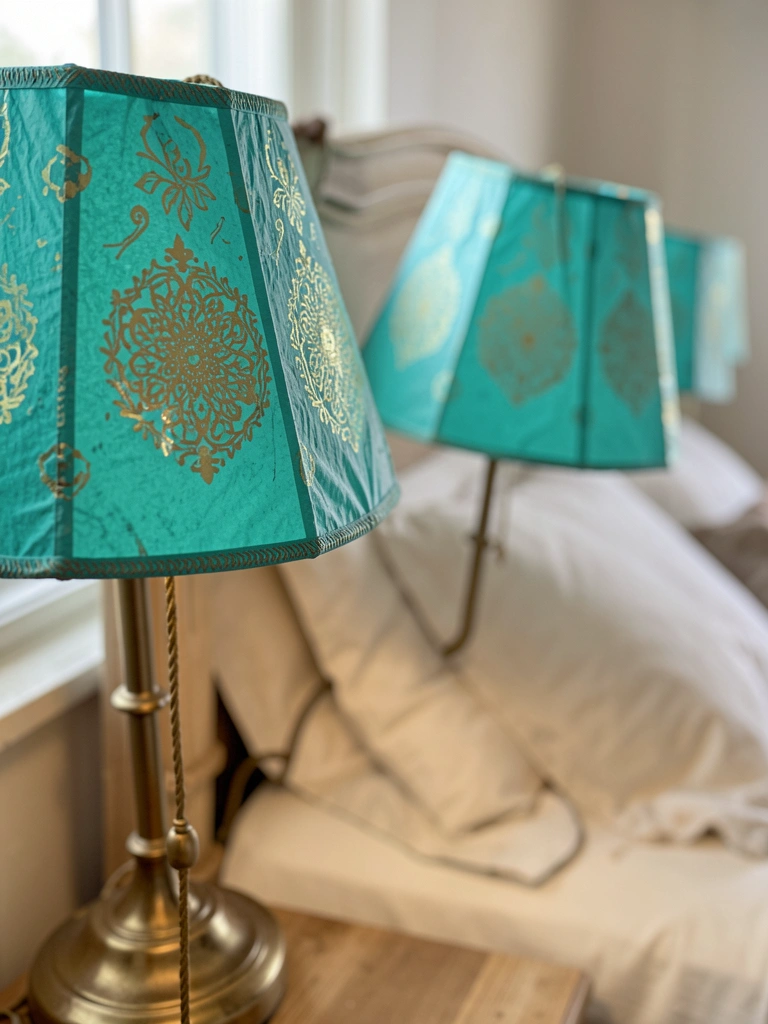
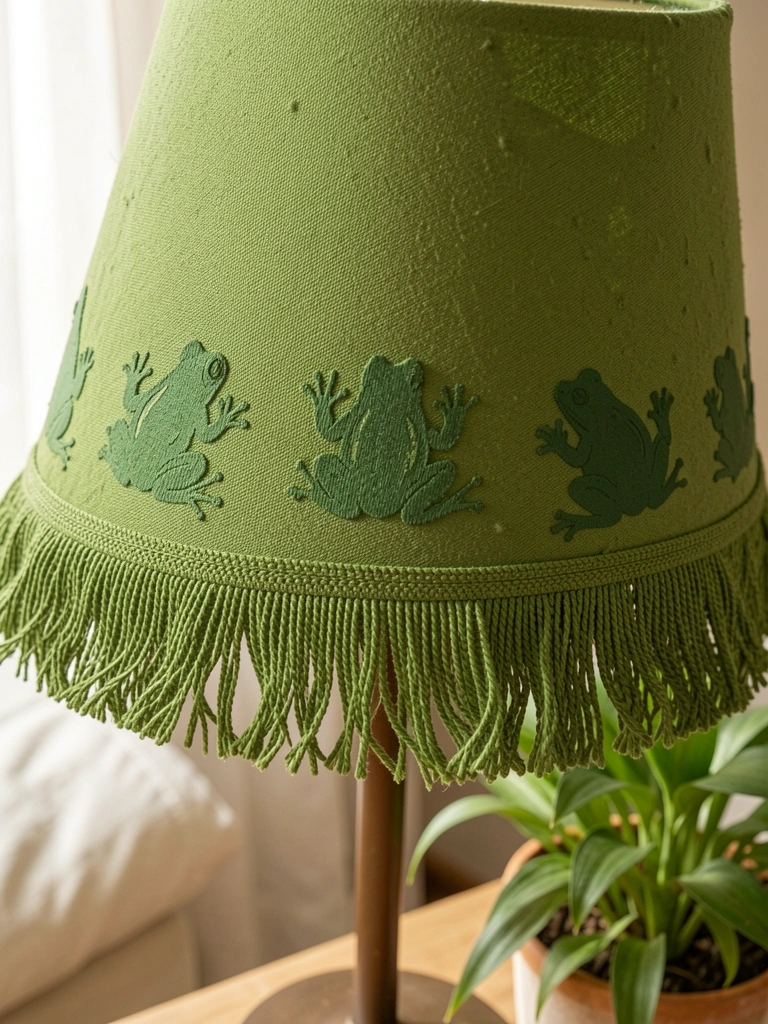
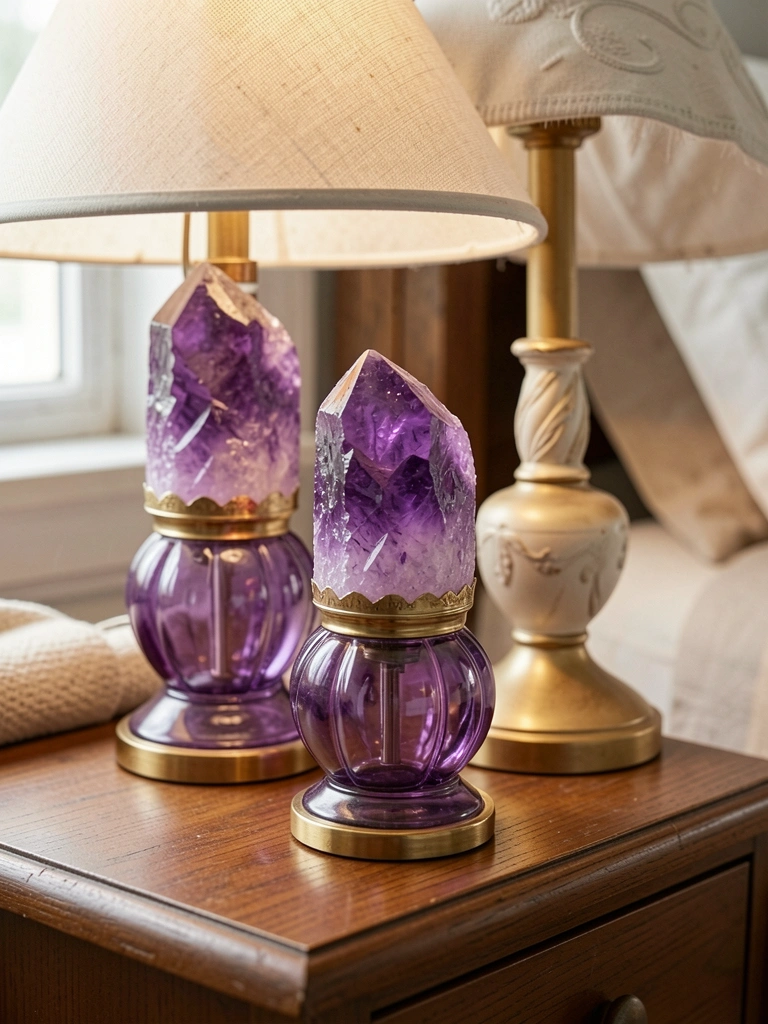
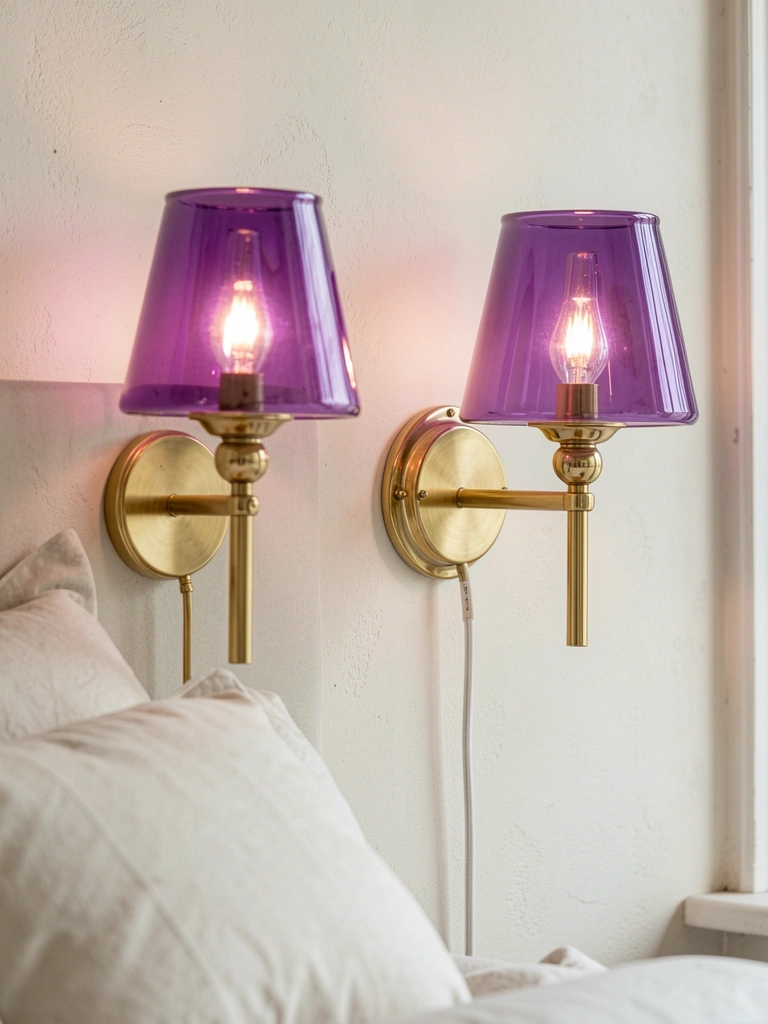
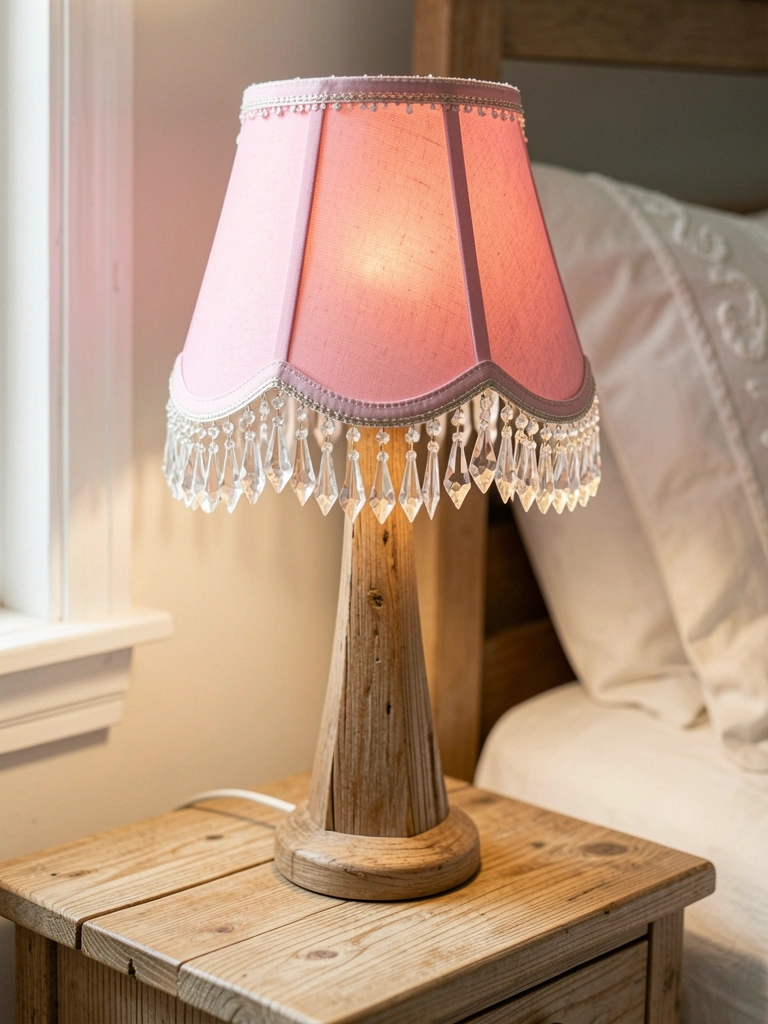
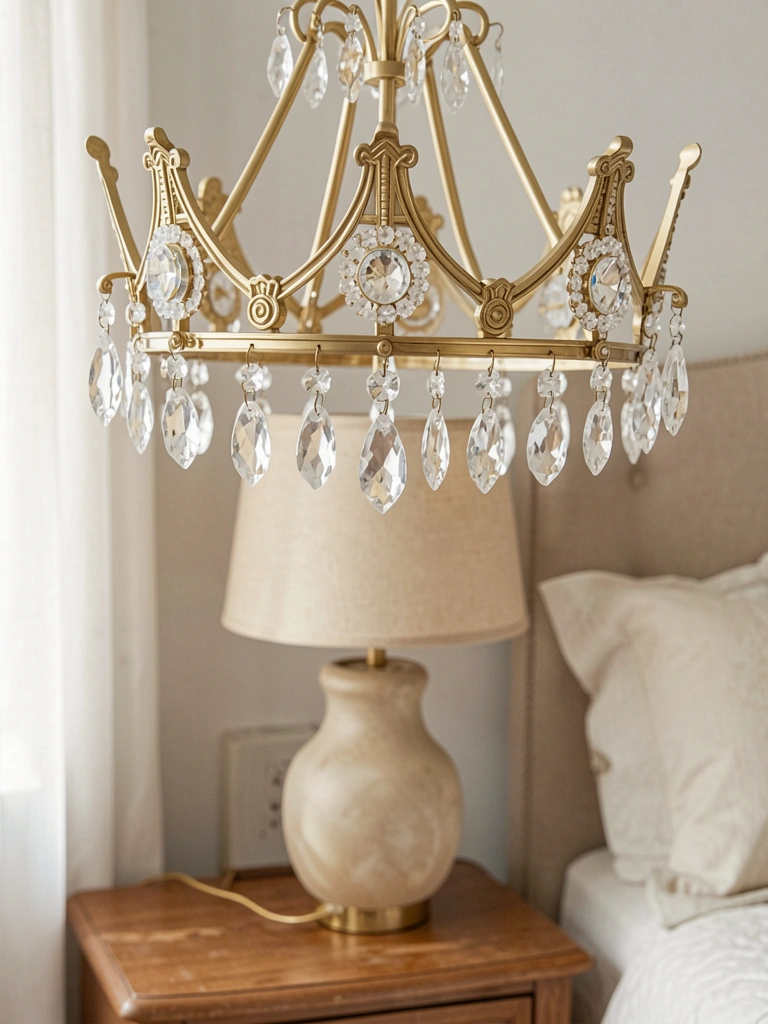
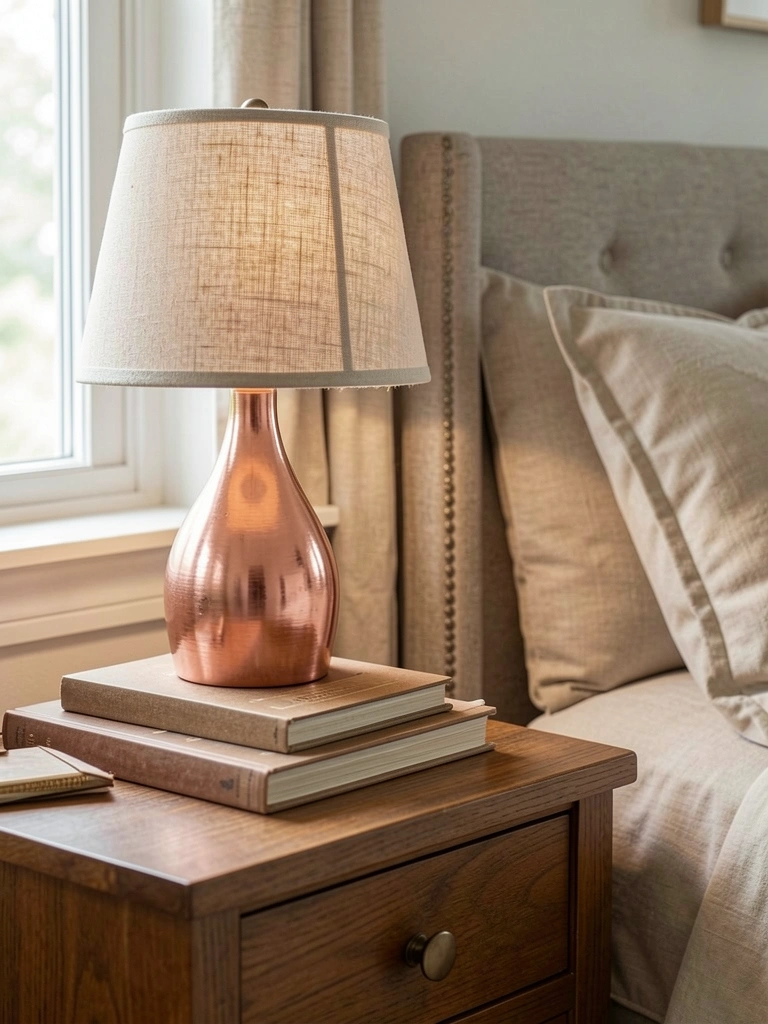
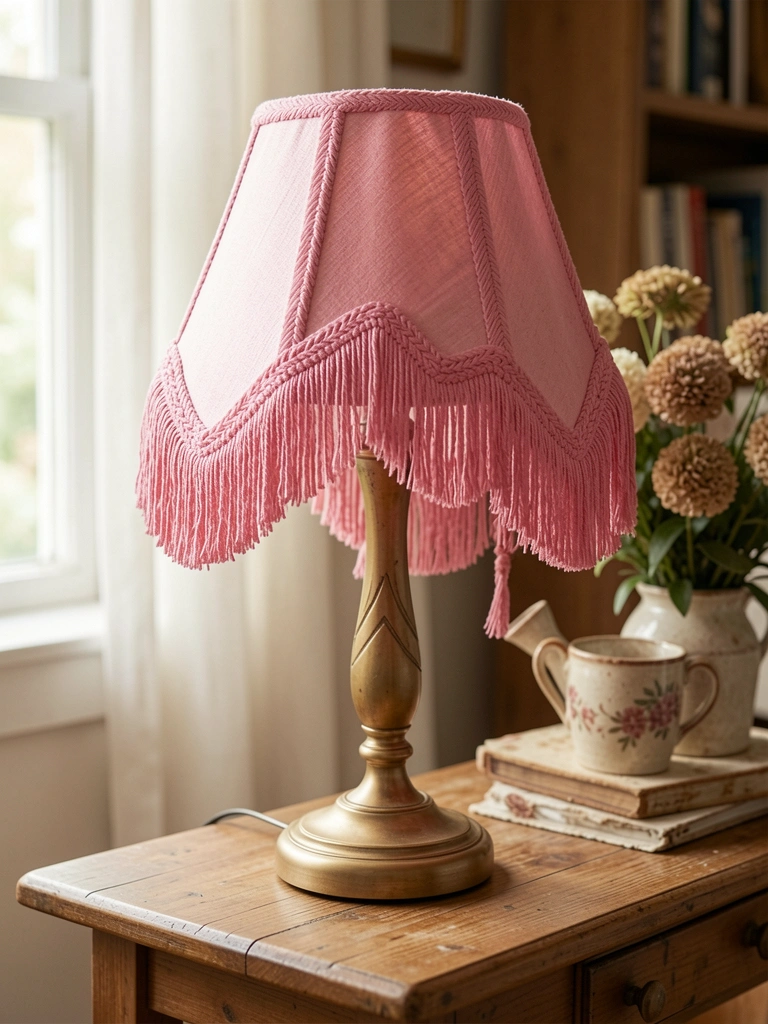
20. Silhouette Lamp Shade Princess Glow

Hot bulb melted shade. LED base fixed. Glow patterns walls.
Bedtime ritual light. Shade dusts easy.
Clamp harp secure.
What You’ll Need for This Look
- Disney princess silhouette lamp shade (12 inches cream)
- LED bulb warm white E26
- Lamp harp gold 8 inches
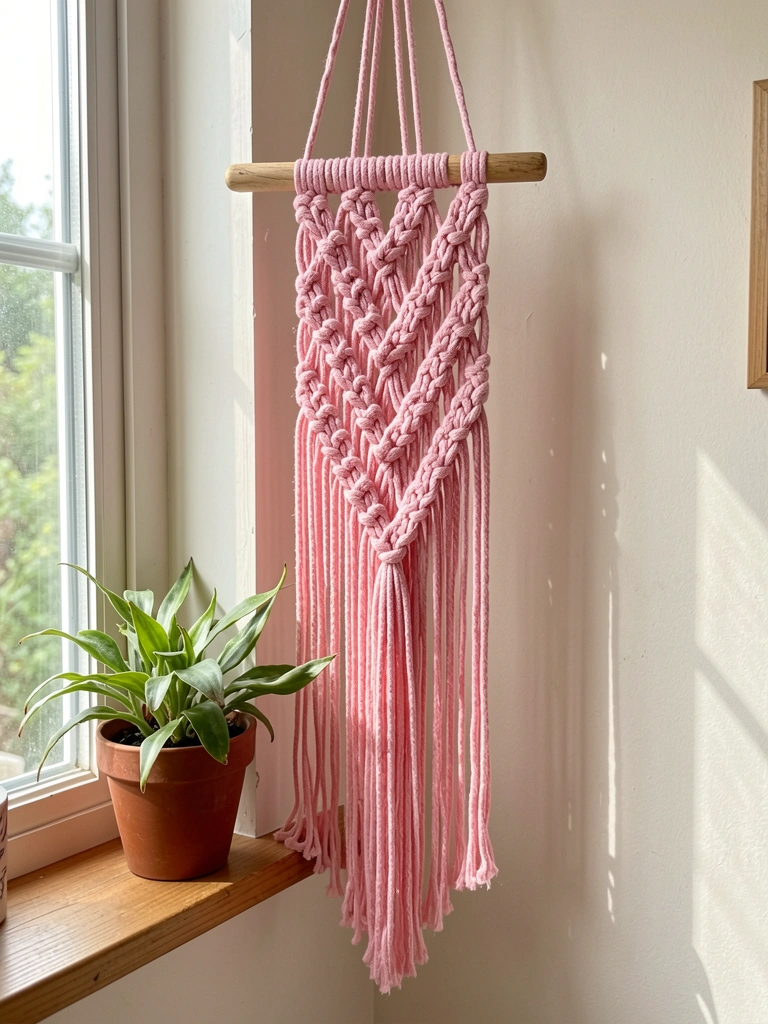
21. Embroidered Princess Wall Tapestry
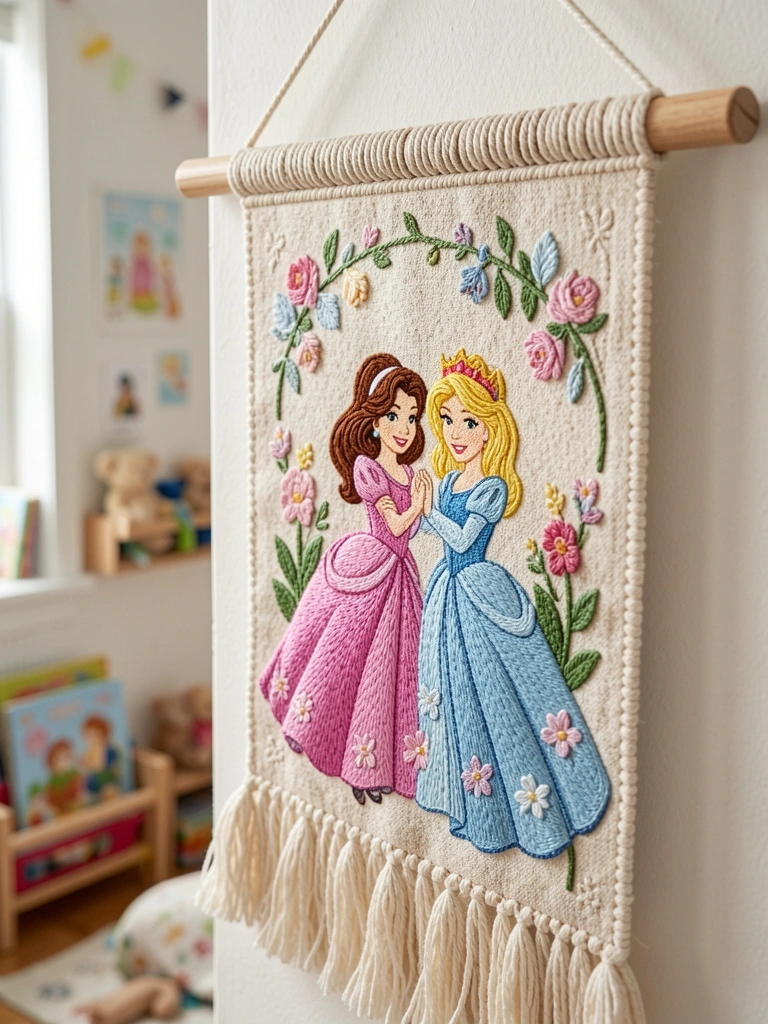
Iron rod slipped. Sleeve sewn tight. Hangs flat.
Wall filler cozy. Folds store off-season.
Light blocks partial.
What You’ll Need for This Look
- Disney princess embroidered tapestry (Ariel 40×60 inches)
- Wood dowel rod natural (48 inches)
- Cotton cord tie-back beige
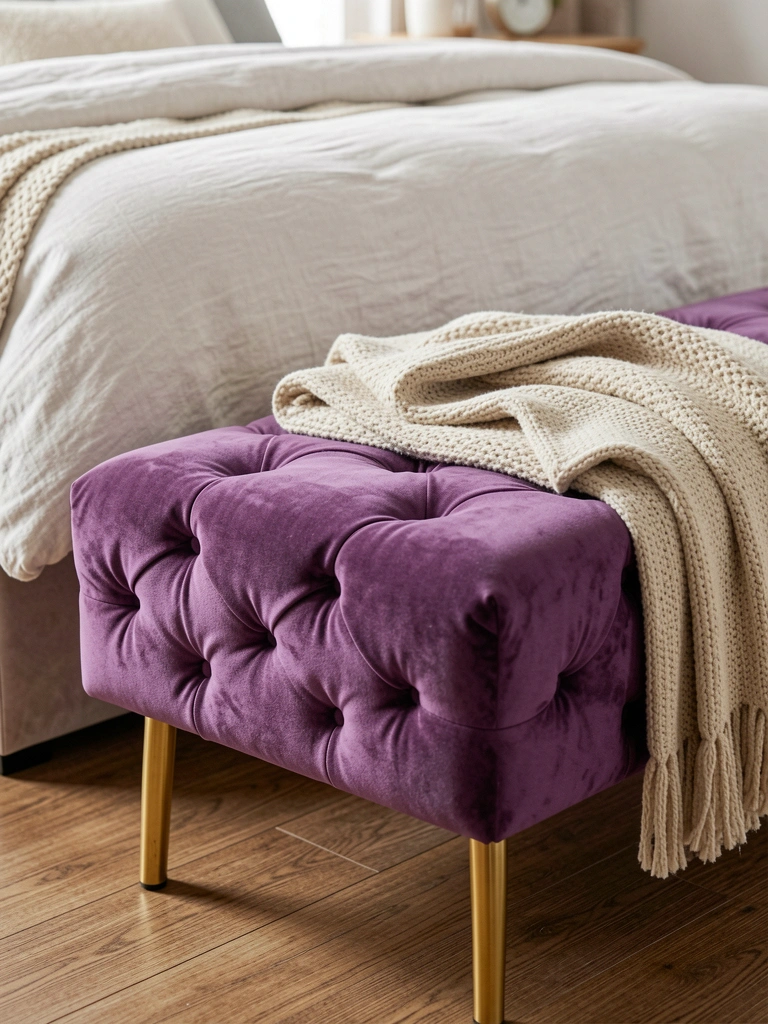
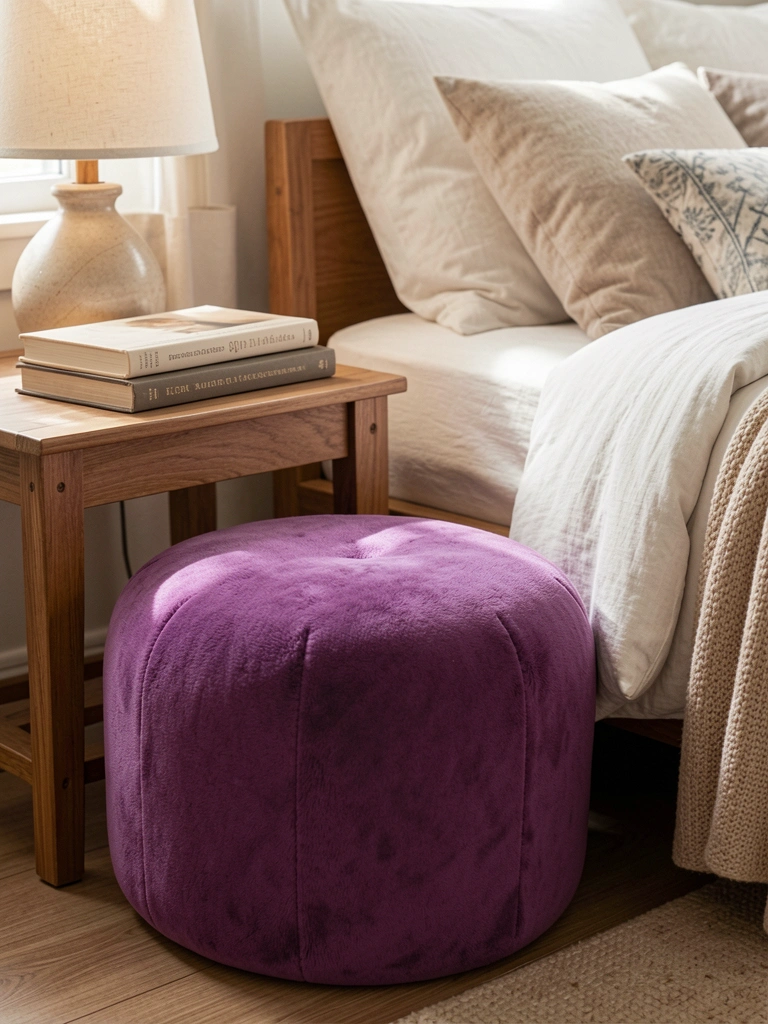
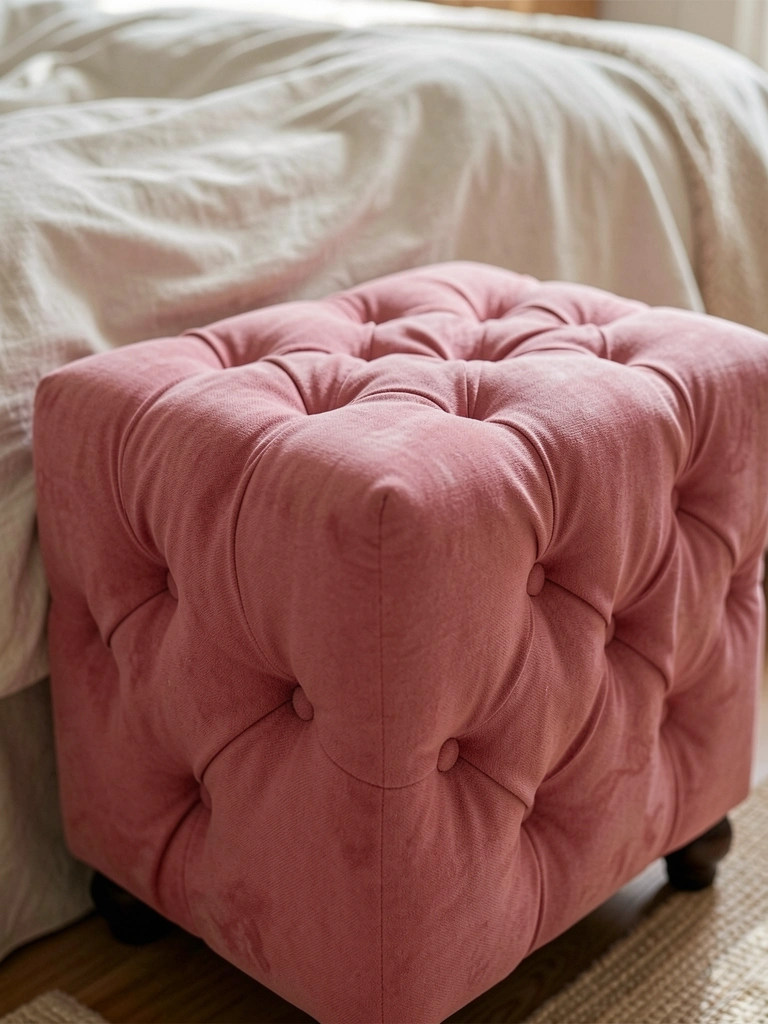
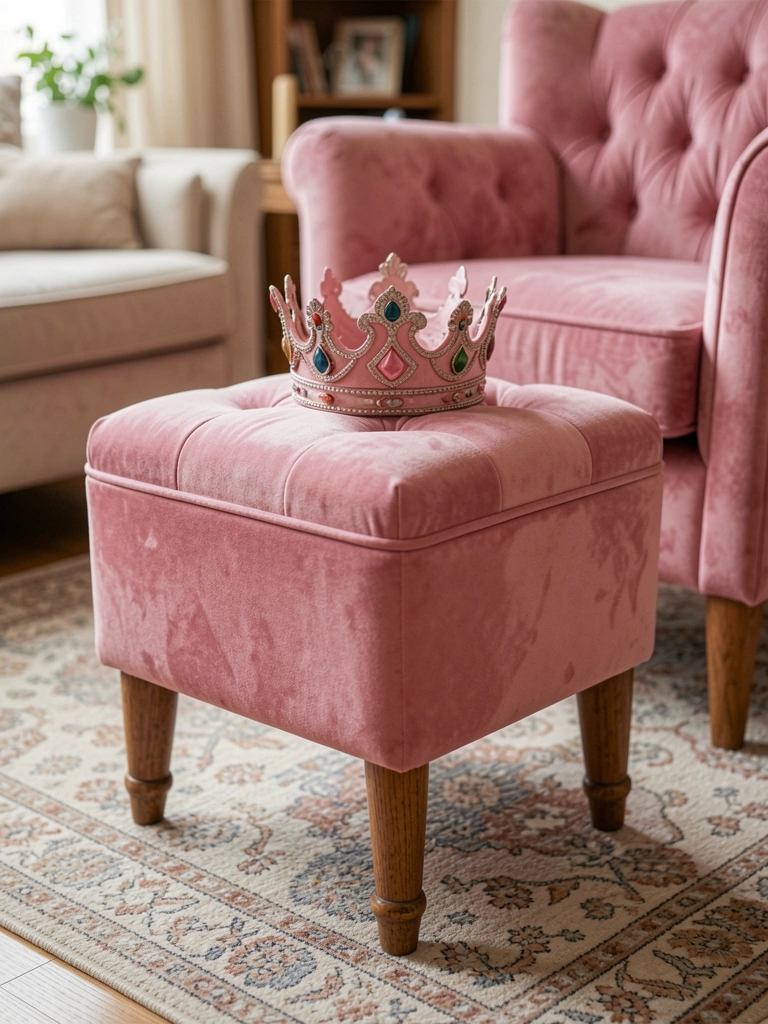
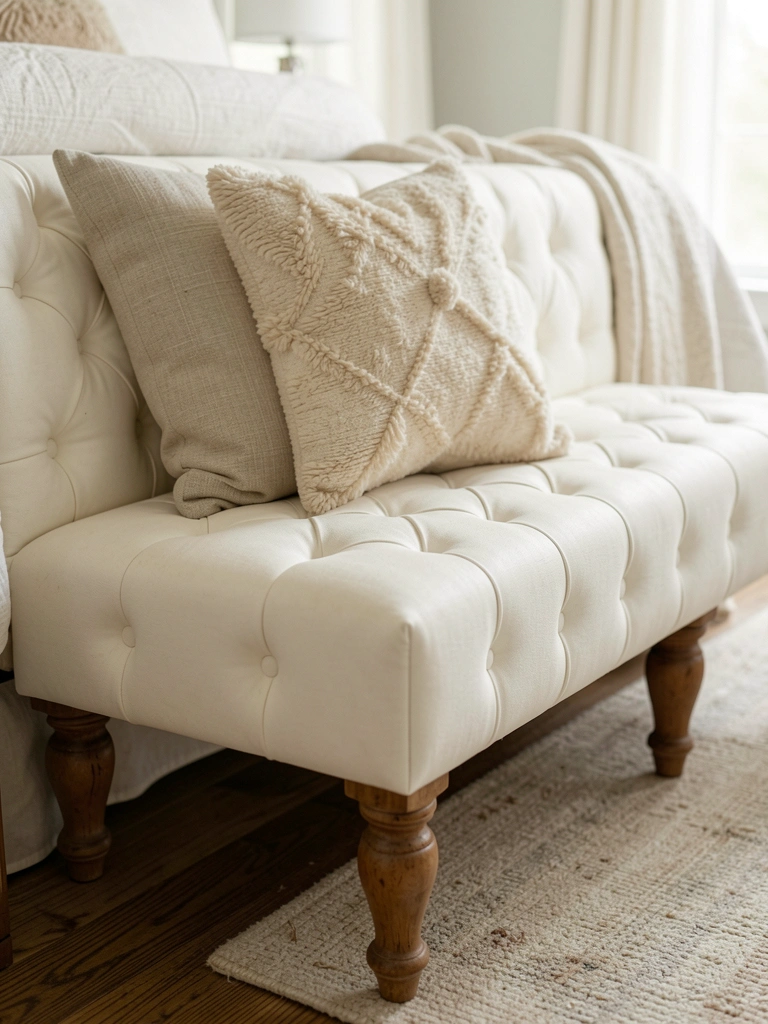
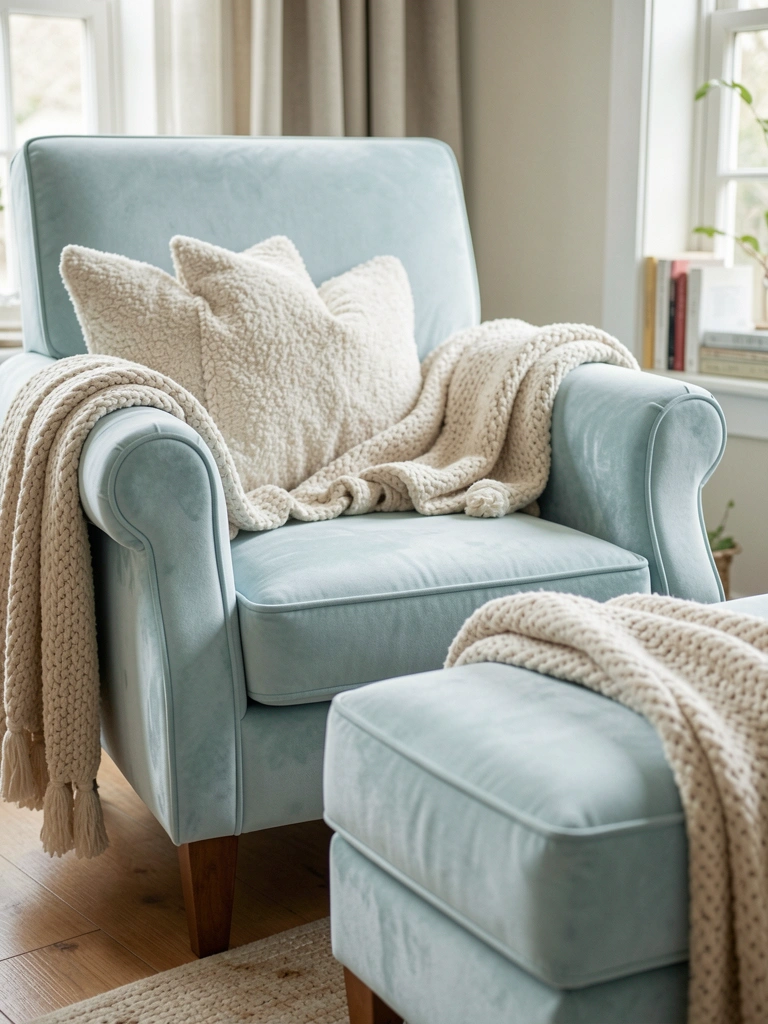
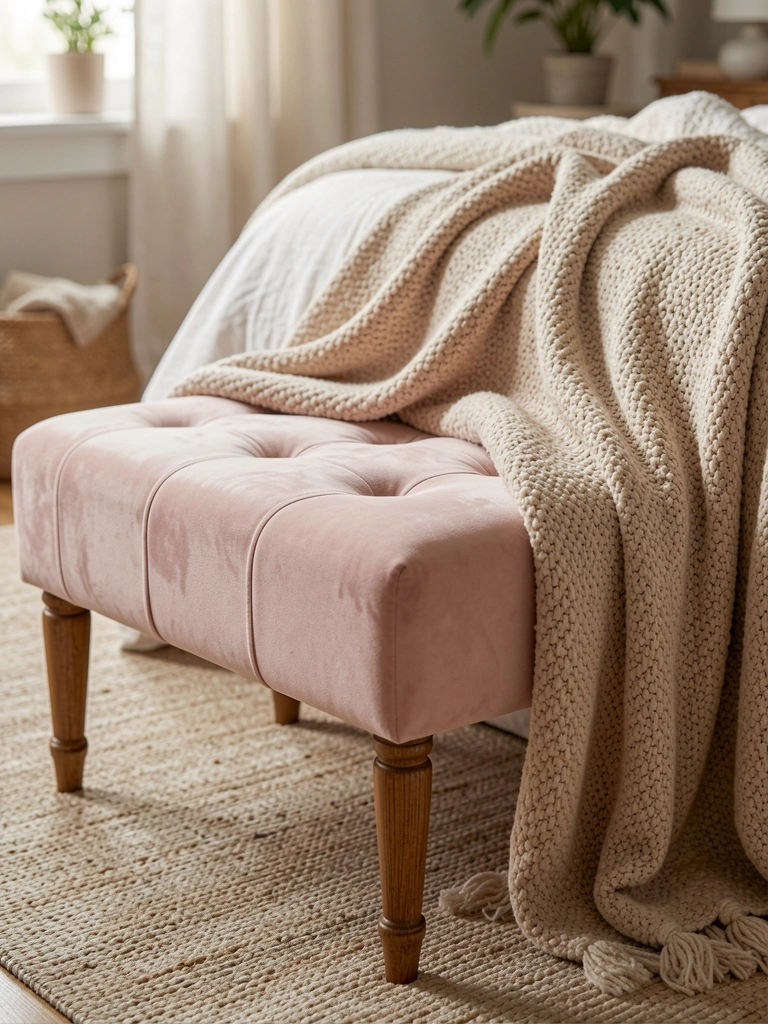
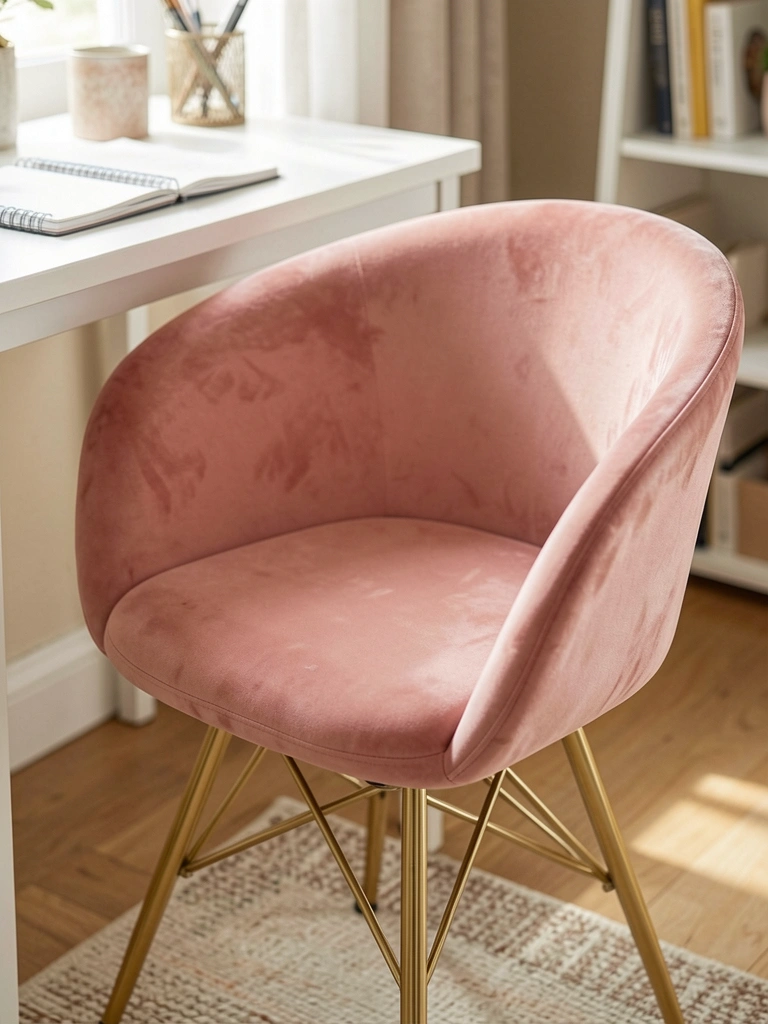
22. Tufted Princess Ottoman Footstool

Wobbly legs. Levelers added. Storytime perch perfect.
Storage inside toys. Velvet wipes clean.
Matches bedding tones.
What You’ll Need for This Look
- Disney princess tufted ottoman pink (18×18 inches)
- Felt pads levelers wood legs (8-pack)
- Velvet spray protector clear
23. Removable Window Clings Princess Scenes

Sticky clings tore paint. Static vinyl clean off. Morning light filters pretty.
Privacy from street. Reusable flips sides.
Spray water apply—bubbles gone.
What You’ll Need for This Look
- Disney princess window clings static (Belle 12-pack 12×12 inches)
- Squeegee tool soft vinyl (6 inches)
- Glass cleaner spray ammonia-free
Final Thoughts
Pick three ideas that fit your space first. No need for all 23.
Watch how your kid lights up. It builds slow.
You've got this—real warmth comes from what sticks around.